Deploying Platform Apps - Kong Gateway
So far you have deployed your own workloads through Rancher. But a real platform team spends much of its time installing and managing shared tooling - ingress controllers, cost dashboards, service meshes, backup operators. Rancher's Apps catalog is where that happens: it is the single place you add tools to a cluster and manage their lifecycle.
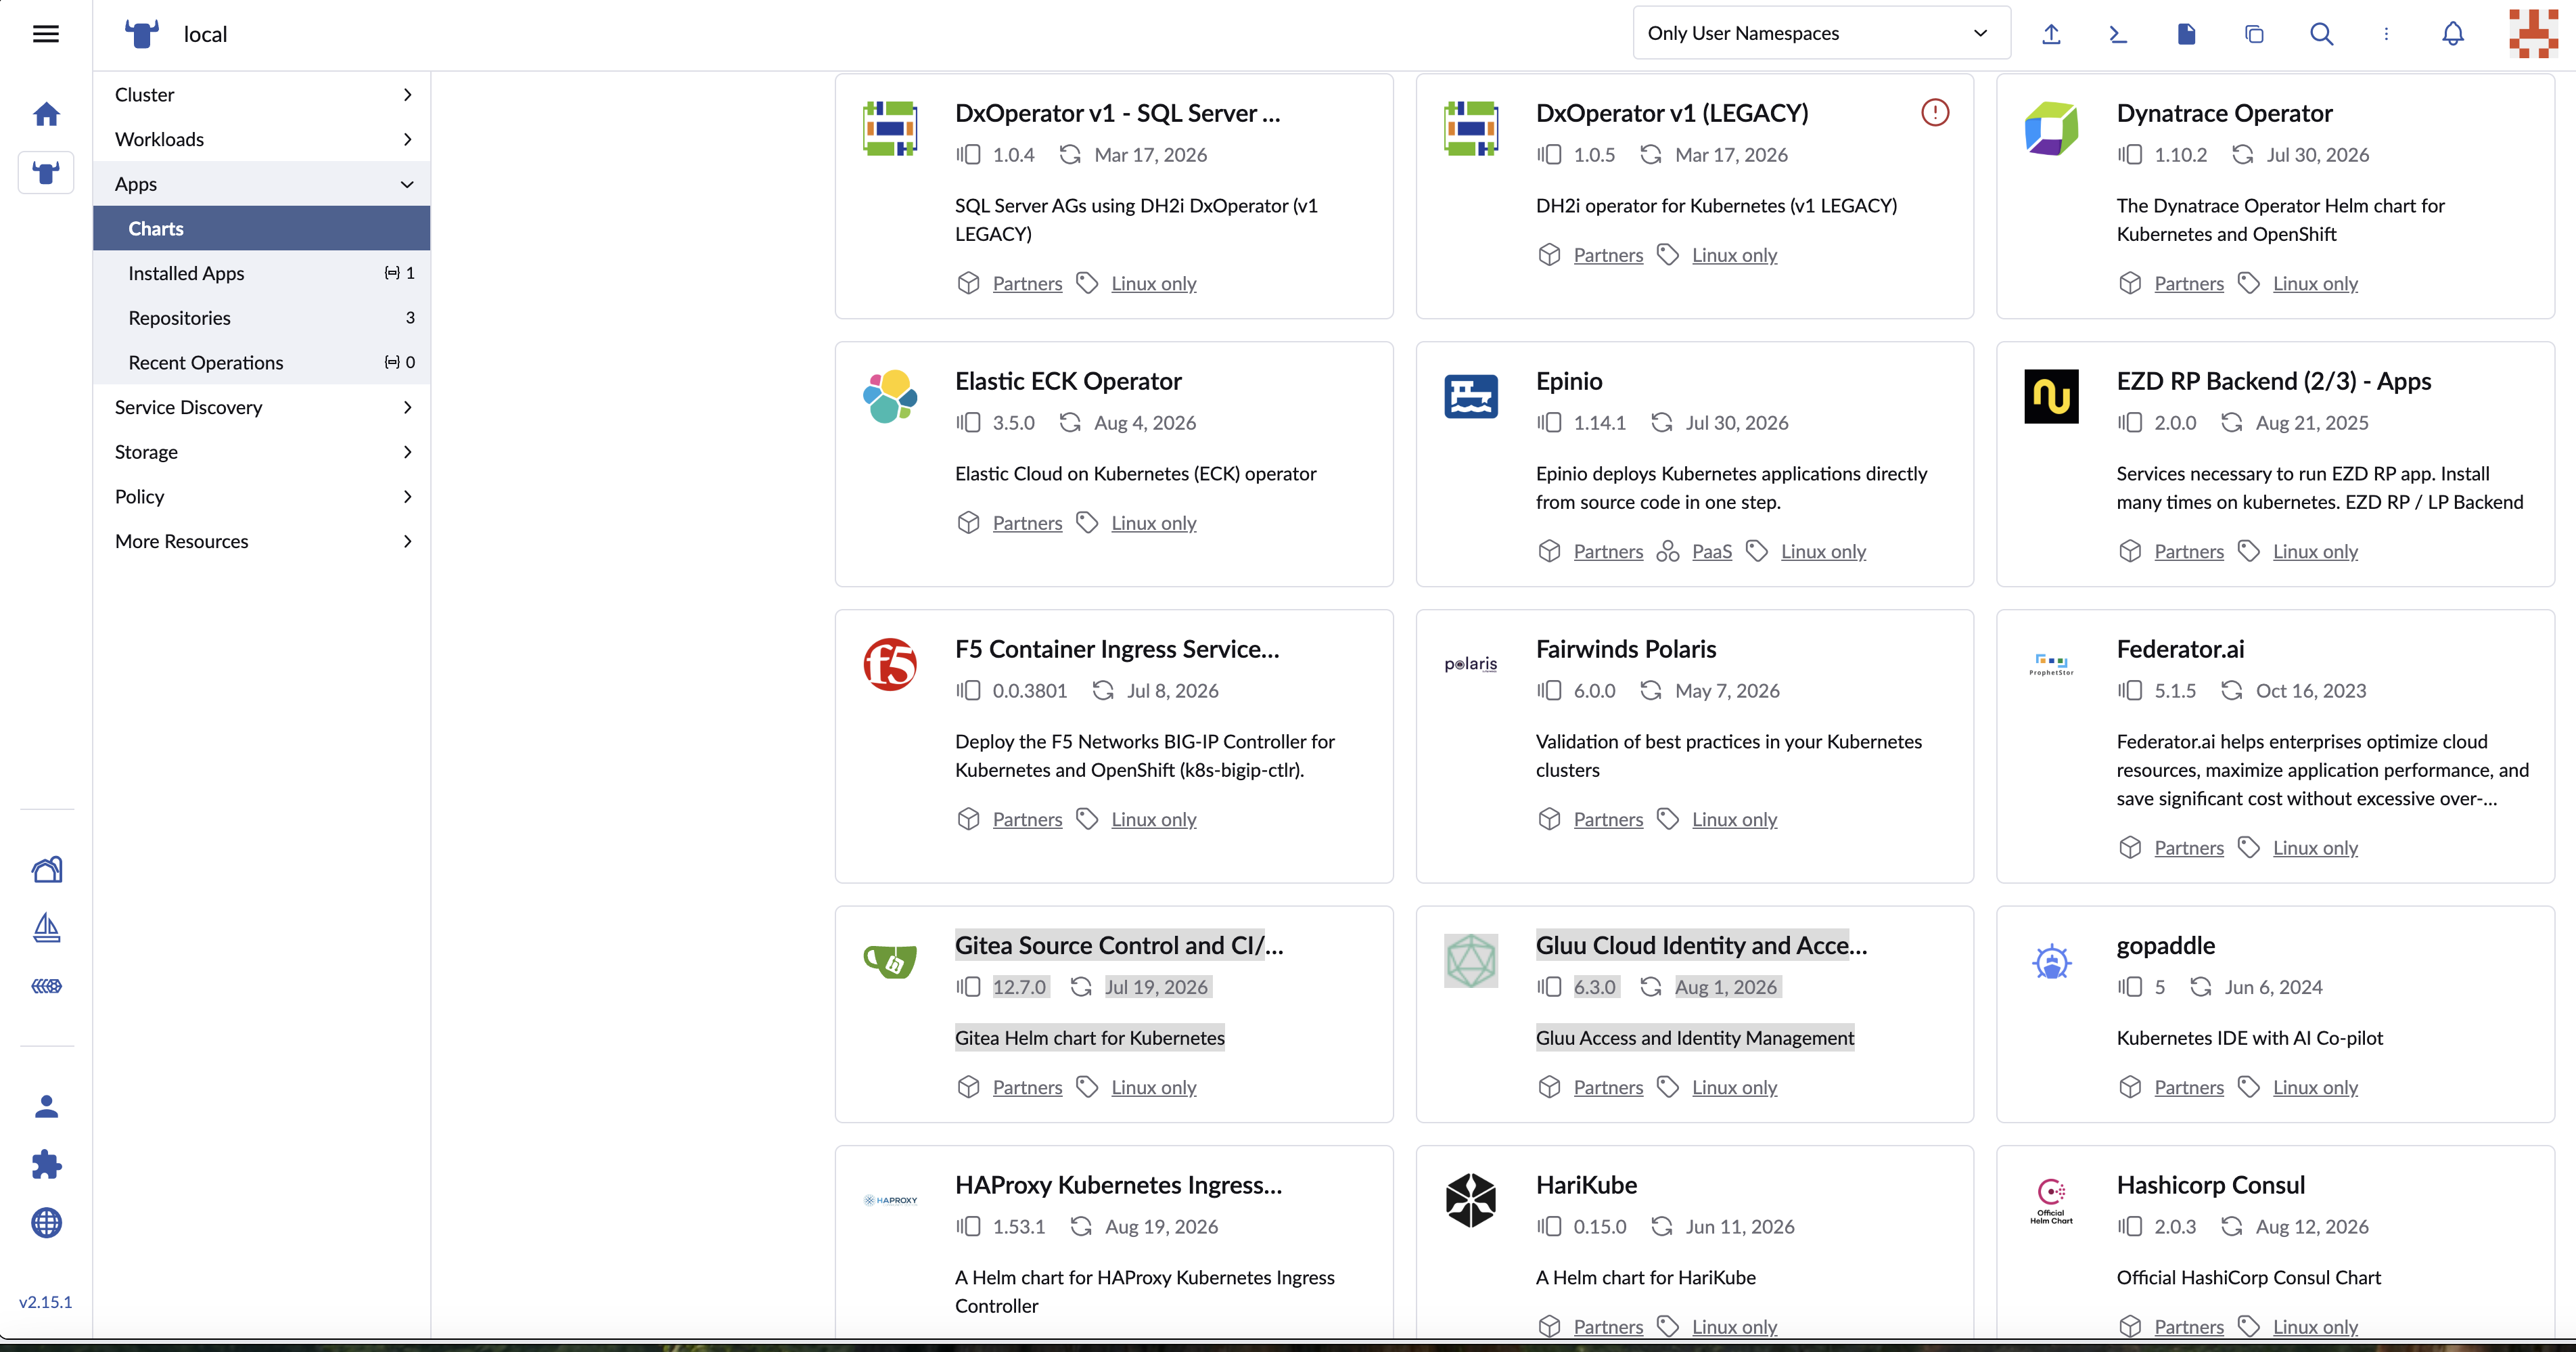
The Rancher Apps > Charts catalog - a broad range of platform tooling, from observability to service mesh to Git servers, all installable onto the cluster.
In this lesson you will add a Helm repository to Rancher's Apps, install the Kong ingress controller from it, and route one of your workloads through the Kong gateway. Kong joins Traefik (which k3s ships as the default) as a second ingress controller - a common real-world setup where different teams or APIs want a gateway with richer routing and plugin support.
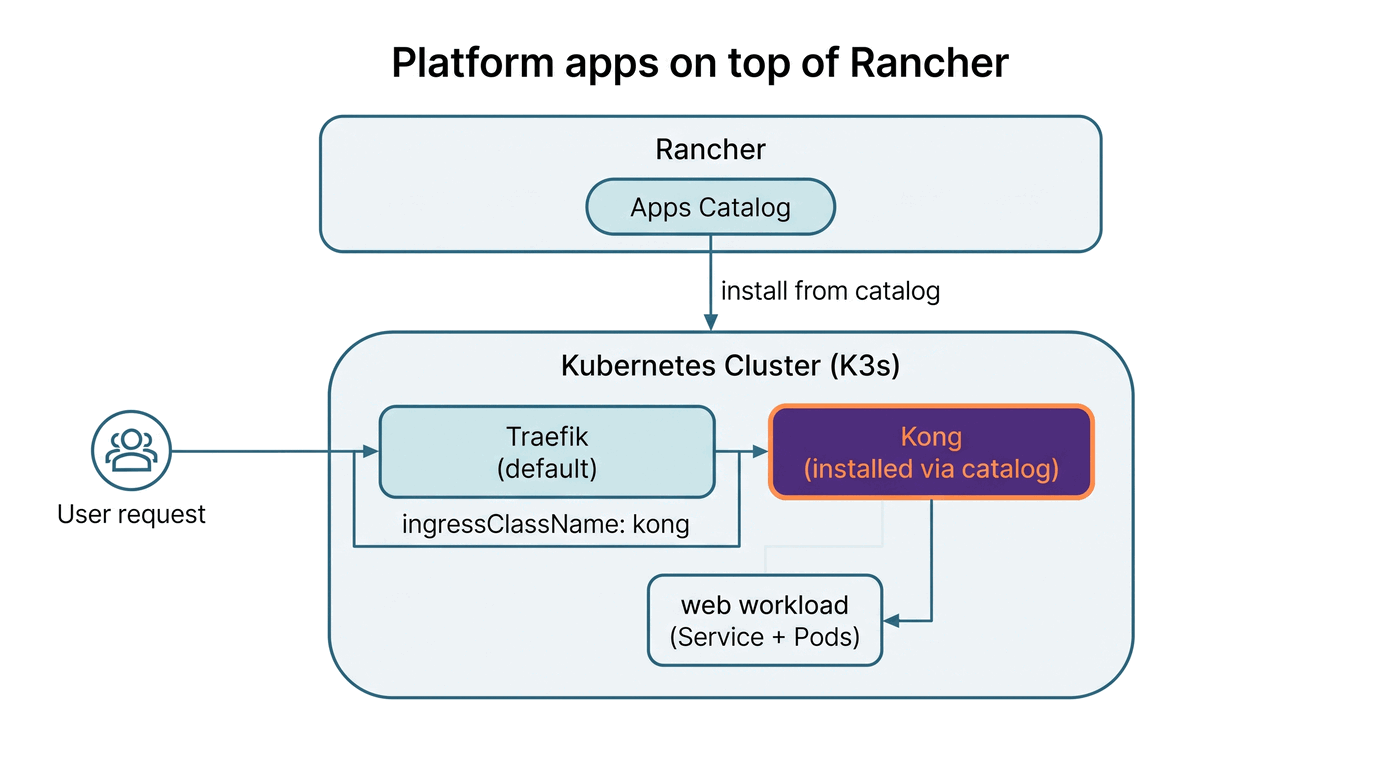
Rancher is the single place you install and manage platform tooling - the Apps catalog feeds tools like Kong onto the cluster, and your workloads route through them.
Rancher is already installed on this playground. Open the UI with the Rancher tab, and use the dev-machine terminal for kubectl and helm (both are already pointed at the cluster).
Step 1: Understand the Apps Catalog
Rancher's Apps catalog is not a fixed list of applications. It works in two parts:
- Repositories - Helm chart repositories you register with the cluster. Rancher ships a few built-in ones (for its own tools like Monitoring), and you add others as needed.
- Charts - once a repository is registered, every chart inside it appears in the catalog, ready to install through a form.
Kong is not a built-in Rancher chart, so the first step is to add Kong's Helm repository. This is the normal pattern for third-party tooling: add the vendor's repo, then install from it.
Catalog install vs. helm on the command line
Installing a chart through Rancher's Apps UI runs the same Helm underneath - Rancher stores the repository, renders the chart with the values you pick in the form, and applies the result. Doing it from the terminal with helm produces the identical Kubernetes objects. This lesson uses the terminal so the exact values are explicit and reproducible, but every step maps directly onto the Apps > Repositories and Apps > Charts screens in the Rancher UI.
Step 2: Add the Kong Repository
In the dev-machine terminal, register Kong's chart repository:
helm repo add kong https://charts.konghq.com
helm repo update
In the Rancher UI this is the same as going to Apps > Repositories > Create and adding https://charts.konghq.com as an http(s) repository. Once added, Kong's charts show up under Apps > Charts.
Step 3: Install Kong from the Catalog
Install Kong's ingress chart. This is the recommended chart for new installs - it runs Kong in DB-less mode (no database to operate) as an ingress controller:
helm install kong kong/ingress \
  --namespace kong --create-namespace \
  --set gateway.proxy.type=NodePort \
  --set gateway.proxy.http.nodePort=30081 \
  --wait --timeout 5m
Two pods come up in the kong namespace: a controller (watches Ingress objects and configures Kong) and a gateway (the proxy that actually handles traffic). Confirm they are running:
kubectl -n kong get pods
Why the NodePort setting?
Kong's gateway wants a LoadBalancer Service to receive outside traffic. In a cloud cluster that gets a real external IP from the cloud provider; with a bare-metal load balancer like MetalLB it gets one from a configured pool. This lab cluster has neither, and k3s's built-in ServiceLB cannot give Kong an external IP because Traefik already holds ports 80 and 443 on the nodes. So the gateway's LoadBalancer address would sit at <pending> forever.
To reach Kong anyway, we pin its HTTP proxy to a fixed NodePort (30081). That exposes the gateway on port 30081 of every node, which is reachable inside the playground. In production you would drop this setting and let a real load balancer front Kong.
Kong registers itself as an IngressClass so workloads can opt into it. Check that it is there:
kubectl get ingressclass
You will see two classes: traefik (default) and kong. The default is what an Ingress uses when it does not name a class; to send traffic through Kong you name it explicitly, which you do next.

Both ingress classes registered - traefik (default) and kong. An Ingress picks one with ingressClassName.
Step 4: Deploy a Workload to Route
Give Kong something to route to. Create a namespace and a simple nginx deployment with a Service in front of it:
kubectl create namespace demo
kubectl -n demo create deployment web --image=nginx:1.27
kubectl -n demo expose deployment web --port=80
This is the same Deployment + Service pattern from the previous lesson. On its own it is only reachable inside the cluster - Kong is what will expose it.
Step 5: Route the Workload Through Kong
Create an Ingress that names the kong class. This is the one line that decides which controller handles the route:
cat <<'EOF' | kubectl apply -f -
apiVersion: networking.k8s.io/v1
kind: Ingress
metadata:
  name: web
  namespace: demo
spec:
  ingressClassName: kong
  rules:
    - http:
        paths:
          - path: /
            pathType: Prefix
            backend:
              service:
                name: web
                port:
                  number: 80
EOF
The ingressClassName: kong field is what routes this Ingress through Kong instead of the default Traefik. Kong's controller notices the new Ingress and programs the gateway to forward matching requests to the web Service.
Step 6: Reach the App Through Kong
The Kong gateway is listening on NodePort 30081. Send a request to it from the dev-machine terminal, using the control-plane node's address:
curl -sS -o /dev/null -w "HTTP %{http_code}\n" http://172.16.0.2:30081/
A HTTP 200 means the request went through Kong, which matched the Ingress rule and forwarded it to the web Service - the nginx welcome page. You can also open it in the browser with the Kong tab, which points at the gateway's NodePort.
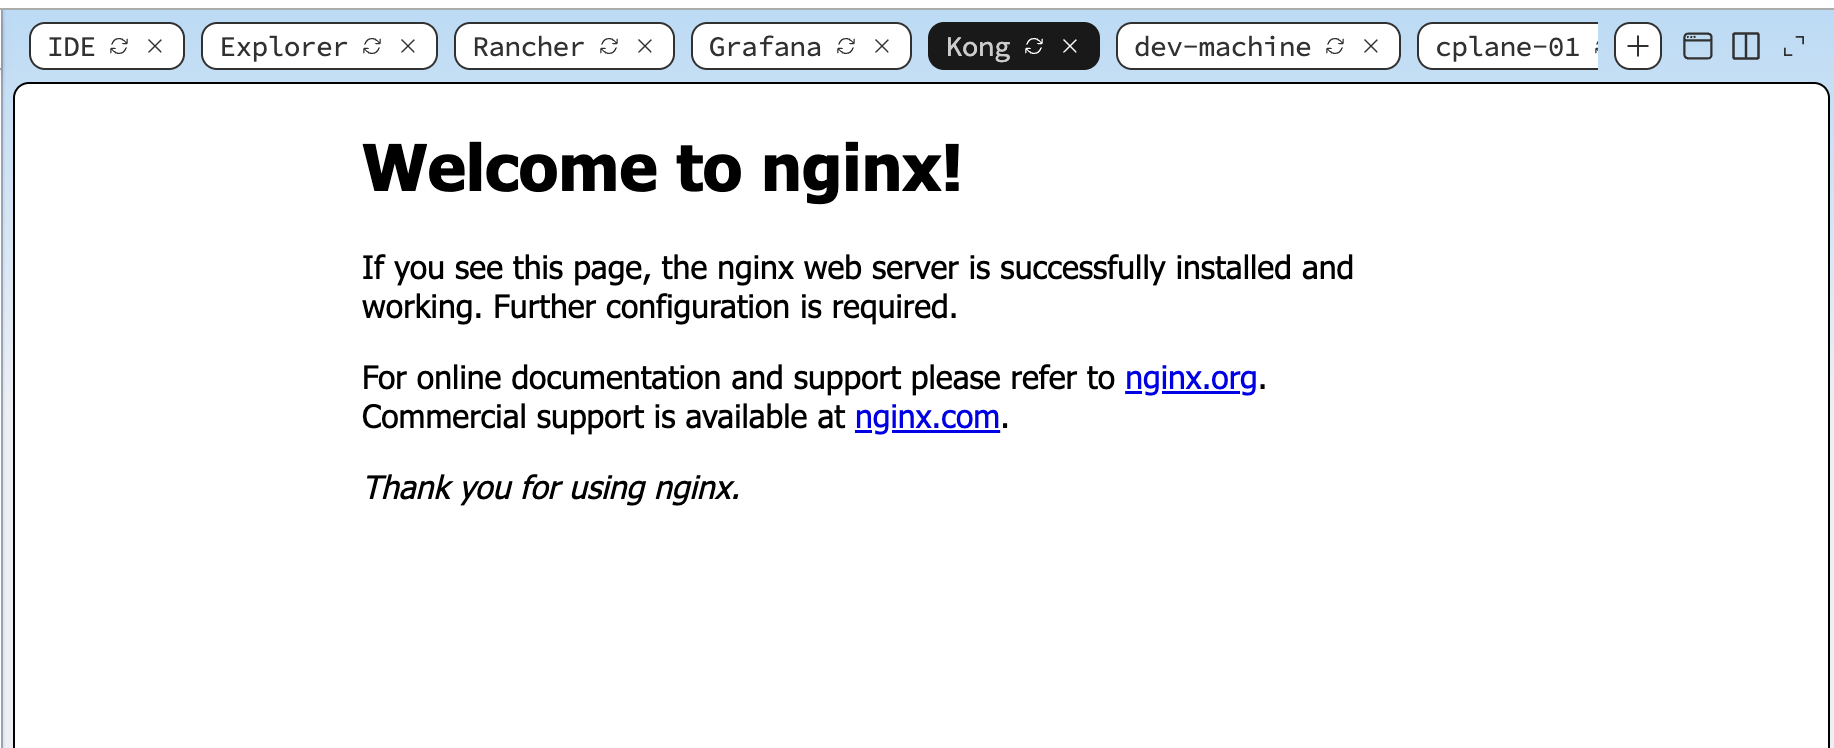
The nginx welcome page reached through the Kong tab - proof the request flowed through the Kong gateway to the web workload.
Traefik and Kong side by side
Both controllers now run on the same cluster, and each Ingress picks its handler with ingressClassName. This is a realistic pattern: keep the lightweight default (Traefik) for simple routes, and route specific APIs through Kong when you want its gateway features - authentication, rate limiting, request transformation, and other plugins configured through Kong's own CRDs. Nothing forces you to choose one globally; the class field decides per route.
You're Done
You added a third-party Helm repository to Rancher's Apps, installed the Kong ingress controller from the catalog, deployed a workload, and routed it through Kong with a single ingressClassName field - then confirmed traffic reaching it. That is the core platform-app workflow: add a repo, install a tool, wire your workloads into it, all managed from Rancher.
The challenge below asks you to run that whole workflow yourself: install Kong from the catalog and route a workload through it, from an empty cluster. Solving it records your progress and proves you can add and use a platform tool on your own.
The same catalog flow installs any other platform tool the same way - the next lesson in this track applies it to Kubecost for cluster cost visibility.
- Previous lesson
- Managing Cluster Resources
- Next lesson
- Gateway Policies with Kong Plugins