SilverStack WordPress Server Playground

Production-grade WordPress 7.1 on Ubuntu 24.04 - systemd-booted, Nginx FastCGI, PHP 8.3-FPM, MariaDB 10.11, Redis 7 Object Cache, WP-CLI, and Cloudflare-ready with zero manual setup.
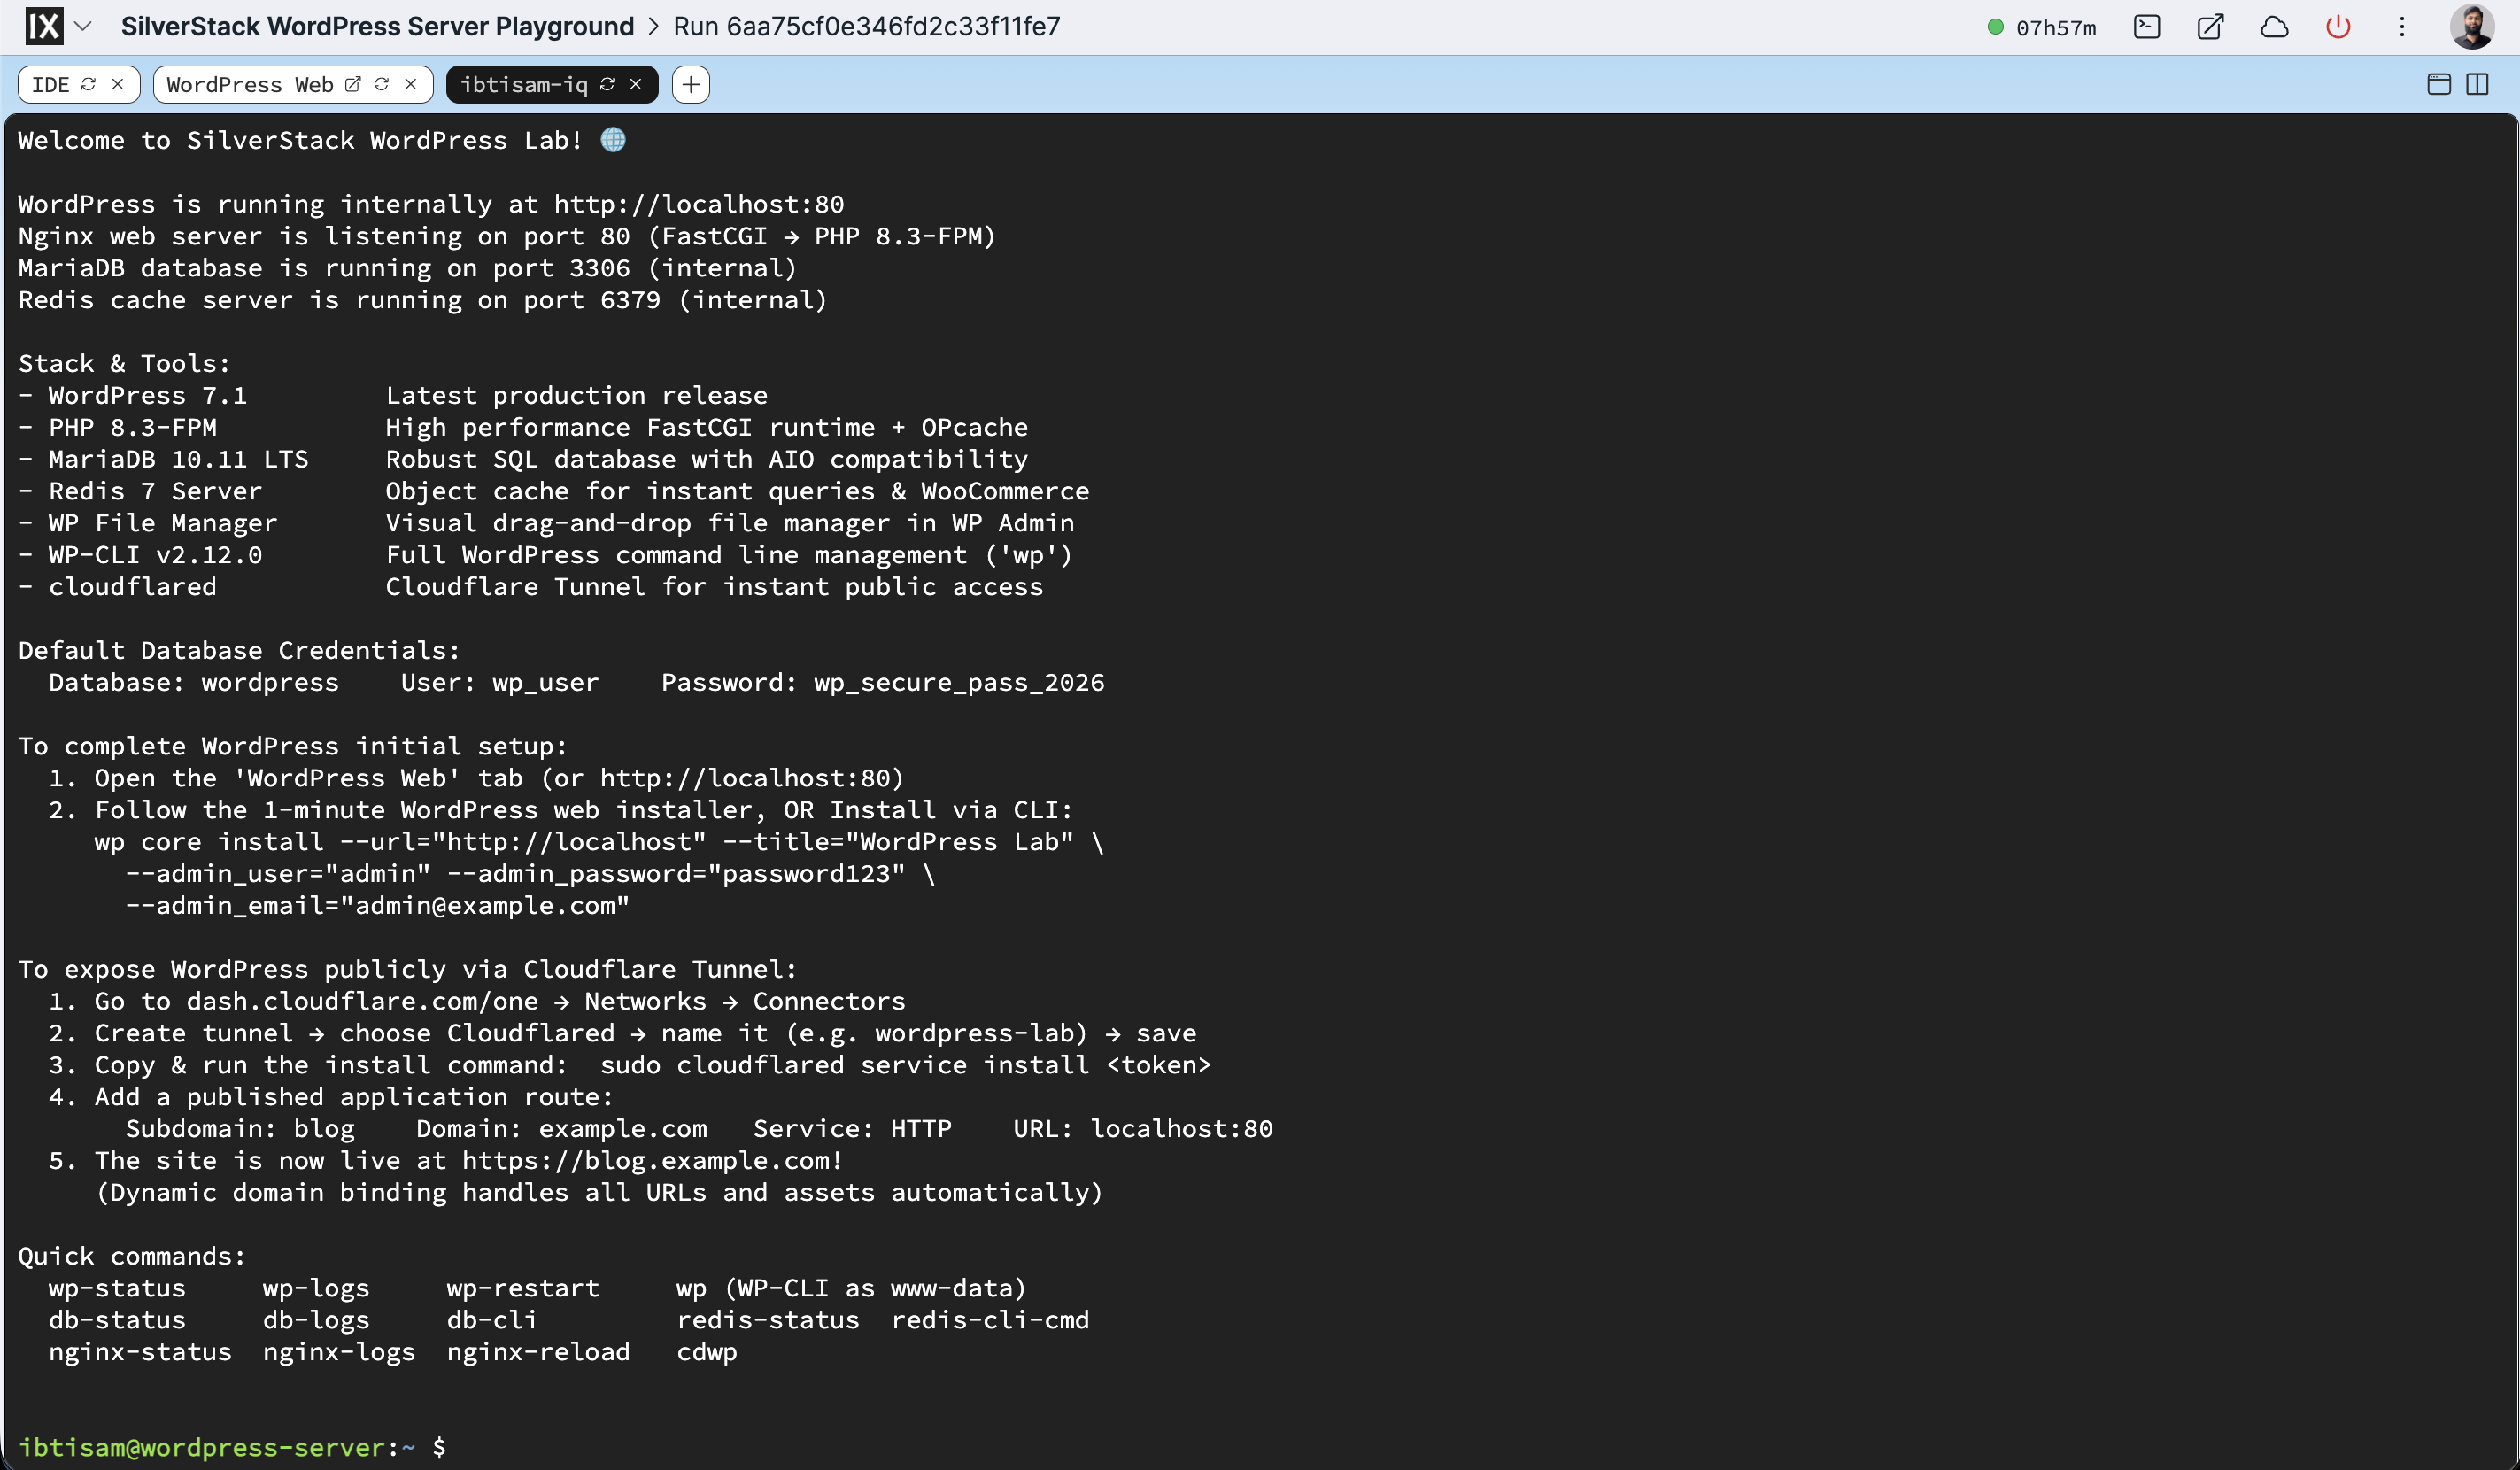
Port 80 Behavior: On first boot, the WordPress Web tab displays the initial WordPress configuration screen. Once setup or database import is completed, port 80 automatically serves the live frontend website. Administrative controls are accessed via /wp-admin.
Workflow 1: Build a New Site from Scratch
- Open Your Site: Click the WordPress Web tab at the top. Use the ↗ icon to open WordPress in a dedicated browser window.
- Setup: Enter your Site Title, Username, and Password, then click Install WordPress. The database connection, secret keys, and permissions are already configured.
- Manage Files Visually:
- In the WordPress Admin sidebar, click WP File Manager to upload custom themes, child themes, and plugins with a drag-and-drop web interface.
- You can also upload ZIP packages through Plugins → Add New or Appearance → Themes → Add New.
- For direct code edits, use the IDE tab at the top to access VS Code in the browser.
- Tuned for Page Builders & WooCommerce:
- Pre-configured with 512MB PHP RAM and 128MB max upload size to support Elementor, Divi, Astra, and WooCommerce without memory exhaustion errors or upload timeouts.
- Enable Redis Object Caching:
- In WordPress Admin, navigate to Plugins, locate Redis Object Cache, and click Activate. Database queries are cached in memory with sub-millisecond latency.
- Publish on a Custom Domain:
- Run
sudo cloudflared service install <token>in the terminal to expose your site via Cloudflare Tunnel (https://blog.example.com) with automatic SSL.
- Run
Workflow 2: Migrate an Existing Site (from cPanel or Remote Host)
To move an existing WordPress website into this lab without rebuilding it from scratch, export the two core assets from your current host and import them here:
Step 1: Export from Current cPanel / Host
- Database: Open phpMyAdmin in cPanel → select your WordPress database → click the Export tab → select Quick export method (Format: SQL) → click Export to save
database.sql. - Files: Open File Manager in cPanel → navigate to
public_html/→ select thewp-contentfolder → click Compress (.zipor.tar.gz) → click Download.
Step 2: Import into this Lab
- Import Database & Match Table Prefix: In the lab terminal, run:
If the imported database uses a custom table prefix (such as
mariadb -u wp_user -pwp_secure_pass_2026 wordpress < /path/to/database.sqlwpw4_from Softaculous/cPanel), match it inwp-config.php:# Check the imported table prefix: mariadb -u wp_user -pwp_secure_pass_2026 -e "USE wordpress; SHOW TABLES LIKE '%options';" # Update the prefix in wp-config.php (replace wpw4_ with your prefix): sudo sed -i "s/\$table_prefix = '.*';/\$table_prefix = 'wpw4_';/" /var/www/html/wp-config.php - Restore Files: Upload your compressed
wp-content.zipinto the lab, inspect its layout, and extract it:# Inspect archive structure (check if paths start with wp-content/): unzip -l wp-content.zip | head -n 5 # If paths start with wp-content/ (standard cPanel zip export): sudo unzip -o wp-content.zip -d /var/www/html/ # If paths start directly with subfolders (plugins/, themes/): sudo unzip -o wp-content.zip -d /var/www/html/wp-content/ # Restore web server ownership and standard permissions: sudo chown -R www-data:www-data /var/www/html/wp-content sudo find /var/www/html/wp-content -type d -exec chmod 775 {} + sudo find /var/www/html/wp-content -type f -exec chmod 664 {} + - Flush Cache & Verify:Refresh the WordPress Web tab. Your existing themes, plugins, posts, pages, and media are immediately active and served by Nginx and MariaDB.
redis-cli flushall && sudo systemctl restart php8.3-fpm
Technical Stack (For DevOps & Systems Engineers)
| Layer | Detail |
|---|---|
| OS | Ubuntu 24.04 LTS · systemd PID 1 |
| Web Server | Nginx 1.24 · FastCGI unix socket (/run/php/php8.3-fpm.sock) |
| PHP Runtime | PHP 8.3-FPM · 512MB RAM · 128MB uploads · OPcache enabled (256MB) |
| Database | MariaDB 10.11 LTS · auto-provisioned at boot by lab-init · AIO compat fix |
| Cache Engine | Redis 7 · pre-bundled redis-cache plugin for in-memory object caching |
| File Manager | wp-file-manager pre-bundled for visual file management |
| CLI Tool | WP-CLI v2.12.0 · full command-line site management |
| Tunnel | cloudflared 2026.9.1 pre-installed for SSL public access |
Boot Sequence & Architecture
systemd (PID 1)
  ├── mariadb.service      - SQL relational store (:3306)
  ├── redis-server.service - In-memory object cache (:6379)
  │     ↓
  ├── lab-init (oneshot)   - Runtime orchestrator
  │     ├── 1. Ephemeral SSH host keys (ssh-keygen -A)
  │     ├── 2. Runtime directories (/run/{php,mysqld,redis,nginx,sshd})
  │     ├── 3. Idempotently ensures MariaDB database ('wordpress') & user ('wp_user')
  │     ├── 4. Verifies pre-baked wp-config.php & object-cache.php drop-in
  │     └── 5. Enforces www-data:www-data ownership and 775/664 permissions
  │     ↓
  ├── php8.3-fpm.service   - FastCGI process manager (unix socket)
  └── nginx.service        - High-concurrency web server (:80)
Accessing WordPress
- Inside the Lab: Click the WordPress Web preview tab or visit
http://localhost:80.- The ↗ arrow on the tab opens WordPress in a separate browser window.
- Public Domain: Run
sudo cloudflared service install <token>with an HTTP route tolocalhost:80. WordPress automatically adapts to your custom domain without manual database updates.
Credentials
- WordPress Admin: Configured during the 1-minute web install (or via
wp core install). - Database (Internal): Pre-wired into
wp-config.php:- Database:
wordpress - User:
wp_user - Password:
wp_secure_pass_2026
- Database:
Useful Shell Aliases (Terminal Tab)
wp-status: Check real-time health of Nginx, PHP-FPM, MariaDB, and Rediswp-logs: Stream combined PHP-FPM and Nginx access/error logswp-restart: Cleanly restart all 4 web services in dependency orderwp: Execute WP-CLI commands safely aswww-data(wp --path=/var/www/html)db-cli: Open direct MariaDB interactive SQL prompt forwordpressredis-cli-cmd: Open interactive Redis CLI promptcdwp: Fast navigation to/var/www/html
Resources · 4 vCPU / 10 GiB RAM / 100 GiB disk
Docs & Source
A real VM, not a container
Get root on a VM with its own kernel, so Docker, Kubernetes, and systemd just work.
Read the docs →
SSH from browser or CLI
Use the built-in web terminal, or connect with labctl ssh, plain ssh, scp, or rsync.
Read the docs →
Drive it with AI
Let Claude, Codex, or any MCP client start this playground and run commands in it.
Read the docs →
Expose HTTP(S) ports
Give any web app running inside the VM a public URL - for yourself or to share with others.
Read the docs →
Share terminals
Invite others into your terminal session, or open it yourself from another device.
Read the docs →
Customize with init scripts
Add shell scripts that run at boot to install packages, clone repos, or seed test data.
Read the docs →
Private networking
VMs reach the internet via NAT with no public IP; several VMs share bridge networks.
Read the docs →
Ephemeral or persistent
By default, VMs are destroyed when the session ends; enable persistence to keep the disks for next time.
Read the docs →
Built-in container registry
A private registry.iximiuz.com for every playground to share images across services and VMs.
Read the docs →