What are Buildpacks? Use Cases, Benefits, Hands-On experience with Guide to going through production.
What is Buildpacks?
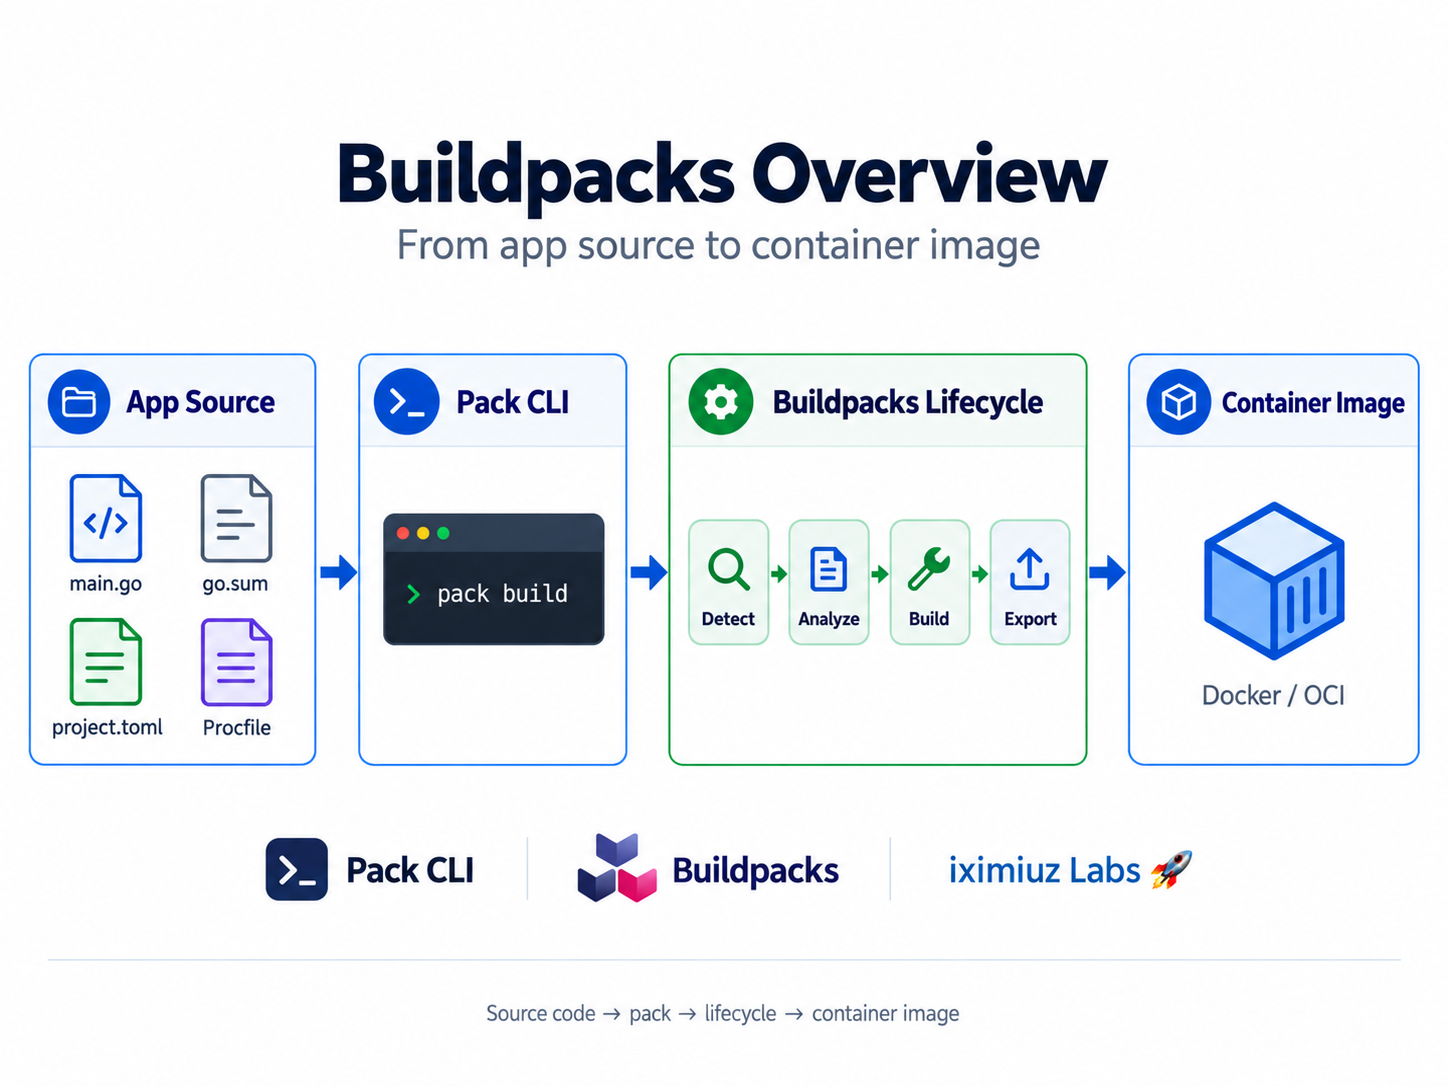
Buildpacks is a CNCF (Cloud Native Computing Foundation) project which enables building container images from your application source that can run on Docker, Kubernetes or any cloud-based container orchestration platform. It does so by automatically detecting things like which language your application was written in (i.e. by detecting files like package.json, requirements.txt or go.mod) and what dependencies your app uses (by reading the contents of those files) and automatically choosing a build-process that suits the detected information. It does not require a developer to provide a separate Containerfile that describes the process of building a container.
Benefits of using Buildpacks
The main benefits of using Buildpacks are as follows
- No Containerfiles to manage - You don't need to maintain a separate Containerfile anywhere which describes how your application should be built. Buildpacks read the context i.e. your source code and automatically pick up details of your application and create runtime image accordingly. That also means there is no Dockerfile to keep in sync, so source and image definition can't drift apart.
- Safer build process - A build process that happens using buildpacks can generally be considered as a safer process than a typical docker build, because it does not involve choosing a base image and doing any operations on that base image to create layers. A buildpack build-process generally just involves downloading dependencies needed for the application + compiling and creating a binary of your application if it is a compiled language source code and then attaching the final result to a runtime image, which the builder already has configured. The build process does not require root at any level.
- Flexibility of changing base layers of runtime image - Because of the build process defined in the previous point,
you get the flexibility to use the
rebasefeature. It allows on-demand swapping of the base layer of any runtime container image built with buildpacks, without running the entire build pipeline. This lets you quickly swap the base OS of an existing image, for reasons such as:- Updating to a newer OS version if one is available.
- Patching images that have critical vulnerabilities.
What is it not?
- It is not a replacement for standard ways to build a container.
- It does not always produce the most optimized container image.
- It will not always work out of the box for your custom source code structure. (It can work, but you will need to create your own buildpacks for it 😉)
Buildpacks actually predates Docker and Kubernetes. It was developed by Heroku (now part of Salesforce) to support deployments on its Cloud Platform. It allowed deployment of applications directly on servers without a developer needing to know the process with which it happens. Buildpacks was a way for them to take the source code, package it into something deployable and then run it on their dynos (isolated containers). It was one of the first PaaS (Platform as a Service) offerings. Here's a link to the blog post that announced Buildpacks.
(optional and unrelated) - My first API implementation that I deployed on a Cloud Platform.
It was deployed on Heroku
Here's the link - https://github.com/gat786/quiz_api
Hands on demo time
Building applications
Click on the START TUTORIAL button and we can get going.
You will see that the pack CLI is installed and available for you in the environment. It is the tool used to build images with buildpacks.
Let's invoke the first pack command.
pack
Let's see what version of the pack CLI is available -
(if it is a very old one, someone will need to upgrade it.)
pack --version
You will also see that there is an examples directory. It contains the golang-hello, python-hello and nodejs-hello sample apps.
We will try to build container images for these fairly simple applications using pack.
Go to the examples/golang-hello directory and then run the following command
pack build golang-hello --builder heroku/builder:26
In the above command - golang-hello is the docker image name that pack would create. The --builder flag specifies which builder pack uses in order to complete the build process. We are using the builder provided by Heroku. (Ref - https://github.com/heroku/cnb-builder-images). A typical pack command only requires you to specify a builder and an image name. The directory in which you run the command is automatically used as the build context.
Once the build process completes, we can then run the image using
docker run -p 8080:8080 golang-hello
Test the built API endpoint by opening another terminal and running
curl localhost:8080
Since this is a standard Docker image, it can be tagged and pushed to any registry. Let's do that.
docker tag golang-hello registry.iximiuz.com/golang-hello:latest
docker push registry.iximiuz.com/golang-hello:latest
Similarly, you can build images for the python-hello and nodejs-hello directories.
Investigating the build process
If you look closely at the build logs, you will see (this is for the golang-hello build process, but other languages will have similar outputs).
- It downloads the builder first, i.e.
heroku/builder:26. The entire process afterwards runs inside this container image, with the context directory mounted in. - It runs lifecycle steps
i.e. the lines that begin with
===>and have titles likeDetecting,Analyzing,Restoring,BuildingandExporting. These are building blocks that are present within the builder image. - The
DetectingandBuildingphases are the most important among the ones listed above, because this is where the builder actually detects what needs to be done and then executes theBuildingsteps depending on that. - You will see that during the
Buildingphase, two buildpacks took part. First one is the official language buildpack, in this caseHeroku Go BuildpackandProcfilebuildpack.Procfileis a simple text file present in the application directory which contains textweb: golang-hello. i.e. the runtime application is a webservice and it runs by executing the binary namedgolang-hello. You can read more about it here. The Procfile buildpack is used to configure anENTRYPOINTfor your docker container. It can be used to specify a specific command that you want to be the entrypoint for your application.
Poking around in the build artifacts
While Buildpacks do end up creating a Docker Image, its not the same thing as using a Dockerfile and building one. Buildpacks use builders (we provided one using the --builder flag in our small tutorial) to automate build process and these builders contain Buildpack definitions which are nothing but scripts that execute a certain part of build lifecycle. So a container image is created by running scripts i.e. DETECTION, BUILD etc which in turn create docker image layers which are then bolted on top of a default run-image that a builder is already configured with.
We can see that by investigating the image that we just generated, lets do that.
docker inspect registry.iximiuz.com/golang-hello:latest | grep "io.buildpacks.base.distro.name" -A 2
You will see that the base image is a standard Ubuntu LTS release versioned 26.04. It is by default the base runner image for heroku/builder:26 that we chose. It is a good base image choice when you consider that the same builder can build images for 7 different languages and a run-image specified on the builder should support all the different artifacts the build process creates. But it also comes with its costs. Lets put the image under scanner by putting it through Trivy.
Trivy is a security tool that can scan container image artifacts and report the number of vulnerabilities that it sees within the image.
trivy image --table-mode summary \
  registry.iximiuz.com/golang-hello:latest
You will see a report which says that we currently have > 350 vulnerabilities found. More than 90% of which are from the base image that we don't actually need.
It is definitely not a safe choice for when you are going to production and want to keep vulnerabilities to a minimum. It unnecessarily adds vulnerable elements from the entire ubuntu-stack to an artifact that only needs to execute a single golang binary. Security teams have a field day when something like this shows up. The pack CLI and thereby CNB have a feature known as rebase. It allows a user to swap the base run image of any container created using CNB to a compatible prebuilt or custom-built image.
Rebasing onto a lean Wolfi run image
Our image is really two things stacked together: the run image layers (Ubuntu, provided by the builder) and the app layers (our compiled Go binary plus some launch metadata). pack rebase swaps the first part and leaves the second part untouched. No rebuild, no recompilation.
We'll swap Ubuntu for Wolfi, a minimal, glibc-based Linux distribution designed for containers.
Before swapping anything, save a reference to the original image so we can compare later:
docker tag golang-hello golang-hello:ubuntu
What does the app actually need at runtime?
A replacement run image only has to provide what the app layers rely on:
1. The same user. Buildpacks never run your app as root:
docker run --rm --entrypoint id golang-hello
The app runs as heroku with UID/GID 1000. The image config refers to this user by name, and rebase doesn't change it, so the new run image needs a heroku user with the same UID/GID.
2. bash. The Procfile process web: golang-hello is started as bash -c golang-hello.
3. glibc. Let's check which libraries the Go binary links against:
docker run --rm --entrypoint launcher golang-hello \
  bash -c 'ldd "$(command -v golang-hello)"'
The binary depends on libc.so.6, i.e. glibc. That's why we use Wolfi instead of Alpine, which ships musl and can't run this binary.
Building the Wolfi run image
Write a minimal run image definition and build it. The UID/GID 1000 match the heroku user we saw in the original image:
mkdir -p ~/wolfi-run && cd ~/wolfi-run

cat > Dockerfile.run <<'EOF'
FROM cgr.dev/chainguard/wolfi-base:latest

ENV CNB_USER_ID=1000 \
    CNB_GROUP_ID=1000

RUN apk add --no-cache bash \
 && addgroup -g ${CNB_GROUP_ID} heroku \
 && adduser -D -u ${CNB_USER_ID} -G heroku -s /bin/bash heroku

USER ${CNB_USER_ID}:${CNB_GROUP_ID}

LABEL io.buildpacks.base.distro.name="wolfi"
EOF

docker build -f Dockerfile.run -t golang-hello-run:wolfi .
Rebasing
Swap Ubuntu for Wolfi underneath our app:
pack rebase golang-hello \
  --run-image golang-hello-run:wolfi \
  --pull-policy never \
  --force
--pull-policy neveruses the run image from the local Docker daemon instead of a registry.--forceis needed becausepackrefuses to rebase onto a different distro (ubuntu→wolfi) by default. We've checked that our app only needs glibc,bashand aherokuuser, so it's safe here.
The command finishes in a second or two because nothing is being built. pack only rewrites the image manifest so that the app layers sit on top of the new base layers.
Comparing the results
docker images golang-hello
IMAGE                 ID             DISK USAGE   CONTENT SIZE   EXTRA
golang-hello:latest   9ef0040fee5e       34.8MB             0B
golang-hello:ubuntu   c876d7cab8b6        564MB             0B
From 564MB down to about 35MB, with exactly the same app layers. Now scan both images:
trivy image --table-mode summary golang-hello:ubuntu
trivy image --table-mode summary golang-hello:latest
The OS package findings drop from over 300 (Ubuntu) to zero (Wolfi). The remaining findings are in the CNB launcher binary, which is part of the app layers, so a new base image can't fix them.
Finally, make sure that the app still works:
docker run -p 8080:8080 golang-hello
curl localhost:8080
When does this work?
Rebase works here because our app barely depends on the base image. Keep in mind:
- The new base must be compatible. It needs the same C library (glibc here) at the same or a newer version. Alpine would break this binary. Rebasing within the same distro, e.g. to pick up security patches, is the everyday use case and doesn't need
--force. --forceturns off the safety net. Always run the rebased image before you ship it.- You own the run image. You are responsible for keeping it patched.
About the Author

Ganesh Tiwari
I am a Software Engineer, I specialize in creating software with which procuring infrastructure repeatably and in a customizable manner becomes easier. I design platforms with which engineering teams can build upon and obsess about having secure and reliable software.
More tutorials you might like
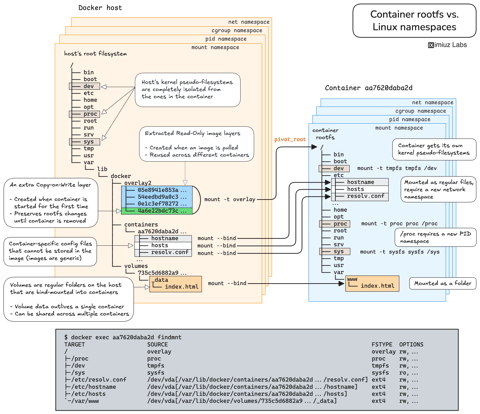
How Container Filesystem Works: Building a Docker-like Container From Scratch
Learn how Linux containers are built from the ground up. Starting with the mount namespace and a root filesystem, see why PID, cgroup, UTS, and network namespaces naturally follow - and how this foundation makes concepts like bind mounts, volumes, and persistence in Docker or Kubernetes much easier to grasp.

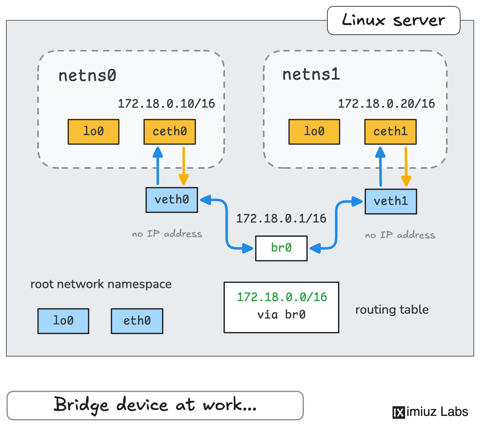
How Container Networking Works: Building a Bridge Network From Scratch
Begin with the basics to understand Docker and Kubernetes networking: learn how to create and interconnect Linux network namespaces using only command-line tools.
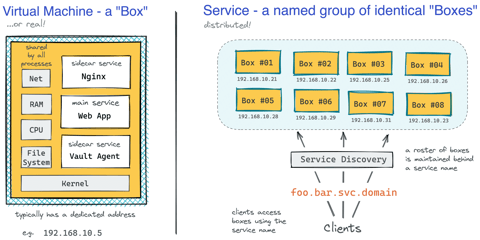
How Kubernetes Reinvented Virtual Machines - In a Good Sense
How Virtual Machines were used to deploy services. What old problems containers solve and what new problems create. How Kubernetes used containers to recreate Virtual Machines in a better way?
How Container Images Actually Work: Layers, Configs, Manifests, Indexes, and More
A practical deep dive into container image internals that will help you build a clear mental model of how images are composed, identified, stored, and distributed across registries.
Learn by doing, not just by reading or watching
Sign up for a free account to start a VM playground right on this page, track your progress, and get notified about new learning materials.