Managing Files and Directories - Dev, Test, and Production Environments

Welcome to Managing Files and Directories! In this hands-on tutorial, you'll learn essential Linux file operations by organizing a software project across three environments: Development, Testing, and Production.
This tutorial simulates real-world scenarios that system administrators and DevOps engineers face daily when managing project files and environments.
💡 Perfect for: Beginners who want to master Linux file and directory operations with practical, real-world examples.
What You'll Learn
By completing this tutorial, you'll master:
- Creating organized directory structures
- Copying files and directories
- Moving and renaming files
- Deleting files and directories safely
- Managing multiple project environments
- Backing up important directories
The Scenario
You're a system administrator managing a software project with three separate environments:
- 🔧 Development: Where developers write and test code
- 🧪 Testing: Where QA teams verify functionality
- 🚀 Production: Where the final product runs for users
Your job is to organize files across these environments and perform common file operations as the project progresses through its lifecycle.
Let's get started!
Part 1: Setting Up the Project Structure
Creating the Main Project Directory
First, let's create the main directory that will hold all our environments:
cd ~
mkdir ProjectEnv
What this does:
cd ~: Navigate to your home directorymkdir: Make directory (create a new folder)ProjectEnv: The name of our project directory
Verify it was created:
ls -l
You should see ProjectEnv in the list.
Creating Environment Subdirectories
Now let's create three subdirectories for our different environments:
cd ProjectEnv
mkdir Development Testing Production
Alternative approach (creating all at once):
mkdir Development Testing Production
Verify the structure:
ls -l
You should see three directories: Development, Testing, and Production.
View your directory tree:
tree
If tree isn't installed, you can use:
ls -R
📁 Best Practice: Organizing projects into separate environments (dev/test/prod) is a standard practice in software development. It helps prevent accidents and keeps work organized.
Part 2: Creating Files in Each Environment
Development Files
Let's create files in the Development directory:
cd ~/ProjectEnv/Development
touch dev_code1.txt dev_code2.txt dev_code3.txt
What is touch?
The touch command creates empty files or updates the timestamp of existing files.
Verify the files:
ls -l
Testing Files
Now create files in the Testing directory:
cd ~/ProjectEnv/Testing
touch test_case1.txt test_case2.txt test_case3.txt
Verify:
ls -l
Production Files
Finally, create files in the Production directory:
cd ~/ProjectEnv/Production
touch prod_release1.txt prod_release2.txt prod_release3.txt
Verify:
ls -l
View the Complete Structure
Let's see everything we've created:
cd ~/ProjectEnv
ls -R
You should see:
./Development:
dev_code1.txt  dev_code2.txt  dev_code3.txt

./Testing:
test_case1.txt  test_case2.txt  test_case3.txt

./Production:
prod_release1.txt  prod_release2.txt  prod_release3.txt
Part 3: Copying Files
Scenario: Copy a Development File to Testing
Your development team has finished dev_code1.txt and wants to send it to the testing team for evaluation. Let's copy it to the Testing directory with a new name.
cp ~/ProjectEnv/Development/dev_code1.txt ~/ProjectEnv/Testing/test_dev_code1.txt
Breaking down the command:
cp: Copy command- First path: Source file (what to copy)
- Second path: Destination (where to copy it and what to name it)
Alternative using relative paths:
cd ~/ProjectEnv
cp Development/dev_code1.txt Testing/test_dev_code1.txt
Verify the copy:
ls -l Testing/
You should now see test_dev_code1.txt in the Testing directory.
Important: The original file still exists in Development!
ls -l Development/
💡 Copy vs Move:
cpcreates a duplicate - the original stays in placemvrelocates the file - the original is removed from the source location
Part 4: Renaming Files
Scenario: Rename a Test Case
The QA team decided that test_case2.txt should be called test_scenario.txt to better reflect its purpose.
In Linux, we use the mv command to rename files:
cd ~/ProjectEnv/Testing
mv test_case2.txt test_scenario.txt
What happened?
mv: Move/rename command- The file was "moved" to a new name in the same directory
- The old filename no longer exists
Verify:
ls -l
You should see test_scenario.txt instead of test_case2.txt.
⚠️ Be careful with mv! Unlike cp, the mv command doesn't keep the original file. Once you move or rename it, the old name is gone.
Part 5: Moving Files Between Directories
Scenario: Promote Files to Production
Testing is complete! The QA team has approved test_dev_code1.txt and test_scenario.txt, so we need to move them to Production.
Move the first file:
cd ~/ProjectEnv
mv Testing/test_dev_code1.txt Production/
Move the second file:
mv Testing/test_scenario.txt Production/
What's happening?
- Files are being moved from Testing to Production
- They no longer exist in Testing
- They keep the same names in Production
Verify they're in Production:
ls -l Production/
Verify they're gone from Testing:
ls -l Testing/
Part 6: Deleting Files
Scenario: Remove Outdated Release
The file prod_release3.txt is outdated and needs to be removed from Production.
cd ~/ProjectEnv/Production
rm prod_release3.txt
What is rm?
rm: Remove (delete) command- ⚠️ Warning: Deleted files cannot be recovered easily!
Verify it's deleted:
ls -l
You should no longer see prod_release3.txt.
⚠️ DANGER ZONE: The rm command permanently deletes files. There's no "recycle bin" in Linux. Always double-check before running rm commands!
Safety tip: Use ls first to verify the file, then use rm.
Part 7: Copying Directories
Scenario: Backup the Testing Directory
Before making changes, let's create a backup of the entire Testing directory.
To copy a directory and all its contents, use cp -r:
cd ~/ProjectEnv
cp -r Testing Testing_Backup
Breaking it down:
cp: Copy command-r: Recursive flag (copies directory and everything inside it)Testing: Source directoryTesting_Backup: Destination (new name)
Verify the backup:
ls -l
You should now see both Testing and Testing_Backup directories.
Check the contents of the backup:
ls -l Testing_Backup/
It should contain the same files that are currently in Testing.
📦 The -r flag: This stands for "recursive" and is essential when copying directories. Without it, cp will give an error because it can't copy directories by default.
Remember:
cp file1 file2- copies a filecp -r dir1 dir2- copies a directory
Part 8: Removing Directories
Scenario: Remove Development Directory
The development phase is complete, and we no longer need the Development directory.
To remove a directory and all its contents, use rm -r:
cd ~/ProjectEnv
rm -r Development
Breaking it down:
rm: Remove command-r: Recursive flag (removes directory and everything inside)Development: Directory to remove
⚠️ EXTREME CAUTION: The command rm -r permanently deletes a directory and ALL files inside it. There is no undo!
Always verify which directory you're about to delete:
ls -l Development/    # Check contents first
rm -r Development     # Then delete
Verify it's deleted:
ls -l
You should no longer see the Development directory.
Part 9: Final Review
Let's look at our final project structure:
cd ~/ProjectEnv
ls -R
What you should see:
.:
Production  Testing  Testing_Backup

./Production:
prod_release1.txt  prod_release2.txt  test_dev_code1.txt  test_scenario.txt

./Testing:
test_case1.txt  test_case3.txt

./Testing_Backup:
test_case1.txt  test_case3.txt
What happened to our project:
- ✅ Created organized directory structure
- ✅ Created files in each environment
- ✅ Copied a dev file to testing
- ✅ Renamed a test case
- ✅ Moved approved files to production
- ✅ Deleted an outdated release
- ✅ Backed up the testing directory
- ✅ Removed the completed development directory
Summary: Commands You Mastered
Congratulations! 🎉 You've learned essential file management commands. Here's your quick reference:
Directory Operations
mkdir dirname              # Create a directory
mkdir -p path/to/dir       # Create nested directories
rm -r dirname              # Remove directory and contents
cp -r source dest          # Copy directory recursively
File Operations
touch filename             # Create empty file
cp source dest             # Copy file
mv source dest             # Move or rename file
rm filename                # Delete file
Viewing and Navigation
ls                         # List files
ls -l                      # List with details
ls -R                      # List recursively
cd directory               # Change directory
pwd                        # Print working directory
tree                       # Display directory tree
Important Flags
-r: Recursive (for directories)-l: Long format (detailed listing)-R: Recursive listing-p: Create parent directories
Real-World Applications
The skills you learned in this tutorial are used every day by:
DevOps Engineers 🚀
- Organizing deployment files
- Managing configuration across environments
- Creating backups before updates
System Administrators 🔧
- Organizing server files
- Maintaining clean file systems
- Managing log files and backups
Developers 💻
- Organizing project code
- Managing different project versions
- Creating backups before major changes
Practice Exercises
Test your new skills with these challenges:
- Create a new project structure:
- Main directory:
WebApp - Subdirectories:
frontend,backend,database - Create 2 files in each subdirectory
- Main directory:
- File organization challenge:
- Copy all files from
backendtodatabase - Rename them with a
db_prefix - Delete the original
backenddirectory
- Copy all files from
- Backup challenge:
- Create a backup of your entire
WebAppdirectory - Name it
WebApp_backup_YYYYMMDD(use today's date)
- Create a backup of your entire
- Cleanup challenge:
- Create a
logsdirectory - Create 5 log files
- Delete only files 3, 4, and 5
- Verify files 1 and 2 still exist
- Create a
Safety Checklist
Before running potentially dangerous commands, always:
✅ Use ls first to verify what you're working with
✅ Use pwd to confirm your current directory
✅ Double-check paths before running rm or rm -r
✅ Create backups of important directories before making changes
✅ Test commands on practice files first
❌ Never run these commands unless you're absolutely sure:
rm -rf /           # NEVER! Deletes everything
rm -rf *           # Deletes all files in current directory
rm -rf ~           # Deletes your entire home directory
If unsure, ask for help!
Troubleshooting Tips
Problem: "Permission denied" error
# Solution: Use sudo for system directories
sudo rm filename
sudo cp source dest
Problem: Directory not empty
# Solution: Use -r flag to remove directory with contents
rm -r dirname
Problem: File already exists
# Solution: Use -f flag to force overwrite
cp -f source dest

# Or use -i flag for interactive (asks before overwrite)
cp -i source dest
Problem: Lost track of location
# Solution: Check where you are
pwd

# Go back to home directory
cd ~

# Go back to previous directory
cd -
Command Comparison Table
| Operation | Command | Example | Notes |
|---|---|---|---|
| Create file | touch | touch file.txt | Creates empty file |
| Create directory | mkdir | mkdir mydir | Creates one directory |
| Copy file | cp | cp file.txt backup.txt | Keeps original |
| Copy directory | cp -r | cp -r dir1 dir2 | Recursive copy |
| Move/Rename | mv | mv old.txt new.txt | Removes original |
| Delete file | rm | rm file.txt | Permanent! |
| Delete directory | rm -r | rm -r dirname | Very permanent! |
Next Steps
Now that you've mastered file management, you're ready to learn:
- File Permissions - Control who can read, write, and execute files
- File Ownership - Manage users and groups
- Text Editing - Use vi or nano to edit files
- File Searching - Find files with
findandlocate - Archive and Compression - Use tar and gzip
- Links - Create symbolic and hard links
Quick Tips for Success
💡 Use Tab completion - Type the first few letters and press Tab to auto-complete
💡 Use Up arrow - Scroll through previous commands instead of retyping
💡 Practice regularly - The more you use these commands, the more natural they become
💡 Read error messages - They usually tell you exactly what went wrong
💡 Keep a cheat sheet - Save the command reference somewhere handy
Congratulations on completing the File Management tutorial! 🎉
You now have practical experience organizing files across multiple environments - a skill you'll use throughout your career in IT, DevOps, or software development.
Keep practicing, and soon these commands will become second nature!
About the Author

More tutorials you might like
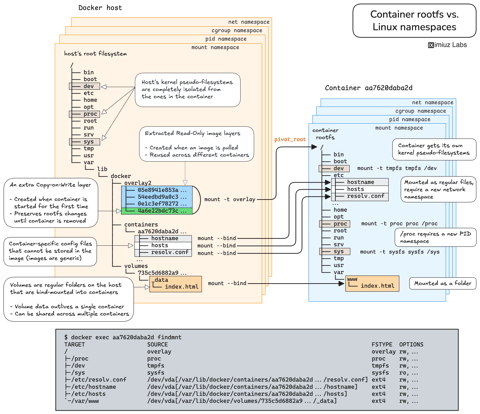
How Container Filesystem Works: Building a Docker-like Container From Scratch
Learn how Linux containers are built from the ground up. Starting with the mount namespace and a root filesystem, see why PID, cgroup, UTS, and network namespaces naturally follow - and how this foundation makes concepts like bind mounts, volumes, and persistence in Docker or Kubernetes much easier to grasp.

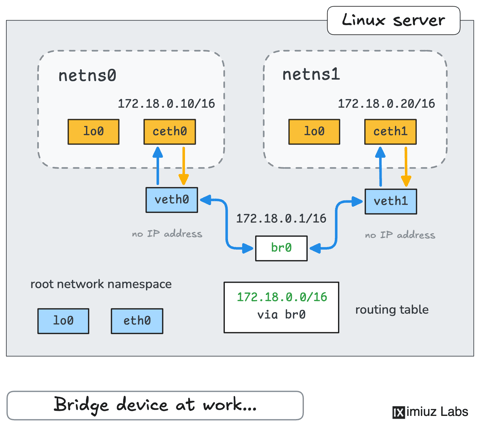
How Container Networking Works: Building a Bridge Network From Scratch
Begin with the basics to understand Docker and Kubernetes networking: learn how to create and interconnect Linux network namespaces using only command-line tools.
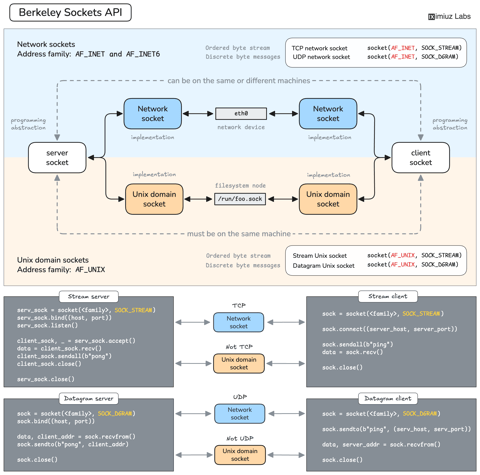
How Servers Work: A Hands-On Introduction to TCP Sockets
Learn how servers actually work by building a tiny TCP server and client from scratch. A hands-on introduction to sockets, TCP, and the network programming model every backend, DevOps, and platform engineer should go through at least once.
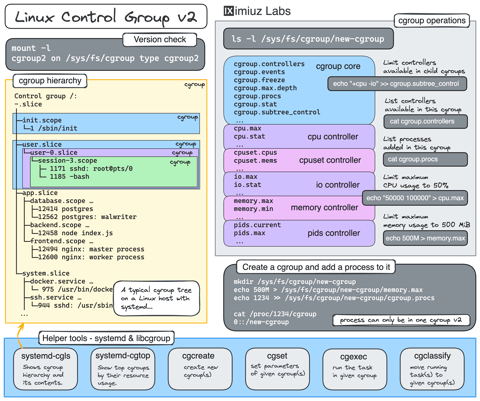
Controlling Process Resources with Linux Control Groups
Learn how to limit process resources using Linux cgroups - from the most basic and labour-intensive cgroupfs manipulation to the handiest systemd-run command.
Learn by doing, not just by reading or watching
Sign up for a free account to start a VM playground right on this page, track your progress, and get notified about new learning materials.