Work Efficiently with Command History and Line Editing

Work Efficiently with Command History and Line Editing
In this tutorial, you will build the habit of recalling, editing, and reissuing commands without retyping them. You will work with the history command, incremental reverse search, history expansion operators, and Bash readline shortcuts — all of which are tested on the RHCSA EX200 exam.
Before running any commands: click the + button in the terminal tab bar to open a new terminal tab. The playground history tracking activates in new sessions only. Commands run in the original tab will not register for task verification.
What We'll Build
By the end of this tutorial, you will have recalled commands by number, by string prefix, and through reverse search; edited a command on the line before running it; and cleared and navigated the line using keyboard shortcuts. The session will reach this final state:
$ history | tail -5
   96  ls -la /etc
   97  cat /etc/hostname
   98  ls -la /etc
   99  uname -r
  100  history | tail -5
Every technique leaves a trace in the history list — a concrete record that the shell's efficiency tools are working.
Step 1: Display the History List
View the current history list so you have reference numbers to work with.
history
You should see output similar to:
    1  whoami
    2  ls
    3  pwd
    4  uname -r
    5  ls -la /etc
    6  cat /etc/hostname
    7  ls -la /etc
Each line carries a number. Those numbers are what you will use in the next steps to recall specific commands without retyping them.
Exam tip: The history command is your starting point whenever you need to recall what you ran in a session. On the exam, you will frequently need to re-run slightly modified versions of earlier commands — knowing the number saves retyping.
Step 2: Recall the Most Recent Command with !!
Use !! to repeat the last command you ran — in this case, history itself.
!!
You should see:
history
    1  whoami
    2  ls
    3  pwd
    4  uname -r
    5  ls -la /etc
    ...
Bash prints the expanded command (history) on its own line before running it. This confirmation appears every time a history expansion fires, so you always see what will execute before output appears.
Never use !! with sudo without checking first. Running sudo !! re-executes the previous command with root privileges. Make sure you know what that previous command was before doing so.
Step 3: Recall a Command by History Number with !n
Recall a specific command by its number. You will rerun the uname -r entry. Look at the number beside uname -r in your history output — substitute that number for 4 if it differs in your session.
!4
You should see:
uname -r
5.14.0-362.el9.x86_64
Bash echoes the expanded command before its output. The kernel version string confirms uname -r ran exactly as it appeared in the history list.
How Bash finds the command number
History numbers are assigned sequentially from the start of the shell session (or from where HISTFILE was last read). The number beside each entry in history output is the one you pass to !n. Numbers are stable within a session but reset when you start a new shell.
Step 4: Recall a Command by String Prefix with !string
Recall the most recent command that starts with a particular string. You will re-execute the most recent ls command from your history.
!ls
You should see:
ls -la /etc
total 1092
drwxr-xr-x. 136 root root  8192 May  7 09:14 .
...
!ls matched ls -la /etc — the most recent command whose text begins with ls — not the shorter ls typed earlier. Bash always selects the most recent match.
!string runs without confirmation. Unlike recalling a command and editing it, !string executes immediately. Double-check that the most recent matching command is the one you intend to run.
Step 5: Search History Interactively with Ctrl-R
Use incremental reverse search to find a command by typing part of it — without knowing its history number.
Press Ctrl-R at the prompt. The prompt changes to:
(reverse-i-search)`':
Type cat:
(reverse-i-search)`cat': cat /etc/hostname
The most recent command containing cat appears alongside your search string. Press Enter to run it.
You should see:
cat /etc/hostname
rocky-01
You found and ran the command without typing its full text or knowing its history number.
Navigating multiple matches with Ctrl-R
While the reverse-search prompt is active:
- Press Ctrl-R again to step further back through older matches.
- Press Ctrl-G or Escape to cancel the search and return to the normal prompt with the current search text pre-filled.
- Press Ctrl-C to cancel completely.
If you overshoot, Ctrl-S moves forward through matches (you may need to run stty -ixon first to unfreeze forward search on some terminals).
Step 6: Move the Cursor to the Start and End of a Line
Practice cursor navigation on a long command before running it. Type the following command but do not press Enter yet:
ls -la /etc/sysconfig/network-scripts
Press Ctrl-A to jump the cursor to the beginning of the line.
The cursor moves to just before ls:
$ ls -la /etc/sysconfig/network-scripts
  ^
  cursor here
Now press Ctrl-E to jump to the end of the line:
$ ls -la /etc/sysconfig/network-scripts
                                        ^
                                        cursor here
Neither keystroke altered the command text — they only moved the cursor. These two shortcuts let you navigate to any edit point quickly, regardless of command length. Now press Enter to run the command.
You should see:
total 4
drwxr-xr-x. 2 root root   6 Apr 15 08:02 .
drwxr-xr-x. 7 root root 134 Apr 15 08:02 ..
Exam tip: Ctrl-A and Ctrl-E are faster than holding the arrow keys across a 60-character path. Use them every time you need to prepend sudo to a command or correct a typo at the start of a long line.
Step 7: Delete from the Cursor to the Beginning of the Line with Ctrl-U
Practice clearing an in-progress command. Type the following but do not press Enter:
ls -la /etc/sysconfig
Press Ctrl-U.
The entire line disappears, returning to a clean prompt:
$
Ctrl-U discards everything from the cursor position back to the start of the line. It is the fastest way to abandon a command you have decided not to run, without reaching for the Backspace key repeatedly.
Ctrl-U vs Ctrl-C: Ctrl-U clears only the typed-but-not-yet-submitted text. Ctrl-C cancels the entire line and also kills a running command. Use Ctrl-U when you want to start fresh on the same prompt without submitting anything.
Step 8: Delete the Previous Word with Ctrl-W
Practice removing one argument at a time. Type the following but do not press Enter:
ls -la /etc/hostname
Press Ctrl-W.
You should see:
$ ls -la
The argument /etc/hostname is gone, but ls -la remains. Press Ctrl-W again.
You should see:
$ ls
Each press of Ctrl-W removes exactly one whitespace-delimited word to the left of the cursor. This lets you correct the end of a long command without erasing everything. Press Ctrl-U to clear the line before the next step.
Ctrl-W vs Alt-Backspace — what counts as a 'word'?
Ctrl-W treats any sequence of non-whitespace characters as a word, delimited by spaces. Alt-Backspace is readline's "backward-kill-word" and uses a slightly different word boundary definition that respects characters like / and -. For paths like /etc/sysconfig/network-scripts, Alt-Backspace stops at each /, while Ctrl-W removes the whole path at once.
Step 9: Clear the Screen with Ctrl-L
Clear a cluttered terminal without losing your command history. First, produce some output to fill the screen:
ls -la /etc
The long /etc directory listing fills the screen. Now press Ctrl-L.
The screen clears and a fresh prompt appears at the top:
$
The history list is still intact — Ctrl-L only clears the visible display. Confirm this by running:
history | tail -5
You should see output similar to:
   96  ls -la /etc
   97  cat /etc/hostname
   98  ls -la /etc
   99  uname -r
  100  history | tail -5
This matches the final state shown in What We'll Build.
Keyboard Shortcuts Reference
| Shortcut | Action |
|---|---|
!! | Re-execute the previous command |
!n | Re-execute command number n |
!string | Re-execute most recent command starting with string |
| Ctrl-R | Incremental reverse history search |
| Ctrl-A | Move cursor to start of line |
| Ctrl-E | Move cursor to end of line |
| Ctrl-U | Delete from cursor to start of line |
| Ctrl-W | Delete the previous word |
| Ctrl-L | Clear the terminal screen |
What We Accomplished
In this tutorial, you:
- Displayed the numbered history list with
history - Re-executed the previous command using
!! - Re-executed a specific command by number using
!n - Re-executed the most recent matching command using
!string - Found and ran a command interactively using Ctrl-R incremental reverse search
- Moved the cursor to the start and end of a line using Ctrl-A and Ctrl-E
- Discarded an in-progress command using Ctrl-U
- Deleted the previous word using Ctrl-W
- Cleared the terminal display using Ctrl-L while preserving history
RHCSA exam reminder: The exam is timed. Mastering these shortcuts is not optional — they are the difference between finishing with time to spare and running out of time. Practice until !!, !string, and Ctrl-R are muscle memory.
About the Author

More tutorials you might like
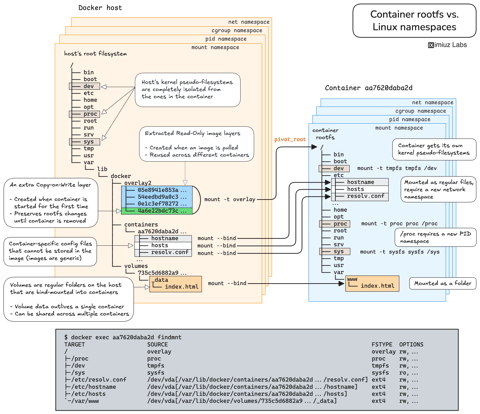
How Container Filesystem Works: Building a Docker-like Container From Scratch
Learn how Linux containers are built from the ground up. Starting with the mount namespace and a root filesystem, see why PID, cgroup, UTS, and network namespaces naturally follow - and how this foundation makes concepts like bind mounts, volumes, and persistence in Docker or Kubernetes much easier to grasp.

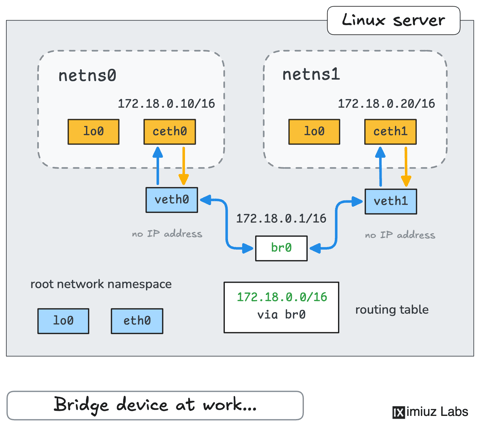
How Container Networking Works: Building a Bridge Network From Scratch
Begin with the basics to understand Docker and Kubernetes networking: learn how to create and interconnect Linux network namespaces using only command-line tools.
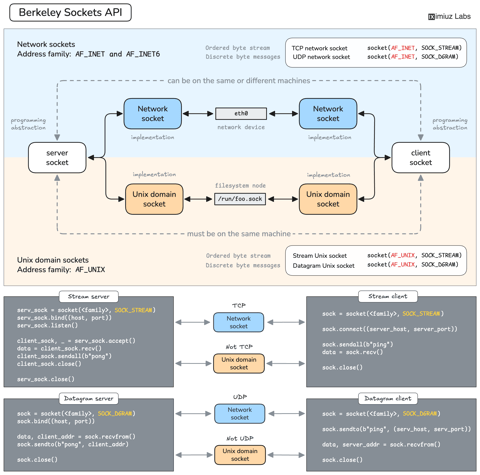
How Servers Work: A Hands-On Introduction to TCP Sockets
Learn how servers actually work by building a tiny TCP server and client from scratch. A hands-on introduction to sockets, TCP, and the network programming model every backend, DevOps, and platform engineer should go through at least once.
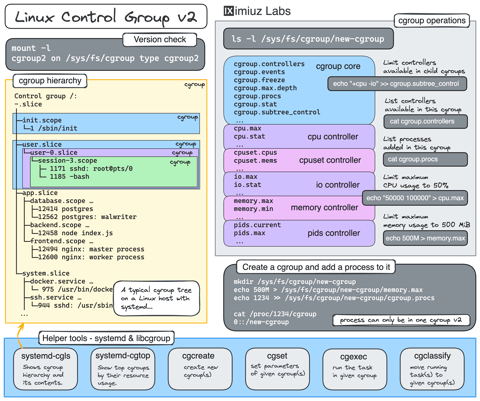
Controlling Process Resources with Linux Control Groups
Learn how to limit process resources using Linux cgroups - from the most basic and labour-intensive cgroupfs manipulation to the handiest systemd-run command.
Learn by doing, not just by reading or watching
Sign up for a free account to start a VM playground right on this page, track your progress, and get notified about new learning materials.