Open Your First Shell Session on RHEL

Open Your First Shell Session on RHEL
In this tutorial, you will open an interactive Bash shell three different ways: through a terminal emulator, by inspecting virtual console devices, and through an SSH loopback connection. Along the way, you will read the prompt to confirm who you are, where you are, and which shell is running.
These are foundational skills for the RHCSA EX200 exam. Every other exam task assumes you can open a reliable shell session and orient yourself within it.
The source material for this tutorial covers GNOME Terminal and physical virtual console switching (Ctrl-Alt-F2). The iximiuz Labs playground is a headless server — no graphical desktop is present. The equivalent skills are demonstrated using a direct terminal session and an SSH loopback connection, which is exactly how you will work on a remote RHEL system in practice and on the exam.
What You Will Build
By the end of this tutorial, you will have:
- Read a Bash prompt and understood every component of it
- Confirmed your active shell, username, and working directory from the command line
- Identified the terminal device your session is using with
tty - Opened a second shell session over SSH and confirmed it uses a pseudo-terminal (
pts) - Closed sessions cleanly with
exit
The final verification will look like this:
/bin/bash
That single line — the output of echo $SHELL — confirms that Bash is the active shell for your user account.
Step 1 — Read the Prompt
When you open your terminal on the playground, you already have a Bash shell session. Before running any commands, look at the prompt itself:
[laborant@rocky-01 ~]$
Every component carries meaning:
| Component | Meaning |
|---|---|
laborant | The currently logged-in username |
rocky-01 | The hostname of this machine |
~ | The current directory — ~ is shorthand for your home directory |
$ | You are a regular (non-root) user — root would show # |
On the RHCSA exam, the prompt will show the exam username and hostname. Always check the prompt before running any command — it is your primary orientation tool and will save you from running commands on the wrong machine.
Step 2 — Confirm Your Username and Working Directory
Now confirm each piece of the prompt programmatically.
Print your current username:
echo $USER
You should see:
laborant
Print the full path of your current directory:
pwd
You should see:
/home/laborant
The ~ in the prompt is shorthand for /home/laborant. The prompt updates this dynamically as you change directories.
Step 3 — Confirm Which Shell Is Active
Now confirm which shell is running this session:
echo $SHELL
You should see:
/bin/bash
$SHELL holds the path of the default login shell assigned to your user account. This is stored in /etc/passwd and does not change between sessions unless an administrator modifies it.
$SHELL shows the default shell for your account. If you launch a different shell (e.g., zsh or sh) inside your session, $SHELL will still show /bin/bash. To see the shell of the current process, use echo $0 or readlink /proc/$$/exe.
Step 4 — Identify Your Terminal Device
Every shell session is attached to a terminal device. Run:
tty
You should see something like:
/dev/pts/0
This path identifies the pseudo-terminal (PTY) device your session is using. The pts prefix distinguishes a terminal-emulator or SSH session from a hardware virtual console.
Virtual consoles vs. pseudo-terminals:
On a physical RHEL system, pressing Ctrl-Alt-F2 switches to a full-screen text console. That session uses a device like /dev/tty2. These are hardware (or kernel-emulated) consoles.
When you open a terminal emulator application, or connect via SSH, the kernel allocates a pseudo-terminal pair — a master side (used by the application) and a slave side (shown to the shell as /dev/pts/N). This is the device you will see in a playground or on any remote server.
Step 5 — Open a Shell Session Over SSH
Now open a second shell session using SSH. On a real RHEL system this would target a remote IP address. Here, we use loopback (localhost) to demonstrate the same concept within the playground.
ssh laborant@localhost
You will see a host key prompt on your first connection:
The authenticity of host 'localhost (127.0.0.1)' can't be established.
ED25519 key fingerprint is SHA256:xxxxxxxxxxxxxxxxxxxxxxxxxxxxxxxxxxxxxxxxxxxx.
Are you sure you want to continue connecting (yes/no/[fingerprint])?
Type yes and press Enter.
When prompted for a password, enter the laborant user password: laborant
You should arrive at a new prompt:
[laborant@rocky-01 ~]$
The prompt looks identical — but this is a new, independent shell session delivered over an encrypted SSH connection.
SSH asks for a password and I don't know it
The default password for the laborant user on iximiuz Labs playgrounds is laborant. If that fails, try running passwd in your current session to set a new password before SSHing.
SSH says "Connection refused"
The SSH daemon may not be running. Check with: systemctl status sshd
If it is inactive, start it: sudo systemctl start sshd
Step 6 — Confirm the SSH Session Identity
Now that you are inside the SSH session, run tty again:
tty
You should see something like:
/dev/pts/1
Notice the difference from Step 4:
| Session type | Example device |
|---|---|
| Physical virtual console | /dev/tty2 |
| Terminal emulator / SSH | /dev/pts/0, /dev/pts/1, … |
The number after pts/ increments with each new pseudo-terminal allocated. Your SSH session received a fresh PTY, separate from the one your outer terminal is using.
On the RHCSA exam, when a task says "log in via SSH," the examiner expects you to reach a working shell prompt. Knowing that the result is a pts device — not a tty device — helps you diagnose problems: if tty returns not a tty, your session has no terminal attached, which breaks interactive commands.
Step 7 — Close the SSH Session and Verify Final Shell
Close the SSH session cleanly:
exit
You should see:
logout
Connection to localhost closed.
You are now back at your original terminal prompt. Confirm your shell one final time:
echo $SHELL
You should see:
/bin/bash
What You Accomplished
In this tutorial, you:
- Read the Bash prompt and identified its four components: username, hostname, current directory, and privilege indicator
- Confirmed your username with
echo $USERand your working directory withpwd - Confirmed your default shell with
echo $SHELL— the result was/bin/bash - Identified your terminal device with
tty— aptsdevice for terminal-emulator and SSH sessions - Opened a second shell session over SSH using
ssh laborant@localhost, accepted the host key, and authenticated - Confirmed the SSH session device — a new
ptsnumber, independent of the first session - Closed sessions cleanly with
exitand confirmed the logout message
Key Commands Reference
| Command | What it shows |
|---|---|
echo $USER | Current logged-in username |
echo $SHELL | Default shell for this user account |
pwd | Full path of current working directory |
tty | Terminal device this session is attached to |
ssh user@host | Open a new shell session over SSH |
exit | Close the current session cleanly |
Next Steps
Now that you can open and orient yourself in a Bash shell three different ways, continue with:
- Accessing a Shell Prompt on RHEL — quick procedures for opening terminal sessions in different scenarios, including sudo escalation
- Understanding the Linux Shell and Command Syntax — why the prompt looks the way it does, what
$SHELLmeans, and how Bash fits into the Linux architecture - Bash Command Syntax and Options — complete specification of command structure, shell variables, and quoting rules
About the Author

More tutorials you might like
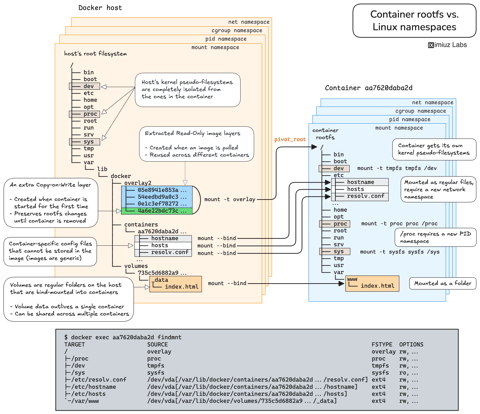
How Container Filesystem Works: Building a Docker-like Container From Scratch
Learn how Linux containers are built from the ground up. Starting with the mount namespace and a root filesystem, see why PID, cgroup, UTS, and network namespaces naturally follow - and how this foundation makes concepts like bind mounts, volumes, and persistence in Docker or Kubernetes much easier to grasp.

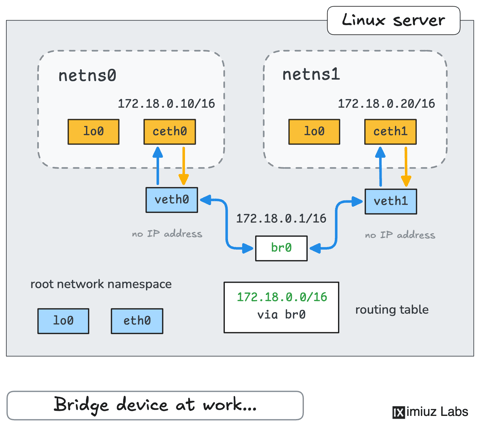
How Container Networking Works: Building a Bridge Network From Scratch
Begin with the basics to understand Docker and Kubernetes networking: learn how to create and interconnect Linux network namespaces using only command-line tools.
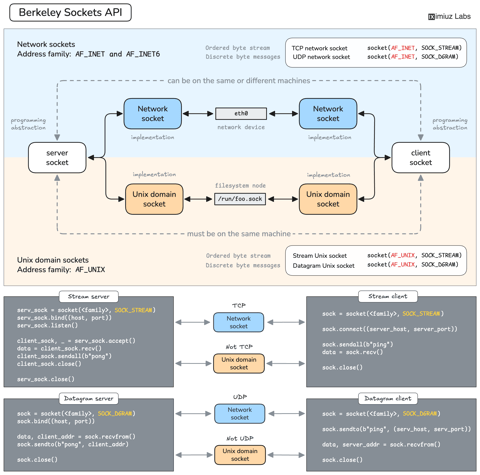
How Servers Work: A Hands-On Introduction to TCP Sockets
Learn how servers actually work by building a tiny TCP server and client from scratch. A hands-on introduction to sockets, TCP, and the network programming model every backend, DevOps, and platform engineer should go through at least once.
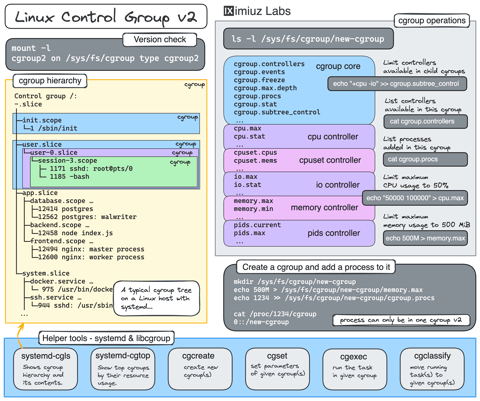
Controlling Process Resources with Linux Control Groups
Learn how to limit process resources using Linux cgroups - from the most basic and labour-intensive cgroupfs manipulation to the handiest systemd-run command.
Learn by doing, not just by reading or watching
Sign up for a free account to start a VM playground right on this page, track your progress, and get notified about new learning materials.