Use Command History to Recall and Re-execute Commands

Use Command History to Recall and Re-execute Commands
Before running any commands: click the + button in the terminal tab bar to open a new terminal tab. The playground history tracking activates in new sessions only. Commands run in the original tab will not register for task verification.
The Bash history mechanism is one of the highest-value efficiency tools on the RHCSA exam. Under time pressure, being able to recall, edit, and re-execute a previous command in seconds — instead of retyping it — makes a measurable difference. This lab walks you through every technique you need, including how to keep sensitive commands out of the history file.
Step 1 — Display the history list with line numbers
The history builtin prints every command in the current session's in-memory list, each prefixed by a sequential number. Those numbers are your handles for direct re-execution.
history
To limit output to the most recent entries, pass a count:
history 20
Scroll through the output. Notice that commands are numbered from 1 at the top. Every history expansion operator you will use in the next steps references these numbers.
Step 2 — Re-execute a command by history number
Once you know a command's number from the list, you can run it instantly with !<number>:
!5
Replace 5 with any number from your own history list. The shell expands the token, prints the resolved command, and executes it.
Bang-number expansion executes immediately with no confirmation prompt. Always verify the intended command with history first, especially before re-running anything that modifies files or services.
Step 3 — Re-execute the last command with !!
!! expands to the entire previous command line. It is most useful when you forgot to prefix a command with sudo:
!!
Or:
sudo !!
When you run sudo !!, the shell first expands !! to the text of the previous command, then sudo runs that expanded string. The expanded command is echoed to the terminal before execution so you can see exactly what ran.
Step 4 — Re-execute the most recent command matching a string prefix
!string finds the most recent history entry that began with string and re-executes it:
!ls
This is useful for quickly replaying a long command (e.g., a complex find or grep) without scrolling through the list — as long as you remember how it started.
Like !number, !string executes immediately. If multiple commands share the same prefix, the most recent match runs. Confirm with history | grep ^ls first when in doubt.
Step 5 — Search history interactively with Ctrl-R
For longer or less predictable commands, interactive reverse search is faster than scrolling:
- Press Ctrl-R at an empty prompt.
- Type a substring — the most recent matching command appears.
- Press Ctrl-R again to cycle to the next older match.
- Press Enter to execute, or Ctrl-G to cancel without running anything.
(reverse-i-search)`host': cat /etc/hostname
Ctrl-R is not verified automatically (it is interactive and leaves no distinct history token). Practice it now — it is faster than any other recall method once you build the muscle memory. On the exam, use it to recall systemctl, firewall-cmd, or semanage commands you have already issued earlier in the session.
Ctrl-R key reference
| Key | Action |
|---|---|
Ctrl-R | Open reverse search / cycle to next older match |
Enter | Execute the currently displayed command |
Ctrl-G | Cancel search, return to empty prompt |
Esc | Accept the match into the line editor without executing |
Ctrl-A | Move cursor to beginning of the recalled line |
Ctrl-E | Move cursor to end of the recalled line |
Alt-B / Alt-F | Move backward / forward one word |
Step 6 — Recall and edit a command before executing
Use the Up and Down arrow keys to navigate through history. When you reach the command you want, use readline shortcuts to edit it before pressing Enter:
| Key | Action |
|---|---|
Ctrl-A | Move cursor to beginning of line |
Ctrl-E | Move cursor to end of line |
Ctrl-U | Delete from cursor to beginning of line |
Alt-B / Alt-F | Move backward / forward one word |
This technique is ideal when you want to run the same command against a different file or with a slightly different flag. There is nothing to verify here — practice navigating to a previous command, modifying one token, and executing it.
Step 7 — Delete a specific entry from history
Remove a single entry by its line number. This is the standard way to prevent a sensitive command (containing a password or token) from persisting in the history file:
First, identify the line number:
history
Then delete it:
history -d 42
Replace 42 with the actual line number from your list.
After each history -d, all subsequent entries renumber (shift up by one). Always run history again before the next deletion to get the current numbers.
Step 8 — Clear the entire in-memory history list
To wipe all history entries from the current session's memory in one operation:
history -c
This does not immediately update ~/.bash_history on disk. The file is overwritten (with an empty list) only when the session writes history — either on logout or via history -w. To clear both memory and file together:
history -c && history -w
After history -c, your current session's history is gone. The init task for this lab pre-seeded ~/.bash_history so you still have entries on disk. Open a fresh terminal tab after clearing to see an empty in-memory list.
Step 9 — Check and set HISTCONTROL
HISTCONTROL governs which commands Bash records. The values relevant to the exam:
| Value | Behaviour |
|---|---|
ignorespace | Commands prefixed by one or more spaces are not saved |
ignoredups | Consecutive duplicate commands are not saved |
ignoreboth | Both of the above |
erasedups | All earlier duplicates are removed whenever a command is added |
Check the current setting:
echo $HISTCONTROL
If the output does not include ignorespace or ignoreboth, set it now:
export HISTCONTROL=ignoreboth
To make this permanent, add the line to ~/.bashrc.
Step 10 — Prevent a command from being saved to history
With HISTCONTROL set to ignoreboth (or ignorespace), any command prefixed by one or more spaces is silently omitted from history:
echo "my-secret-token"
Note the leading space before
echo— that is the critical part.
Run the command above, then check that it does not appear at the bottom of the history list:
history | tail -5
The space-prefixed command still appears in history
HISTCONTROL must be set before the command is issued. Verify with echo $HISTCONTROL — it must show ignorespace or ignoreboth. If you set it in the same command line or in a subshell it will not apply to that command. Also confirm there are no conflicting HISTCONTROL settings in ~/.bashrc.
Step 11 — Write the current session history to disk immediately
By default, Bash appends in-memory history to ~/.bash_history only when the session closes. Force an immediate write with:
history -w
This is useful before switching to another terminal where you want to access commands from the current session via Ctrl-R or grep.
Verification
Confirm the on-disk history file reflects recent work:
tail -10 ~/.bash_history
The output should show the most recently written commands in order, with no gaps unless you deliberately deleted entries.
Troubleshooting
Space-prefixed commands still appear in history
HISTCONTROL does not include ignorespace. Run:
echo $HISTCONTROL
export HISTCONTROL=ignoreboth
To make it permanent, add export HISTCONTROL=ignoreboth to ~/.bashrc.
`history -d` removes the wrong entry
Line numbers shift down by one after every deletion. Run history again after each history -d to get the updated numbers before issuing the next deletion.
`!string` executes the wrong command
Multiple commands share the same prefix; the most recent match may not be the intended one. Use !number from the explicit history list, or use Ctrl-R to visually confirm the match before executing.
`~/.bash_history` does not update after `history -c`
history -c clears the in-memory list only. The file is written on session close or on explicit history -w. To clear both together:
history -c && history -w
Ctrl-R finds no match
The command may have been deleted, or the in-memory list was cleared. Search the file directly:
grep 'pattern' ~/.bash_history
What you practised — exam checklist
history/history N— display numbered list!N— re-execute by number!!— repeat last command (andsudo !!)!string— re-execute by prefixCtrl-R— interactive reverse search- Arrow keys + readline shortcuts — recall and edit before executing
^old^new— quick inline substitution on the previous commandhistory -d N— delete a single entryhistory -c— clear in-memory listhistory -w— flush to disk immediately- Leading space +
HISTCONTROL=ignoreboth— suppress a command from history
These operations appear directly in RHCSA objectives under "Use input/output redirection" and the broader command-line proficiency requirement. Mastering them reduces keystrokes across every other objective.
Related
man bash— HISTORY section (search/^HISTORYinside the pager)help history— builtin reference- How-to 3 of 6: Navigate Shell Documentation with
man,--help, andinfo
About the Author

More tutorials you might like
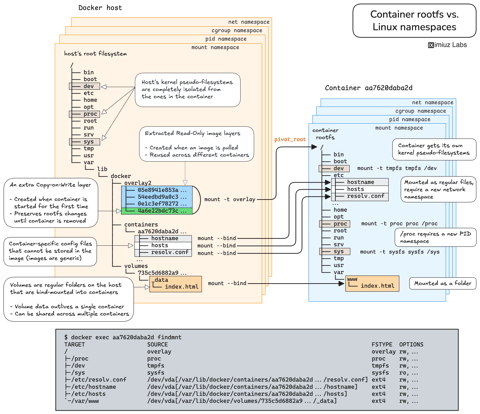
How Container Filesystem Works: Building a Docker-like Container From Scratch
Learn how Linux containers are built from the ground up. Starting with the mount namespace and a root filesystem, see why PID, cgroup, UTS, and network namespaces naturally follow - and how this foundation makes concepts like bind mounts, volumes, and persistence in Docker or Kubernetes much easier to grasp.

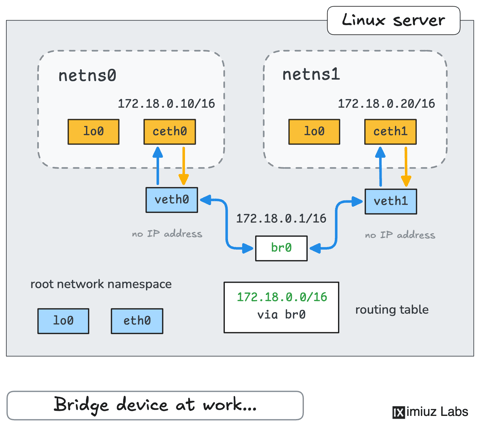
How Container Networking Works: Building a Bridge Network From Scratch
Begin with the basics to understand Docker and Kubernetes networking: learn how to create and interconnect Linux network namespaces using only command-line tools.
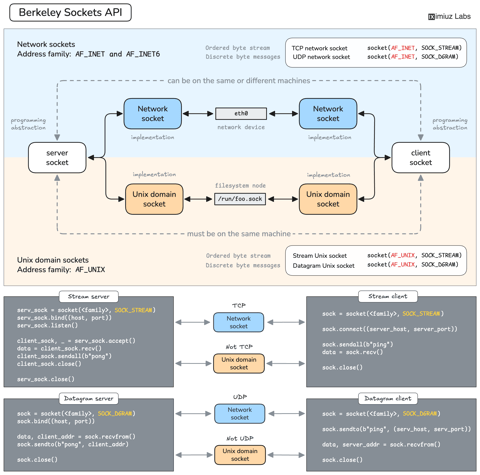
How Servers Work: A Hands-On Introduction to TCP Sockets
Learn how servers actually work by building a tiny TCP server and client from scratch. A hands-on introduction to sockets, TCP, and the network programming model every backend, DevOps, and platform engineer should go through at least once.
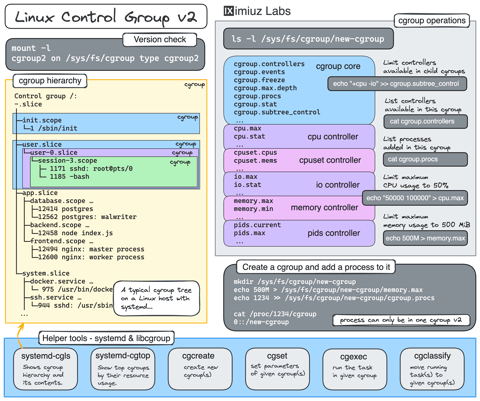
Controlling Process Resources with Linux Control Groups
Learn how to limit process resources using Linux cgroups - from the most basic and labour-intensive cgroupfs manipulation to the handiest systemd-run command.
Learn by doing, not just by reading or watching
Sign up for a free account to start a VM playground right on this page, track your progress, and get notified about new learning materials.