PostgreSQL 16 Installation and Startup Methods

This tutorial covers:
- Installing PostgreSQL 16
- Initializing database clusters using two different methods
- Starting PostgreSQL using systemctl and pg_ctl
📖 THEORY SECTION - DO NOT PRACTICE YET
The next section explains important concepts about PostgreSQL repositories, systemctl, pg_ctl, and initdb.
Please READ and UNDERSTAND these concepts first.
The hands-on practice section starts later with a clear "START PRACTICING HERE" marker.
Understanding the Basics
Before we begin the installation, let's understand the key concepts and tools we'll be using.
PostgreSQL Repository (PGDG)
What is a Repository? A repository is a storage location from which your system retrieves and installs software packages. Think of it as an app store for Linux.
Why do we need the PostgreSQL Repository?
- Rocky Linux comes with built-in repositories, but they contain older versions of PostgreSQL
- The official PostgreSQL Global Development Group (PGDG) repository provides the latest versions
- PGDG repository is maintained by the PostgreSQL community
- It ensures you get the most recent features, performance improvements, and security patches
What happens when you install the repository?
sudo dnf install -y https://download.postgresql.org/pub/repos/yum/reporpms/EL-9-x86_64/pgdg-redhat-repo-latest.noarch.rpm
This command:
- Downloads the repository configuration file
- Installs it to
/etc/yum.repos.d/ - Tells your system where to find PostgreSQL packages
- Enables access to multiple PostgreSQL versions (12, 13, 14, 15, 16)
Why disable the built-in PostgreSQL module?
sudo dnf -qy module disable postgresql
Rocky Linux 9 has a built-in PostgreSQL module that conflicts with PGDG packages. Disabling it ensures the system uses PGDG versions instead.
systemctl - System Service Manager
What is systemctl?systemctl is the command-line tool for controlling systemd, which is the service manager for modern Linux systems (RHEL 7+, Rocky Linux, Ubuntu 16.04+, etc.).
What does it do?
- Manages services (start, stop, restart)
- Controls auto-start on boot
- Monitors service status
- Manages service dependencies
- Provides centralized logging
Common systemctl commands:
sudo systemctl start postgresql-16      # Start the service now
sudo systemctl stop postgresql-16       # Stop the service now
sudo systemctl restart postgresql-16    # Stop then start
sudo systemctl reload postgresql-16     # Reload config without stopping
sudo systemctl status postgresql-16     # Check if running
sudo systemctl enable postgresql-16     # Auto-start on boot
sudo systemctl disable postgresql-16    # Don't auto-start on boot
Why use systemctl for PostgreSQL?
- Production Standard: Industry best practice
- Automatic Restart: If PostgreSQL crashes, systemd can restart it
- Boot Integration: Starts automatically when server reboots
- Logging: Integrates with
journalctlfor centralized logs - Dependencies: Ensures network and other services start first
pg_ctl - PostgreSQL Control Utility
What is pg_ctl?pg_ctl is PostgreSQL's built-in control utility that directly manages the PostgreSQL server process.
What does it do?
- Starts and stops the PostgreSQL server
- Initializes database clusters
- Reloads configuration
- Promotes standbys to primary
- Direct control without systemd
Basic pg_ctl syntax:
/usr/pgsql-16/bin/pg_ctl -D /path/to/data/directory <action>
Common pg_ctl commands:
# Start PostgreSQL
/usr/pgsql-16/bin/pg_ctl -D /pgDATA/16/sutadev start

# Stop PostgreSQL (3 shutdown modes)
/usr/pgsql-16/bin/pg_ctl -D /pgDATA/16/sutadev stop -m smart      # Wait for clients to disconnect
/usr/pgsql-16/bin/pg_ctl -D /pgDATA/16/sutadev stop -m fast       # Disconnect clients gracefully
/usr/pgsql-16/bin/pg_ctl -D /pgDATA/16/sutadev stop -m immediate  # Force shutdown (emergency)

# Restart PostgreSQL
/usr/pgsql-16/bin/pg_ctl -D /pgDATA/16/sutadev restart

# Reload configuration (no restart needed)
/usr/pgsql-16/bin/pg_ctl -D /pgDATA/16/sutadev reload

# Check status
/usr/pgsql-16/bin/pg_ctl -D /pgDATA/16/sutadev status
Shutdown modes explained:
- Smart mode (
-m smart)- Waits for all clients to disconnect
- No new connections accepted
- Safest but slowest
- Fast mode (
-m fast) - DEFAULT- Disconnects all clients immediately
- Rolls back active transactions
- Fast and safe
- Recommended for most situations
- Immediate mode (
-m immediate)- Emergency shutdown
- Kills all processes immediately
- Requires crash recovery on restart
- Use only in emergencies
When to use pg_ctl?
- Development: Quick testing without systemd
- Debugging: Direct control for troubleshooting
- Multiple Instances: Running several PostgreSQL clusters on different ports
- Custom setups: Non-default data directories
systemctl vs pg_ctl: Which Should You Use?
| Feature | systemctl | pg_ctl |
|---|---|---|
| Ease of Use | Simple commands | Need to specify data directory |
| Auto-start on Boot | Yes (enable command) | No |
| Auto-restart on Crash | Yes (configurable) | No |
| Production Use | ✅ Recommended | ❌ Not recommended |
| Development Use | ✅ Works fine | ✅ More flexible |
| Multiple Instances | Complex | ✅ Easy |
initdb - Database Cluster Initialization
What is initdb?initdb creates a new database cluster. A cluster is a collection of databases managed by a single PostgreSQL server instance.
What does initdb create?
- System Catalogs: Internal tables that track databases, users, tables
- Template Databases: template0, template1, postgres
- Configuration Files: postgresql.conf, pg_hba.conf
- Directory Structure: All necessary subdirectories
- Initial WAL Files: Write-Ahead Log for transactions
Two ways to run initdb:
- Via postgresql-16-setup script (wrapper)
sudo /usr/pgsql-16/bin/postgresql-16-setup initdb- Creates cluster in
/var/lib/pgsql/16/data - Uses default port 5432
- Automatically configures systemd
- Creates cluster in
- Via pg_ctl initdb (direct control)
/usr/pgsql-16/bin/pg_ctl initdb -D /pgDATA/16/sutadev- Creates cluster in custom location
- Can use custom port (e.g., 5433)
- Requires manual configuration
Tutorial Overview
In this tutorial, you will learn TWO METHODS:
Method 1: Using systemctl (Production Standard)
- Initialize with:
postgresql-16-setup initdb - Data directory:
/var/lib/pgsql/16/data - Port: 5432 (default)
- Start with:
systemctl start postgresql-16 - Best for: Production, standard setups
Method 2: Using pg_ctl (Custom Setup)
- Initialize with:
pg_ctl initdb -D /pgDATA/16/sutadev - Data directory:
/pgDATA/16/sutadev - Port: 5433 (custom)
- Start with:
pg_ctl -D /pgDATA/16/sutadev start - Best for: Development, multiple instances, custom requirements
Both methods are independent - you can follow Method 1 only, Method 2 only, or both.
🚀 START PRACTICING HERE
You have completed the theory section. Now begin the hands-on installation!
Follow the instructions below step by step.
Part 1: Install PostgreSQL Repository
This step is the same for both methods.
# Add PostgreSQL repository
sudo dnf install -y https://download.postgresql.org/pub/repos/yum/reporpms/EL-9-x86_64/pgdg-redhat-repo-latest.noarch.rpm

# Disable built-in PostgreSQL module
sudo dnf -qy module disable postgresql
Part 2: Install PostgreSQL Packages
This step is the same for both methods.
# Install PostgreSQL 16.10 (compatible with Rocky Linux 9)
sudo dnf install -y \
  postgresql16-server-16.10-1PGDG.rhel9 \
  postgresql16-16.10-1PGDG.rhel9 \
  postgresql16-contrib-16.10-1PGDG.rhel9

# Verify installation
rpm -qa | grep postgresql16
Method 1: Using systemctl (Default Setup)
This method uses the default PostgreSQL setup with systemd management.
Characteristics:
- Data directory:
/var/lib/pgsql/16/data - Port: 5432
- Service management: systemctl
- Auto-start: Yes (when enabled)
Step 1: Initialize Database Cluster
# Initialize using the setup script
sudo /usr/pgsql-16/bin/postgresql-16-setup initdb
Output:
Initializing database ... OK
This creates the database cluster in /var/lib/pgsql/16/data.
Step 2: Start PostgreSQL with systemctl
# Start PostgreSQL
sudo systemctl start postgresql-16

# Enable auto-start on boot
sudo systemctl enable postgresql-16

# Check status
sudo systemctl status postgresql-16
Expected output:
● postgresql-16.service - PostgreSQL 16 database server
   Loaded: loaded (/usr/lib/systemd/system/postgresql-16.service; enabled)
   Active: active (running)
Step 3: Verify PostgreSQL is Running
# Check if accepting connections
sudo -u postgres /usr/pgsql-16/bin/pg_isready

# Should show: /var/run/postgresql:5432 - accepting connections
Step 4: Connect to PostgreSQL
# Switch to postgres user
sudo su - postgres

# Connect to database
psql

# You should see:
# psql (16.10)
# Type "help" for help.
# postgres=#
Inside psql:
-- Check version
SELECT version();

-- Check port
SHOW port;
-- Should show: 5432

-- Check data directory
SHOW data_directory;
-- Should show: /var/lib/pgsql/16/data

-- Exit
\q
Exit from postgres user:
exit
Method 1 Complete! ✅
You now have PostgreSQL running on:
- Port: 5432
- Data directory:
/var/lib/pgsql/16/data - Management: systemctl
Common systemctl commands:
sudo systemctl start postgresql-16     # Start
sudo systemctl stop postgresql-16      # Stop
sudo systemctl restart postgresql-16   # Restart
sudo systemctl status postgresql-16    # Status
sudo systemctl reload postgresql-16    # Reload config
Method 2: Using pg_ctl (Custom Setup)
This method uses a custom data directory and pg_ctl for management.
Characteristics:
- Data directory:
/pgDATA/16/sutadev - Port: 5433
- Service management: pg_ctl
- Auto-start: No (manual start)
Step 1: Create Parent Directory
# Create parent directory
sudo mkdir -p /pgDATA/16

# Set ownership to postgres user
sudo chown -R postgres:postgres /pgDATA
Step 2: Initialize Database Cluster
# Switch to postgres user
sudo su - postgres

# Initialize cluster in custom location
/usr/pgsql-16/bin/pg_ctl initdb -D /pgDATA/16/sutadev
Output:
The files belonging to this database system will be owned by user "postgres".
...
creating directory /pgDATA/16/sutadev ... ok
creating subdirectories ... ok
...
Success. You can now start the database server using:
    /usr/pgsql-16/bin/pg_ctl -D /pgDATA/16/sutadev start
Step 3: Configure Custom Port
Still as postgres user:
# Edit postgresql.conf to use port 5433
sed -i "s/#port = 5432/port = 5433/" /pgDATA/16/sutadev/postgresql.conf

# Verify the change
grep "^port" /pgDATA/16/sutadev/postgresql.conf
# Should show: port = 5433
Step 4: Start PostgreSQL with pg_ctl
# Start PostgreSQL (still as postgres user)
/usr/pgsql-16/bin/pg_ctl -D /pgDATA/16/sutadev start

# Check status
/usr/pgsql-16/bin/pg_ctl -D /pgDATA/16/sutadev status
Output:
pg_ctl: server is running (PID: 12345)
/usr/pgsql-16/bin/postgres "-D" "/pgDATA/16/sutadev"
Step 5: Verify PostgreSQL is Running
# Check if accepting connections (custom port)
/usr/pgsql-16/bin/pg_isready -p 5433

# Should show: /tmp:5433 - accepting connections
Step 6: Connect to PostgreSQL
# Connect to database on custom port
psql -p 5433

# You should see:
# psql (16.10)
# Type "help" for help.
# postgres=#
Inside psql:
-- Check version
SELECT version();

-- Check port
SHOW port;
-- Should show: 5433

-- Check data directory
SHOW data_directory;
-- Should show: /pgDATA/16/sutadev

-- Exit
\q
Exit from postgres user:
exit
Method 2 Complete! ✅
You now have PostgreSQL running on:
- Port: 5433
- Data directory:
/pgDATA/16/sutadev - Management: pg_ctl
Common pg_ctl commands:
# Switch to postgres user first
sudo su - postgres

# Start
/usr/pgsql-16/bin/pg_ctl -D /pgDATA/16/sutadev start

# Stop (fast mode)
/usr/pgsql-16/bin/pg_ctl -D /pgDATA/16/sutadev stop -m fast

# Restart
/usr/pgsql-16/bin/pg_ctl -D /pgDATA/16/sutadev restart

# Status
/usr/pgsql-16/bin/pg_ctl -D /pgDATA/16/sutadev status

# Reload config (no restart)
/usr/pgsql-16/bin/pg_ctl -D /pgDATA/16/sutadev reload
Comparison Summary
| Aspect | Method 1 (systemctl) | Method 2 (pg_ctl) |
|---|---|---|
| Data Directory | /var/lib/pgsql/16/data | /pgDATA/16/sutadev |
| Port | 5432 | 5433 |
| Initialize | postgresql-16-setup initdb | pg_ctl initdb -D ... |
| Start | systemctl start postgresql-16 | pg_ctl -D ... start |
| Stop | systemctl stop postgresql-16 | pg_ctl -D ... stop |
| Auto-start | Yes (with enable) | No |
| Best For | Production | Development/Custom |
Both Methods Running Together
If you completed both methods, you now have TWO PostgreSQL instances running:
# Check both are running
sudo -u postgres /usr/pgsql-16/bin/pg_isready -p 5432  # Method 1
sudo -u postgres /usr/pgsql-16/bin/pg_isready -p 5433  # Method 2

# Connect to Method 1
sudo -u postgres psql -p 5432

# Connect to Method 2
sudo -u postgres psql -p 5433
Important: These are completely independent PostgreSQL instances with separate:
- Data directories
- Configurations
- Ports
- Databases
Quick Reference
Method 1 Commands
# Start/Stop/Restart
sudo systemctl start postgresql-16
sudo systemctl stop postgresql-16
sudo systemctl restart postgresql-16

# Connect
sudo -u postgres psql
Method 2 Commands
# Start/Stop/Restart (as postgres user)
sudo su - postgres
/usr/pgsql-16/bin/pg_ctl -D /pgDATA/16/sutadev start
/usr/pgsql-16/bin/pg_ctl -D /pgDATA/16/sutadev stop
/usr/pgsql-16/bin/pg_ctl -D /pgDATA/16/sutadev restart
exit

# Connect
sudo -u postgres psql -p 5433
Summary
You learned:
✅ Installation: Install PostgreSQL 16 from PGDG repository
✅ Method 1 - systemctl:
- Default location:
/var/lib/pgsql/16/data - Port: 5432
- Managed by systemd
- Best for production
✅ Method 2 - pg_ctl:
- Custom location:
/pgDATA/16/sutadev - Port: 5433
- Manual management
- Best for development/testing
Both methods are valid and serve different purposes!
About the Author

More tutorials you might like
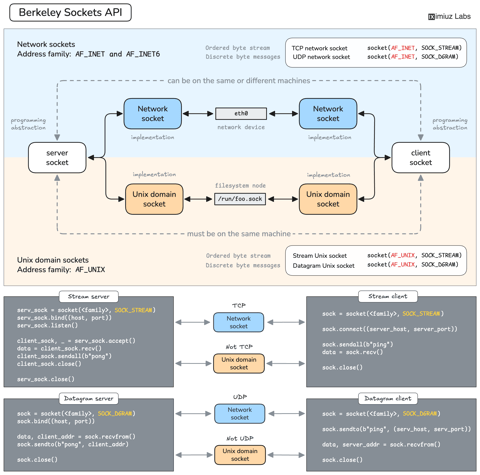
How Servers Work: A Hands-On Introduction to TCP Sockets
Learn how servers actually work by building a tiny TCP server and client from scratch. A hands-on introduction to sockets, TCP, and the network programming model every backend, DevOps, and platform engineer should go through at least once.

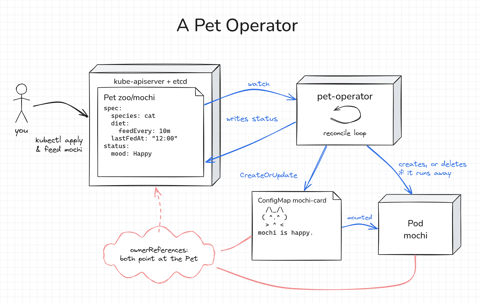
How Kubernetes Operators Work: Building a Controller From Scratch
Build a Kubernetes operator for a small Pet API, first as a 15-line bash loop and then as a Go controller with controller-runtime. Every Pet gets a Pod to live in, gets hungry as time passes, and runs away if nobody feeds it. Along the way, you'll see how the reconcile loop works.

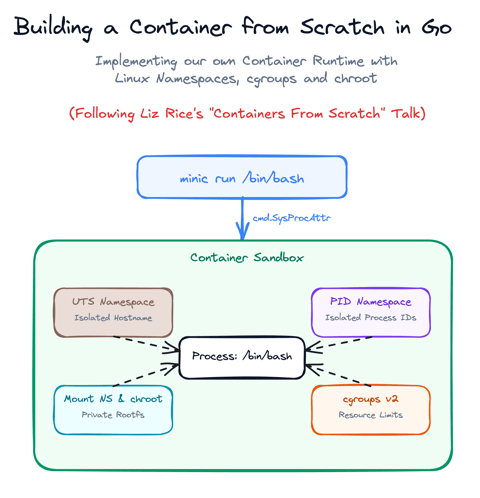
Build a Container from Scratch in Go (Liz Rice GOTO 2018)
Follow along with Liz Rice's classic GOTO 2018 presentation and build your own container runtime in under 100 lines of Go using Linux namespaces, chroot, and cgroups.

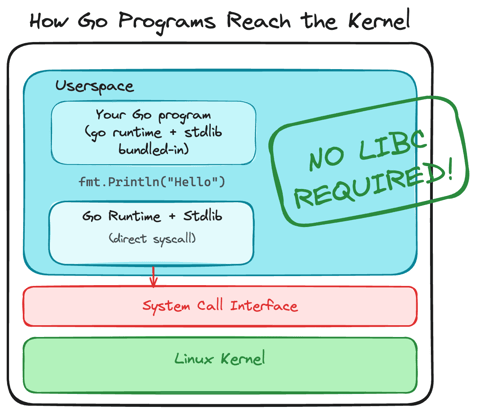
Using Go for Systems Programming
Discover how Go functions under the hood as a modern systems programming language. Learn how Go makes system calls directly, resulting in self-contained binaries that have no libc dependencies.
Learn by doing, not just by reading or watching
Sign up for a free account to start a VM playground right on this page, track your progress, and get notified about new learning materials.