TCP/IP — A Five-Minute Overview

The TCP/IP model has four layers. From bottom to top:
| Layer | Job | Examples |
|---|---|---|
| Link | Move bits over a single hop (cable, Wi-Fi). | Ethernet, ARP |
| Network | Move packets across networks using IP addresses. | IP, ICMP |
| Transport | Move bytes between processes, reliably (TCP) or not (UDP). | TCP, UDP |
| Application | What the user actually cares about. | HTTP, DNS, SSH |
This tutorial runs itself. As soon as the playground finishes booting, the terminal on the right plays a script that walks through each layer using real Linux commands. You don't need to type anything; just read the explanations below and watch the output appear on the right.
If the demo doesn't auto-start, press alt+t to open
a terminal — it will play immediately. You can replay it any time by
running play-demo.
Layer 1 — Link
ip -br link is the first thing the demo runs. It lists every network
interface on this VM in a brief format:
lo— the loopback interface, always present, used for127.0.0.1traffic.eth0— the virtual NIC connected to Docker's bridge network. Its state column tells you whether the link is UP (cable plugged in, virtually).
The link layer doesn't know about IP addresses. All it knows is "send these bits to the next hop on this wire."
Layer 2 — Network (IP)
Three commands run here:
ip -4 addr show eth0 reveals the IPv4 address Docker handed out to this
container — usually something in the 172.17.0.0/16 range. That's the address
other machines on the same network use to reach this one.
ip route shows the routing table. Notice the default route — it points
at the bridge gateway (typically 172.17.0.1). Any packet whose destination
isn't on a directly-attached network goes through that gateway.
ping -c 2 8.8.8.8 proves end-to-end reachability via ICMP. Each reply line
shows the round-trip time. The fact that this works at all means the network
layer correctly routed the packets out through the gateway, across the
internet, and back.
Layer 3 — Transport (TCP)
ss -tnlp lists every listening TCP socket on this VM. You should see a
line for 0.0.0.0:8080 — that's a tiny python HTTP server we started for you
on boot. The -t is for TCP, -n shows numeric addresses, -l filters to
listening sockets, -p shows the process holding each socket.
The next command, curl -v http://localhost:8080, opens a real TCP connection
to that listener. The grep filter keeps only the protocol-relevant lines:
- Lines starting with
*are libcurl's bookkeeping (DNS resolved, TCP socket opened, connection established). - Lines starting with
>are bytes we are sending — the HTTP request. - Lines starting with
<are bytes the server sent back — the response status line and headers.
Together, that's a full TCP three-way handshake plus an HTTP exchange.
Layer 4 — Application
getent hosts google.com asks the system resolver to turn a name into an IP.
Under the hood that's DNS — usually a UDP query to whatever resolver is
configured in /etc/resolv.conf. The output format is IP hostname.
curl -sI http://localhost:8080 then shows the HTTP response headers
from our local server: status line, Content-Type, Content-Length, and so
on. The HTTP layer doesn't care about TCP segmentation or IP routing — it
just sees a request go out and a response come back.
See it in a browser
The curl commands talked to a tiny python HTTP server running locally on
port 8080. To see what it serves as a real web page, you can run:
curl http://localhost:8080
(In a future revision of this tutorial we'll add a side preview tab so the rendered page shows up next to the terminal automatically.)
Where this fits in the program
This was just the 30,000-foot view. The rest of this unit goes deeper into
each layer, plus subnetting (carving IP ranges into subnets), DNS records
beyond A lookups, load balancing, and how all of this maps to a Virtual
Private Cloud (VPC) on Google Cloud.
About the Author
More tutorials you might like
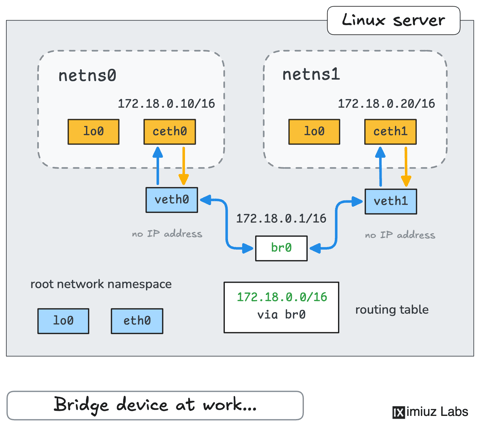
How Container Networking Works: Building a Bridge Network From Scratch
Begin with the basics to understand Docker and Kubernetes networking: learn how to create and interconnect Linux network namespaces using only command-line tools.

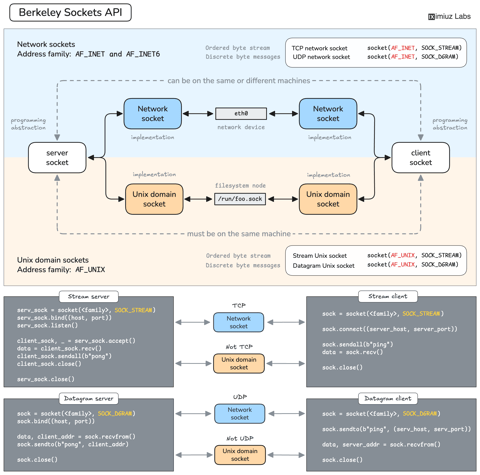
How Servers Work: A Hands-On Introduction to TCP Sockets
Learn how servers actually work by building a tiny TCP server and client from scratch. A hands-on introduction to sockets, TCP, and the network programming model every backend, DevOps, and platform engineer should go through at least once.
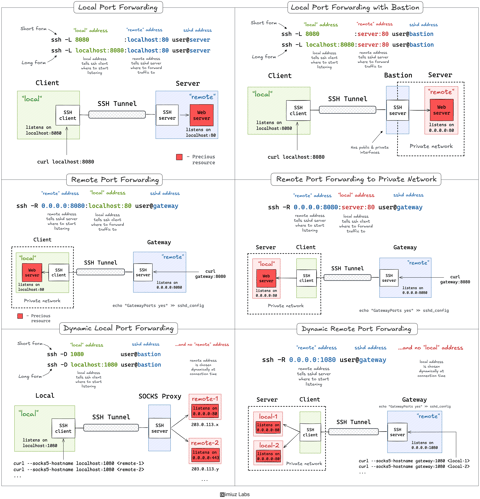
A Practical Guide to SSH Tunnels: Local and Remote Port Forwarding
SSH port forwarding explained in a clean and visual way. How to use local and remote port forwarding. What sshd settings may need to be adjusted. How to memorize the right flags.
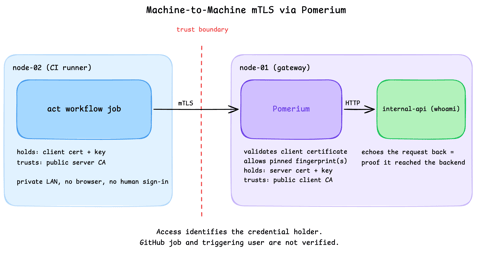
Secure Machine-to-Machine Access with mTLS and Pomerium
Run a GitHub Actions-compatible continuous integration (CI) job on a private runner and protect its internal API call with mutual TLS (mTLS) and Pomerium. Build separate server and client trust chains, authorize one machine certificate by fingerprint, then revoke, restore, and rotate its credentials through live policy changes.

Learn by doing, not just by reading or watching
Sign up for a free account to start a VM playground right on this page, track your progress, and get notified about new learning materials.