Edit Files in the Terminal with nano and vim

You can now move around the filesystem and create, move, and delete files. What you cannot do yet is change what is inside a file. That is what this tutorial is for.
On a server there is no Notepad and no mouse. You edit files with a program that runs inside the terminal itself. You will meet the two you will actually encounter:
- nano, which behaves roughly how you expect a text editor to behave
- vim, which does not, but which is installed on practically every Linux machine in existence
A configuration file has been prepared for you at /home/laborant/server.conf.
Part 1: nano, the friendly one
Opening a file
Type nano followed by a filename:
$ nano notes.txt
If the file exists, nano opens it. If it does not exist, nano starts an empty document and will create the file when you save. Either way, the terminal is replaced by the editor, which looks roughly like this:
  GNU nano 7.2                      notes.txt

█


                    [ New File ]
^G Help      ^O Write Out   ^W Where Is   ^K Cut
^X Exit      ^R Read File   ^\ Replace    ^U Paste
Reading the bottom bar
Those last two lines are the whole reason nano is friendly: it tells you the shortcuts as you work. You do not have to remember anything.
The one piece of decoding you need is the caret symbol. ^ means the Ctrl key.
So ^O means hold Ctrl and press O. It is not a capital letter and there is no
Shift involved.
The two that matter right now:
| Shown as | Means | Does |
|---|---|---|
^O | Ctrl and O | Write Out, which is nano's name for save |
^X | Ctrl and X | Exit |
Typing, saving, and leaving
Typing works exactly as you would hope. Letters appear, Enter makes a new line, Backspace deletes, and the arrow keys move around.
To save and leave:
- Press Ctrl and O. Nano shows the filename at the bottom and waits.
- Press Enter to confirm that name.
- Press Ctrl and X to exit back to your shell.
That middle step catches people out. Ctrl and O does not save immediately, it asks you what to call the file first. Pressing Enter accepts the name it is already suggesting.
💡 Since there is no separate command in this series for reading a file, opening it in nano and pressing Ctrl and X to leave without saving is a perfectly good way to look at what is inside something.
Your turn
Create a file at /home/laborant/notes.txt containing this exact sentence:
Linux is not so scary after all.
Show me the steps
cd /home/laborant
nano notes.txt
Type the sentence, then:
- Ctrl and O, then Enter to save
- Ctrl and X to exit
Part 2: vim, the one on every server
Why bother
nano is easier, so why learn vim at all? Because nano is not guaranteed to be installed, and vim very nearly is. Minimal server images, rescue environments and containers frequently ship with vim and nothing else. Knowing just enough vim to change a line and get out is a genuinely useful survival skill.
Just enough is the goal here. Nobody expects you to be fast at it.
The thing that makes vim different
Most editors have one mode: you type, and letters appear. vim has several, and it starts in one where typing does not insert text at all.
The two that matter:
| Mode | What typing does |
|---|---|
| Normal | Keys are commands. Pressing d does not write a d, it starts a delete. |
| Insert | Keys are text, exactly like nano. |
vim opens in normal mode. This is the source of nearly all beginner confusion. You open a file, start typing, and the screen does bizarre things, because every keystroke is being read as an instruction.
Getting between the modes
        press i
NORMAL ---------> INSERT
       <---------
       press Esc
iswitches from normal mode into insert mode, at the cursor. Think i for insert.- Escape switches back from insert mode to normal mode.
When you are in insert mode, vim shows -- INSERT -- at the bottom left. If you
cannot see that, you are in normal mode.
Saving and quitting
From normal mode (press Escape first if unsure), type a colon. The cursor jumps to the bottom line, where you can type a command:
| Type this | Then Enter | Result |
|---|---|---|
:wq | ↵ | Write and quit. Save and leave. |
:q | ↵ | Quit, but refuses if you changed anything |
:q! | ↵ | Quit and throw away changes. Your escape hatch. |
:q! is worth memorising today. If you ever open vim, make a mess, and want out
with nothing saved, press Escape and type :q! then Enter. You are never trapped.
💡 On this machine vim is configured to show line numbers down the left, counted relative to the line your cursor is on, so the numbers appear to change as you move. That is a deliberate setting, not a fault. There is also a status line at the bottom showing the filename, line and column. Stock vim on a fresh server usually shows none of this.
Your turn
Open /home/laborant/server.conf. It currently reads:
# Web server configuration
listen_port = 8080
max_connections = 100
timeout_seconds = 30
log_level = debug
Change the last line so that log_level is set to info instead of debug.
Leave every other line exactly as it is.
Show me the steps
vim /home/laborant/server.conf
Then, in order:
- Use the arrow keys to put the cursor on the word
debug - Press
ito enter insert mode, and check for-- INSERT --at the bottom - Use Backspace to delete
debug, then typeinfo - Press Escape
- Type
:wqand press Enter
If it goes wrong at any point, press Escape and type :q! then Enter to leave
without saving, and start again.
Part 3: changing a file without wrecking it
Adding is not replacing
Here is a mistake beginners make constantly. They open a config file, want to add one setting, start typing immediately, and overwrite what was already on that line.
Adding a line means moving the cursor to the end, making a new line, and typing
there. In vim, one handy way is the o key: pressed in normal mode, it opens a
fresh line below the cursor and puts you straight into insert mode.
Your turn
Add this line to the end of /home/laborant/server.conf:
enable_cache = true
All five existing lines must still be there when you are done.
Show me the steps
In vim:
- Open the file, then press
G(capital G) to jump to the last line - Press
oto open a new line below and enter insert mode - Type
enable_cache = true - Press Escape, then type
:wqand Enter
In nano it is simpler: arrow down to the bottom, press Enter for a new line, type, then Ctrl and O, Enter, Ctrl and X.
What you learned
| nano | vim | |
|---|---|---|
| Open | nano file | vim file |
| Start typing | Just type | Press i first |
| Stop typing | Not a thing | Press Escape |
| Save | Ctrl and O, then Enter | :w |
| Quit | Ctrl and X | :q |
| Save and quit | Ctrl and O, Enter, Ctrl and X | :wq |
| Quit, discarding changes | Ctrl and X, then N | :q! |
| Shortcuts shown on screen | Yes | No |
The three things to actually remember:
^means Ctrl on nano's bottom bar, so^Ois Ctrl and O- vim starts in normal mode, where your keystrokes are commands, and
igets you into insert mode where they are text :q!is the escape hatch. Escape, then:q!, then Enter leaves vim without saving anything, no matter what state you have got yourself into
Use nano when it is available and you just want the job done. Learn the handful of vim keys above for the machines where nano is not an option.
Next up: finding out what machine you are actually logged into, and who you are.
About the Author
More tutorials you might like
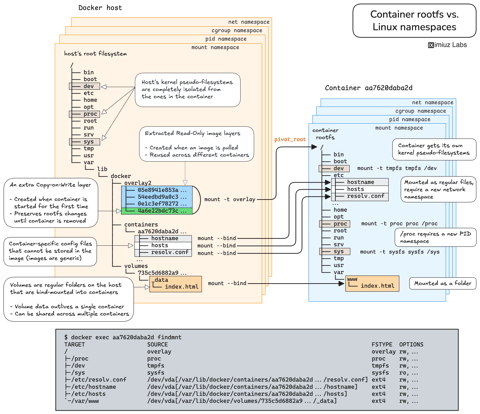
How Container Filesystem Works: Building a Docker-like Container From Scratch
Learn how Linux containers are built from the ground up. Starting with the mount namespace and a root filesystem, see why PID, cgroup, UTS, and network namespaces naturally follow - and how this foundation makes concepts like bind mounts, volumes, and persistence in Docker or Kubernetes much easier to grasp.

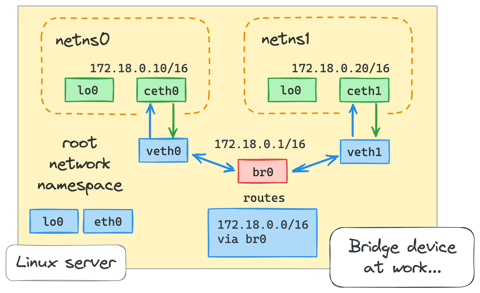
How Container Networking Works: Building a Bridge Network From Scratch
Begin with the basics to understand Docker and Kubernetes networking: learn how to create and interconnect Linux network namespaces using only command-line tools.
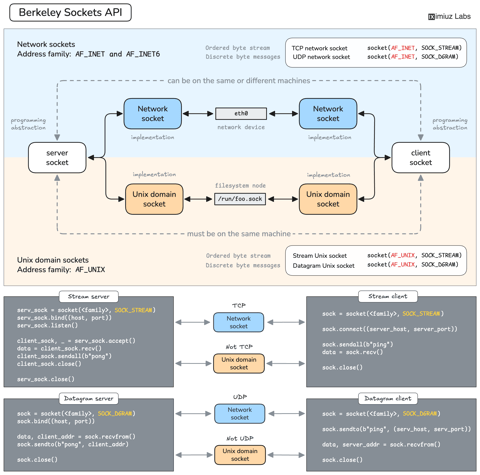
How Servers Work: A Hands-On Introduction to TCP Sockets
Learn how servers actually work by building a tiny TCP server and client from scratch. A hands-on introduction to sockets, TCP, and the network programming model every backend, DevOps, and platform engineer should go through at least once.
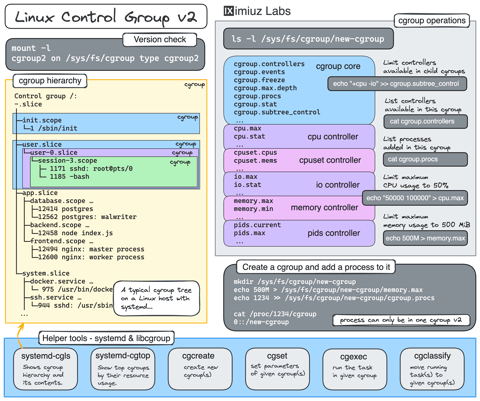
Controlling Process Resources with Linux Control Groups
Learn how to limit process resources using Linux cgroups - from the most basic and labour-intensive cgroupfs manipulation to the handiest systemd-run command.
Learn by doing, not just by reading or watching
Sign up for a free account to start a VM playground right on this page, track your progress, and get notified about new learning materials.