Docker Compose Tutorial - Multi-Container Applications Made Simple

Welcome to this comprehensive hands-on tutorial on Docker Compose! You'll learn how to orchestrate multi-container applications, manage service dependencies, and handle data persistence using a real-world Node.js and MySQL todo application.
What is Docker Compose?
Docker Compose is a tool for defining and running multi-container Docker applications. With Compose, you use a YAML file to configure your application's services, networks, and volumes. Then, with a single command, you create and start all the services from your configuration.
Key benefits of Docker Compose:
- Simplified Multi-Container Management: Define complex applications with multiple services in a single file
- Environment Consistency: Ensure your application runs the same way across development, testing, and production
- Service Orchestration: Manage dependencies, networking, and scaling between containers
- Developer Productivity: Get entire application stacks running with a single command

Docker Compose orchestrates multiple containers as a single application stack.
💡 Docker Compose follows the principle that each container should do one thing well. Instead of cramming everything into a single container, you split your application into focused, manageable services.
Prerequisites
Before we begin, make sure you have:
- Basic familiarity with Docker commands and concepts
- Understanding of containerization fundamentals
- Knowledge of YAML syntax
- Experience with web applications and databases
Let's get started!
Step 1: Verify Docker Compose Installation
Docker Compose comes bundled with Docker Desktop, but let's verify the installation and explore our environment.
Check if Docker Compose is available by running this command in the docker-01:
docker compose version
You should see output showing the Docker Compose version. If not installed, Docker Compose can be installed as part of Docker Desktop or separately.
Step 2: Explore the Application Structure
We've prepared a complete todo application with Node.js backend and MySQL database. Let's explore the application structure and understand how the pieces fit together.
Navigate to the application directory and explore the files:
cd /home/laborant/todo-list-app
ls -la
You'll see several important files:
package.json- Node.js dependencies and scriptsapp.js- Main application code with Express serverDockerfile- Instructions to build the Node.js application imagecompose.yaml- Docker Compose configuration (the star of our show!)
Let's examine each file to understand the application architecture.
Step 3: Understanding the Compose File
The compose.yaml file is where the magic happens. Let's examine its structure and understand what each section does.
Open the compose.yaml file in the IDE and examine its structure:
services:
  app:
    build: .
    ports:
      - "3000:3000"
    environment:
      - MYSQL_HOST=mysql
      - MYSQL_USER=root
      - MYSQL_PASSWORD=secret
      - MYSQL_DB=todos
    depends_on:
      - mysql

  mysql:
    image: mysql:8.0
    environment:
      - MYSQL_ROOT_PASSWORD=secret
      - MYSQL_DATABASE=todos
    volumes:
      - todo-mysql-data:/var/lib/mysql

volumes:
  todo-mysql-data:
Let's break down each section:
Services Section
App Service:
build: .- Builds the image from the Dockerfile in the current directoryports: - "3000:3000"- Maps port 3000 from container to hostenvironment- Sets environment variables for database connectiondepends_on: - mysql- Ensures MySQL starts before the app
MySQL Service:
image: mysql:8.0- Uses the official MySQL 8.0 imageenvironment- Sets up the database and root passwordvolumes- Persists data using a named volume
Volumes Section
todo-mysql-data- A named volume to persist MySQL data between container restarts
🔗 Service Networking: Docker Compose automatically creates a network for your application. Services can communicate with each other using their service names as hostnames (e.g., mysql in our app's database connection).
Step 4: Start the Multi-Container Application
Now let's bring our application to life! We'll start both the Node.js app and MySQL database with a single command.
cd /home/laborant/todo-list-app
docker compose up -d --build
The flags mean:
-d- Run in detached mode (background)--build- Build images before starting containers
You should see output showing Docker building the app image and starting both services.
Let's check what containers are running:
# Check the status of your services
docker compose ps

# Check all running containers
docker ps
You should see both the app and MySQL containers running.
Step 5: Test the Application API
Our todo application exposes a REST API. Let's test its functionality to ensure everything is working correctly.
Test the basic endpoint:
# Test the root endpoint
curl http://localhost:3000

# Test the todos endpoint
curl http://localhost:3000/api/todos
The first command should return a JSON message, and the second should return an empty array (since we haven't created any todos yet).
Step 6: Create and Manage Todo Items
Let's interact with our application by creating, reading, and updating todo items through the API.
# Add a new todo item
curl -X POST http://localhost:3000/api/todos \
  -H "Content-Type: application/json" \
  -d '{"text": "Learn Docker Compose"}'

# List all todos
curl http://localhost:3000/api/todos

# Add another todo
curl -X POST http://localhost:3000/api/todos \
  -H "Content-Type: application/json" \
  -d '{"text": "Build microservices"}'
You should see your todo items returned in JSON format with IDs, timestamps, and completion status.
To complete a todo item (replace 1 with the actual ID):
curl -X PUT http://localhost:3000/api/todos/1 \
  -H "Content-Type: application/json" \
  -d '{"completed": true}'
Step 7: Monitor Application Logs
Docker Compose makes it easy to monitor logs from all services. Let's explore the logging capabilities.
Use these commands to view logs:
# View logs from all services
docker compose logs

# View logs from a specific service
docker compose logs app
docker compose logs mysql

# Follow logs in real-time
docker compose logs -f app

# View last 20 lines of logs
docker compose logs --tail=20 mysql
You should see:
- App logs showing "Server running on port 3000"
- MySQL logs showing "ready for connections"
- API request logs when you make curl requests
💡 Pro Tip: Use docker compose logs -f to follow logs in real-time while testing your application. This helps debug issues as they happen.
Step 8: Scale Application Services
One powerful feature of Docker Compose is the ability to scale services. Let's scale our application to handle more traffic.
# Scale the app service to 3 instances
docker compose up -d --scale app=3

# Check the running containers
docker compose ps

# View all containers to see the scaling
docker ps
⚠️ Port Conflict Note: Since we're mapping to a specific port (3000), scaling might cause port conflicts. In production, you'd typically use a load balancer or let Docker assign random ports.
To scale back down:
# Scale back to 1 instance
docker compose up -d --scale app=1
Step 9: Execute Commands in Running Containers
Sometimes you need to run commands inside your containers for debugging or administration. Docker Compose makes this easy.
# Execute a shell in the app container
docker compose exec app sh

# Inside the container, you can run:
# ls -la
# ps aux
# exit

# Execute a command directly
docker compose exec app ls -la /app

# Connect to MySQL database
docker compose exec mysql mysql -u root -p todos
# Enter password: secret
# Then you can run SQL commands:
# SHOW TABLES;
# SELECT * FROM todos;
# EXIT;
This is useful for:
- Debugging application issues
- Running database migrations
- Checking file systems
- Installing additional tools for troubleshooting
Step 10: Test Data Persistence
One of the key benefits of using volumes is data persistence. Let's test that our data survives container restarts.
First, let's stop the application:
docker compose down
Now start it again:
docker compose up -d
Test that your data is still there:
curl http://localhost:3000/api/todos
Your todo items should still be there! This is because we're using a named volume (todo-mysql-data) that persists even when containers are removed.
Step 11: Advanced Docker Compose Features
Let's explore some advanced Docker Compose features that are useful in real-world scenarios.
Health Checks
Add health checks to your compose.yaml:
services:
  app:
    build: .
    ports:
      - "3000:3000"
    environment:
      - MYSQL_HOST=mysql
      - MYSQL_USER=root
      - MYSQL_PASSWORD=secret
      - MYSQL_DB=todos
    depends_on:
      mysql:
        condition: service_healthy
    healthcheck:
      test: ["CMD", "curl", "-f", "http://localhost:3000"]
      interval: 30s
      timeout: 10s
      retries: 3

  mysql:
    image: mysql:8.0
    environment:
      - MYSQL_ROOT_PASSWORD=secret
      - MYSQL_DATABASE=todos
    volumes:
      - todo-mysql-data:/var/lib/mysql
    healthcheck:
      test: ["CMD", "mysqladmin", "ping", "-h", "localhost"]
      interval: 30s
      timeout: 20s
      retries: 10
Environment Files
Create a .env file to manage environment variables:
# Create .env file
tee .env > /dev/null << 'ENVFILE'
MYSQL_ROOT_PASSWORD=secret
MYSQL_DATABASE=todos
MYSQL_USER=root
APP_PORT=3000
ENVFILE
Then reference in your compose.yaml:
services:
  app:
    build: .
    ports:
      - "${APP_PORT}:3000"
    environment:
      - MYSQL_HOST=mysql
      - MYSQL_USER=${MYSQL_USER}
      - MYSQL_PASSWORD=${MYSQL_ROOT_PASSWORD}
      - MYSQL_DB=${MYSQL_DATABASE}
Resource Limits
Add resource constraints:
services:
  app:
    build: .
    deploy:
      resources:
        limits:
          cpus: '0.5'
          memory: 512M
        reservations:
          cpus: '0.25'
          memory: 256M
Step 12: Complete Application Lifecycle
Let's practice the complete lifecycle of managing a Docker Compose application.
Stopping Services
# Stop services (containers remain)
docker compose stop

# Start stopped services
docker compose start

# Restart services
docker compose restart
Removing Everything
# Stop and remove containers, networks
docker compose down

# Also remove volumes (destructive!)
docker compose down --volumes

# Remove unused images as well
docker compose down --rmi all
Viewing Resource Usage
# View real-time resource usage
docker stats

# View disk usage
docker system df
Best Practices for Docker Compose
Based on what we've learned, here are essential best practices:
🚀 Docker Compose Best Practices
- Use Named Volumes: Always use named volumes for data that needs to persist
- Environment Variables: Use
.envfiles for configuration management - Health Checks: Implement health checks for reliable service dependencies
- Resource Limits: Set appropriate CPU and memory limits
- Secrets Management: Never hardcode secrets in compose files
- Service Dependencies: Use
depends_onwith health checks for proper startup order ::
Production Considerations
When moving to production, consider:
# Production-ready compose file
version: '3.8'

services:
  app:
    image: myregistry/todo-app:latest  # Use specific image tags
    restart: unless-stopped            # Restart policy
    deploy:
      replicas: 3                     # Multiple instances
      resources:
        limits:
          memory: 512M
    healthcheck:
      test: ["CMD", "curl", "-f", "http://localhost:3000/health"]
      interval: 30s
      timeout: 10s
      retries: 3
    logging:                          # Centralized logging
      driver: "json-file"
      options:
        max-size: "10m"
        max-file: "3"

  nginx:                              # Load balancer
    image: nginx:alpine
    ports:
      - "80:80"
    depends_on:
      - app
Troubleshooting Common Issues
Common Docker Compose Issues and Solutions
Issue: Services can't connect to each other
Solution: Ensure services are on the same network and use service names as hostnames
Issue: Port already in use
Solution: Stop other services using the port or change the port mapping
Issue: Database connection fails
Solution: Use depends_on with health checks to ensure database is ready
Issue: Data is lost when containers restart
Solution: Use named volumes for persistent data
Issue: Compose file validation errors
Solution: Validate YAML syntax and Docker Compose schema
Issue: Build context errors
Solution: Ensure Dockerfile and all required files are in the build context
Issue: Environment variables not working
Solution: Check .env file location and variable syntax
What's Next?
Congratulations! You've successfully learned how to:
✅ Set up and run multi-container applications with Docker Compose
✅ Manage service dependencies and networking
✅ Implement data persistence with volumes
✅ Scale services and monitor application health
✅ Use advanced features like health checks and resource limits
✅ Follow best practices for production deployments
Continue Your Container Orchestration Journey
- Explore Container Orchestration: Learn about Kubernetes for production-scale deployments
- CI/CD Integration: Integrate Docker Compose into your deployment pipelines
- Monitoring and Logging: Set up centralized logging and monitoring solutions
- Security Hardening: Implement security best practices for container deployments
Pro Tip
Start simple with Docker Compose for local development, then gradually add production features like health checks, resource limits, and proper secrets management as you move toward production!
Additional Resources
- Docker Compose Documentation
- Compose File Reference
- Container Best Practices
- Production Deployment Guide
Happy orchestrating! 🐳🎼
About the Author

More tutorials you might like
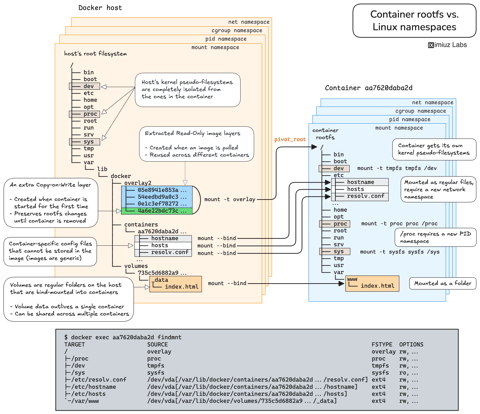
How Container Filesystem Works: Building a Docker-like Container From Scratch
Learn how Linux containers are built from the ground up. Starting with the mount namespace and a root filesystem, see why PID, cgroup, UTS, and network namespaces naturally follow - and how this foundation makes concepts like bind mounts, volumes, and persistence in Docker or Kubernetes much easier to grasp.

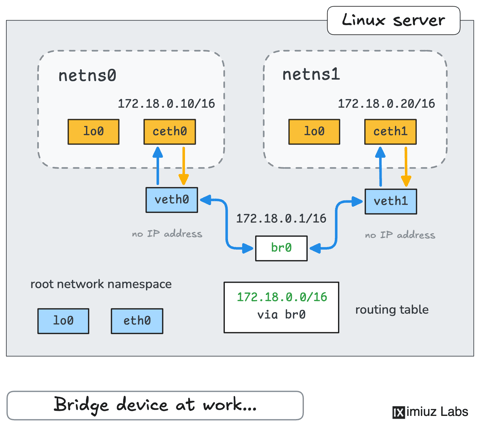
How Container Networking Works: Building a Bridge Network From Scratch
Begin with the basics to understand Docker and Kubernetes networking: learn how to create and interconnect Linux network namespaces using only command-line tools.
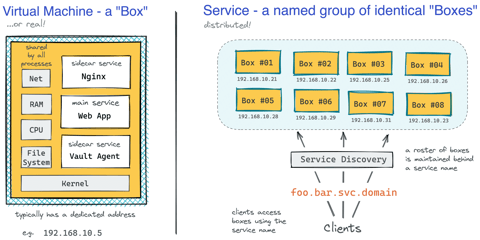
How Kubernetes Reinvented Virtual Machines - In a Good Sense
How Virtual Machines were used to deploy services. What old problems containers solve and what new problems create. How Kubernetes used containers to recreate Virtual Machines in a better way?
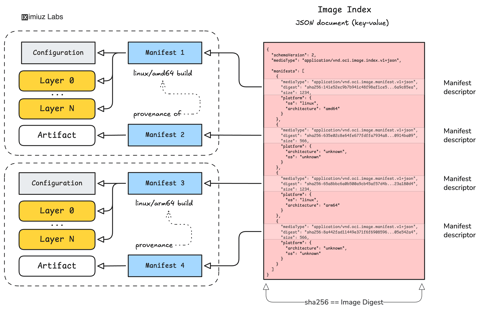
How Container Images Actually Work: Layers, Configs, Manifests, Indexes, and More
A practical deep dive into container image internals that will help you build a clear mental model of how images are composed, identified, stored, and distributed across registries.
Learn by doing, not just by reading or watching
Sign up for a free account to start a VM playground right on this page, track your progress, and get notified about new learning materials.