Cars, Containers and CAN Networking

CAN Basics
Cars use different internal networks to exchange information between the electronic control units. The communication runs over a common medium, but in a bus topoglogy in constrast to the star topology in common Ethernet networks in IT.

The CAN bus communicates using the arbitration ID (CAN ID for short) and a data payload.
Modern vehicle networks feature High Performance Computers (HCP) and containers. Some containers need to be connected to the vehicle network to receive information such as vehicle speed, position or send out information.
Virtual CAN Networking
The CAN bus is integrated into the Linux networking and provides physical drivers, but also virtual networking (similar to veth).
A CAN network interface can be added and activated (set up), which behaves like a physical CAN network, but without the bitrate and frequency configuration.
In the following we create a virtual CAN network interface vcan0 using the vcan driver.
sudo modprobe vcan
sudo ip link add vcan0 type vcan
sudo ip link set up dev vcan0
The commands above create a new CAN networking interface
ip link show dev vcan0
5: vcan0: <NOARP,UP,LOWER_UP> mtu 72 qdisc noqueue state UNKNOWN group default qlen 1000
    link/can
At this stage a program can open a socket to this interface and start communicating.
The SocketCAN implementation allows to create a socket of type PF_CAN for sending and receiving data.
s = socket(PF_CAN, SOCK_RAW, CAN_RAW);
The can-utils implement general functions to send and receive data from a CAN bus.
In this example we start candump to listen to the previously created vcan0 interface.
After we send a CAN frame via cansend on the same interface and therefore on the same CAN bus, candump displays the frame.
candump vcan0 &
cansend vcan0 123#abcd
  vcan0  123   [2]  AB CD
We can observe that on arbitration ID hex 123 the hex bytes AB CD are transmitted in the data field.
CAN and Containers
Since the CAN network is a bus topology, a vcan interface behaves like a bus system.
We can send information in the same bus and multiple processes can open a socket on that interface to exchange information.
This extends to the use inside of a container: as we move the interface into the container, all processes inside the container can use it.
CONTAINER=$(docker run -d --rm --name carly -ti alpine)
PID=$(docker inspect -f '{{.State.Pid}}' "$CONTAINER")
docker ps

CONTAINER ID   IMAGE     COMMAND     CREATED                  STATUS                  PORTS     NAMES
9f05bc214940   alpine    "/bin/sh"   Less than a second ago   Up Less than a second             carly

sudo ip link set vcan0 name vcan0 netns $PID

docker exec -ti carly ip link
This approach works with physical interfaces as well. The downside is, that only processes inside the container can use this interface. Processes outside the container share a different network namespace and therefore can't connect to the CAN network.
Thanks to the work of Oliver Hartkopp on the Linux Kernel, we can use CAN also in container setups using the vxcan driver (see Design & separation of CAN applications).
This provides a pair of interfaces (similar to veth) that share the same CAN bus and can be used in two different network namespaces (containers).

In the following we create a vxcan pair named vxcanA and vxcanB.
sudo modprobe vxcan
sudo ip link add vxcanA type vxcan peer name vxcanB
ip link show

5: vxcanB@vxcanA: <NOARP,M-DOWN> mtu 72 qdisc noop state DOWN group default qlen 1000
    link/can
6: vxcanA@vxcanB: <NOARP,M-DOWN> mtu 72 qdisc noop state DOWN group default qlen 1000
    link/can
The newly created vxcan interface pair needs to be moved into the container and set "up".
This can be done using the ip tool in conjunction with nsneter:
- the
vxcanBinterface is moved in the container (identified by process ID) - the network interface in the container
vxcanBis renamed tocan0 can0in the container is set "up"- the host interface
vxcanAis set up
sudo ip link set up dev vxcanB
sudo ip link set vxcanB name can0 netns $PID
sudo nsenter -t $PID -n ip link set vxcanB name can0
sudo nsenter -t $PID -n ip link set can0 up
sudo ip link set up dev vxcanA
The result is a container running cangen and a host interface. At this point the host should receive the CAN data from the container.
candump vxcanA
Docker Compose
Install the Docker plugin.
docker plugin install wsovalle/vxcan
Plugin "wsovalle/vxcan" is requesting the following privileges:
 - network: [host]
 - capabilities: [CAP_NET_ADMIN]
Do you grant the above permissions? [y/N] y
latest: Pulling from wsovalle/vxcan
Digest: sha256:9a0346041673fcc28764352859d0f6e04f0ec15755b131266925ceae399d7ebb
8d673625b8e2: Complete
Installed plugin wsovalle/vxcan
Load the CAN-GW module!
sudo modprobe can-gw
Write a docker-compose.yml into your current directory.
services:
  udsserver:
    image: rkugler/carly
    command: ["cangen", "can0"]
    tty: true
    networks:
      - canbus0
networks:
  canbus0:
    driver: wsovalle/vxcan:latest
    driver_opts:
      vxcan.dev: can_hostA
      vxcan.peer: can
      vxcan.id: 0
eBPF Programming
sudo apt-get update -y && sudo apt-get install bpfcc-tools libbpfcc-dev python3-bpfcc xz-utils gcc rsync libbpf-dev bpftool flex autoconf -y
wget -O linux-6.1.141.tar.xz https://cdn.kernel.org/pub/linux/kernel/v6.x/linux-6.1.141.tar.xz
tar -C /usr/src/ -xf linux-6.1.141.tar.xz
sudo ln -sfn linux-6.1.141 /usr/src/linux

sudo apt update -y && sudo apt install -y git build-essential clang llvm libelf-dev libz-dev libcap-dev binutils-dev libbpf-dev libssl-dev
git clone --recurse-submodules https://github.com/libbpf/bpftool.git
cd bpftool/src
sudo make install
In this first step we just use the XDP hook to print the data.
SEC("xdp")
int xdp_filter_can(struct xdp_md *ctx)
{
    void *data_end = (void *)(long)ctx->data_end;
    void *data = (void *)(long)ctx->data;
    struct can_frame *frame = data;

    if(data + sizeof(struct can_frame) > data_end)
    {
        return XDP_DROP;
    }

    bpf_printk("can/xdp id=0x%x dlc=%d data=0x%02x.%02x.%02x.%02x.%02x.%02x.%02x.%02x\n",
        frame->can_id,
        frame->can_dlc,
        frame->data[0],
        frame->data[1],
        frame->data[2],
        frame->data[3],
        frame->data[4],
        frame->data[5],
        frame->data[6],
        frame->data[7]); // 8 data bytes

    return XDP_ALLOW; // catch all
}
Clone the edgecase1/ebpf-can repo.
git clone https://github.com/edgecase1/ebpf-can
cd ebpf-can/can-xdp-starter/
sudo bpftool btf dump file /sys/kernel/btf/vmlinux format c > vmlinux.h
make

ls -la can-xdp.bpf.o
-rw-rw-r-- 1 laborant laborant 8576 Jun 29 11:05 can-xdp.bpf.o
Identify the CAN interface using ip link.
The interface should be up and of type can.
8: vcanf78c1b1f@if7: <NOARP,UP,LOWER_UP> mtu 72 qdisc noqueue state UP mode DEFAULT group default qlen 1000    link/can  link-netnsid 0

sudo bash run.sh xdp_start vcanf78c1b1f
use xdp_unload <dev> to load this program

[ ] loading 'can-xdp.bpf.o' and attaching it to vcanf78c1b1f (XDP)
8: vcanf78c1b1f@if7: <NOARP,UP,LOWER_UP> mtu 72 xdpgeneric qdisc noqueue state UP mode DEFAULT group default qlen 1000
    link/can  link-netnsid 0
    prog/xdp id 71 name xdp_can_drop_id tag 4124a3daf685e437 jited

------------------------------------------------------------------------
eBPF program has been loaded and attached to device vcanf78c1b1f.
After this promt is closed the eBPF program is detached and unloaded.
Press ENTER or CTRL-D to close this promt.
------------------------------------------------------------------------
In a new Terminal you can verify what's talked on the CAN bus:
candump vcanf78c1b1f
  vcanf78c1b1f  143   [8]  4A 83 F5 5E 0A E8 41 66
  vcanf78c1b1f  4E1   [0]
  vcanf78c1b1f  475   [5]  2D 69 64 22 2A
  vcanf78c1b1f  681   [8]  86 6C 5D 05 64 C2 B9 24
  vcanf78c1b1f  4CB   [8]  CD 42 46 04 23 0F BC 33
  vcanf78c1b1f  7A3   [8]  44 E3 EF 2E CF 42 2E 20
  vcanf78c1b1f  209   [8]  82 69 62 78 3A F2 90 7E
  vcanf78c1b1f  534   [5]  7F 3A F4 0D 77
And the same conversation should be visible in the trace-pipe.
sudo cat /sys/kernel/tracing/trace_pipe
  cangen-3231    [000] ..s21  1047.140230: bpf_trace_printk: can/xdp id=0x65 dlc=8 data=0xba.2c.28.7c.93.dc.69.59
  cangen-3231    [000] ..s21  1047.340373: bpf_trace_printk: can/xdp id=0x4b9 dlc=8 data=0x68.e4.25.1f.1c.eb.e2.5e
  cangen-3231    [000] ..s21  1047.540489: bpf_trace_printk: can/xdp id=0x39e dlc=5 data=0xcc.d0.41.3b.08.00.00.00
To actually filter a CAN ID, for a simple demo purpose, we need to adapt the code can-xdp.bpf.c.
At this point we could remove the debug bpf_printk statement as well.
if(frame->can_id >= 0x123) // drop CAN frames with CAN ID 0x123 packets
{
    bpf_printk("dropping CAN frame with ID %x", frame->can_id);
    return XDP_DROP;
}
After we finished editing, we need to rebuild the object file and load it.
make
clang -g -O2 -target bpf -D__TARGET_ARCH_x86_64 -I . -c can-xdp.bpf.c -o can-xdp.bpf.o
sudo bash run.sh xdp_start vcanf78c1b1f```
After the new program is loaded you shoud see only packets with CAN ID up to 0x122 and the dropped CAN frames are shown in the trace-pipe.
  cangen-3231    [002] ..s21  1482.786976: bpf_trace_printk: dropping CAN frame with ID 788
  cangen-3231    [002] ..s21  1482.987073: bpf_trace_printk: dropping CAN frame with ID 77f
  cangen-3231    [002] ..s21  1483.187178: bpf_trace_printk: dropping CAN frame with ID 41b
  cangen-3231    [002] ..s21  1483.387305: bpf_trace_printk: dropping CAN frame with ID 783
About the Author

More tutorials you might like
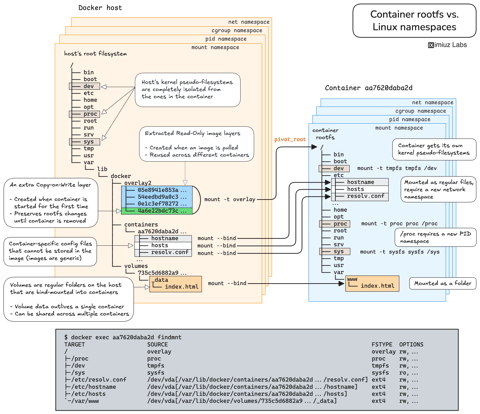
How Container Filesystem Works: Building a Docker-like Container From Scratch
Learn how Linux containers are built from the ground up. Starting with the mount namespace and a root filesystem, see why PID, cgroup, UTS, and network namespaces naturally follow - and how this foundation makes concepts like bind mounts, volumes, and persistence in Docker or Kubernetes much easier to grasp.

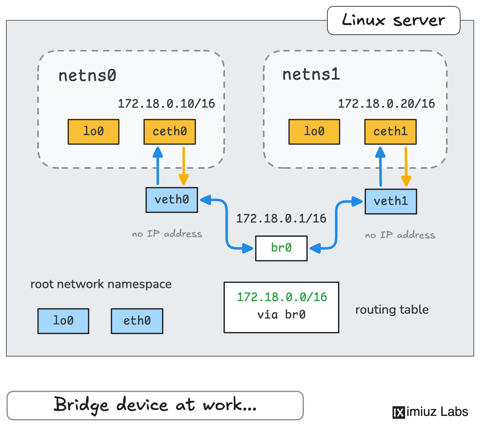
How Container Networking Works: Building a Bridge Network From Scratch
Begin with the basics to understand Docker and Kubernetes networking: learn how to create and interconnect Linux network namespaces using only command-line tools.
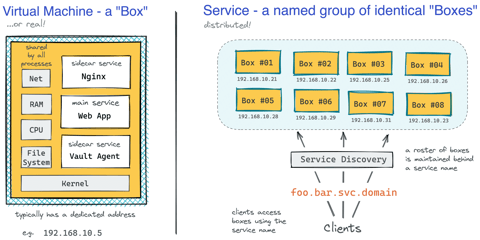
How Kubernetes Reinvented Virtual Machines - In a Good Sense
How Virtual Machines were used to deploy services. What old problems containers solve and what new problems create. How Kubernetes used containers to recreate Virtual Machines in a better way?
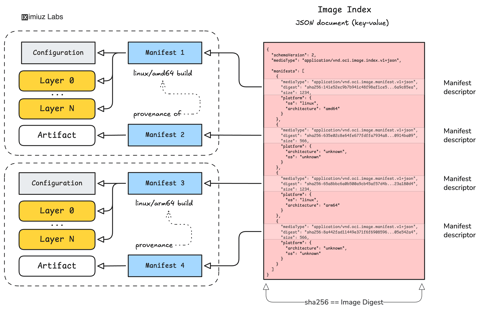
How Container Images Actually Work: Layers, Configs, Manifests, Indexes, and More
A practical deep dive into container image internals that will help you build a clear mental model of how images are composed, identified, stored, and distributed across registries.
Learn by doing, not just by reading or watching
Sign up for a free account to start a VM playground right on this page, track your progress, and get notified about new learning materials.