Multus CNI from Scratch: Add a Second Pod Network

AI assistance, personal use, and safety notice
This tutorial was created with Hermes Agent and GTP-6-Astra Ultra for personal learning and experimentation. It is an AI-assisted learning resource, not official documentation or production guidance.
It may contain mistakes, outdated instructions, or unsafe assumptions. Read the tutorial carefully and independently review every command and manifest before running it. Use an isolated, disposable lab, not production or a system you cannot afford to break. Passing the included checks is not a security audit or a guarantee that the instructions are safe in another environment.
I provide this material as is, for educational purposes only, with no warranties or guarantees of accuracy, completeness, security, safety, or suitability for your needs. Use your own judgment and proceed at your own risk. You are responsible for deciding what to run in your environment and for the consequences.
Before you start
CKNE focus: Created for personal preparation for the Linux Foundation Kubernetes Network Engineer Program, specifically Core Infrastructure and CNI → Configuring Multi-interface Pods. This is an independent practice tutorial, not an official or endorsed Linux Foundation course.
Goal: give a Kubernetes pod a second interface, understand which plugin creates it, and fix a broken attachment without breaking normal Kubernetes networking.
This is an original Multus lesson using the same explain → do → inspect → verify rhythm as Container Networking From Scratch. It does not copy that tutorial's text or exercises.
Starting point: Kubernetes, containerd and Flannel already work. Multus is not installed, and no NetworkAttachmentDefinitions or exercise pods have been created. You install Multus and create the resources yourself. “From scratch” here means no prior Multus knowledge or configuration, not building Kubernetes from scratch.
Recommended official prerequisites
These are optional refreshers from the official iximiuz Labs catalog, not mandatory extra assignments. Use them before starting this playground if the underlying concepts are unfamiliar. If you already understand namespaces, veth pairs, and Linux bridges, skip straight to section 0.
- Guided introduction: How Container Networking Works: Building a Bridge Network From Scratch. Focus on network namespaces, virtual Ethernet pairs, and the section Interconnecting containers using a virtual network switch (bridge). You can stop there: the later NAT/masquerading and port-publishing sections are not prerequisites for this Multus lesson.
- Hands-on warm-up · Medium: Connect Two Network Namespaces. Practise creating a veth pair, moving one end into a namespace, assigning addresses, and verifying traffic in both directions.
- Optional consolidation · Hard: Connect Multiple Network Namespaces. Connect multiple namespaces and the host, then verify that they can communicate with each other. This builds on the previous challenge and reinforces the topology behind the secondary network in this tutorial.
Kubernetes basics assumed: you can create a namespace and a Pod from YAML, and use kubectl apply, get, describe, and exec. Cluster installation is provided by the playground, not a prerequisite exercise.
Cap each sitting at 60 minutes, including boot and checks. Section 3 is a natural stopping point; take another sitting for the remaining steps if needed. You can stop and resume the same playground run later; start a new run when you want a clean reset. You need basic kubectl, pod YAML, and the bridge/veth ideas from the earlier tutorial. You do not need to understand iptables yet.
When starting, use Networking plugin = flannel and Container runtime = containerd. Keep these defaults if the start dialog offers choices. Run commands on dev-machine unless a block explicitly says node-01. Wait for each green checkpoint before moving on. Checks inspect the real cluster; they do not perform the exercise for you.
Use only this disposable playground. The Multus quickstart installs privileged, cluster-wide components and is not a production rollout or uninstall procedure. Nothing in this tutorial requires touching your own server.
0. What problem does Multus solve?
Normally, a pod gets its ordinary Kubernetes network through eth0. Sometimes an application also needs a separate network: for example, a storage path, a legacy LAN, or a high-performance network device.
Multus is a meta-CNI plugin: it calls other CNI plugins so one pod can attach to multiple networks. It does not replace the network implementation. The Multus quickstart expects a working primary network first; additional interfaces are configured using Kubernetes custom resources.
In this lesson:
Before:
  container runtime → Flannel → pod eth0

After:
  container runtime → Multus
                        ├─ Flannel          → pod eth0
                        └─ bridge + IPAM    → pod net1
Think of the components separately:
| Component | Responsibility in this lab |
|---|---|
| Multus | Read the pod's requested networks and delegate setup. |
| Flannel | Keep the ordinary Kubernetes network working on eth0. |
bridge | Connect a pod's extra interface to a node-local Linux bridge. |
host-local | Allocate an unused IP from a configured pool on that node. |
| NetworkAttachmentDefinition, or NAD | Store the extra network's CNI configuration in Kubernetes. |
The diagram is a setup/control flow, not a packet-forwarding path. Once the interfaces exist, packets traverse Linux interfaces, bridges and routes, not the Multus process.
Predict: if you install Multus but request no extra network, should a new pod have net1? Keep your answer in mind.
1. Observe the normal network first
Create two ordinary pods. plain runs on node-01; remote runs on node-02. The loop only avoids repeating identical pod YAML. Neither pod requests an additional network.
kubectl create namespace multus --dry-run=client -o yaml | kubectl apply -f -
for pair in plain:node-01 remote:node-02; do
  NAME=${pair%%:*}
  NODE=${pair##*:}
  kubectl apply -f - <<EOF
apiVersion: v1
kind: Pod
metadata:
  name: ${NAME}
  namespace: multus
  labels:
    lesson: multus
spec:
  nodeSelector:
    kubernetes.io/hostname: ${NODE}
  containers:
  - name: tools
    image: nicolaka/netshoot:v0.14
    imagePullPolicy: IfNotPresent
    command: ["sleep", "infinity"]
    resources:
      requests: {cpu: "10m", memory: "32Mi"}
      limits: {memory: "256Mi"}
EOF
done
kubectl -n multus wait --for=condition=Ready pod/plain pod/remote --timeout=180s
Inspect the interfaces, routes, and pod placement:
kubectl -n multus get pods -o wide
kubectl -n multus exec plain -- ip -br addr
kubectl -n multus exec plain -- ip route
Expect lo and eth0, with the default route using eth0. IPs are allocated dynamically; do not copy an address from somebody else's output.
Test cross-node pod traffic and Kubernetes DNS:
REMOTE_IP=$(kubectl -n multus get pod remote -o jsonpath='{.status.podIP}')
kubectl -n multus exec plain -- ping -c 2 -W 2 "$REMOTE_IP"
kubectl -n multus exec plain -- getent ahostsv4 kubernetes.default.svc.cluster.local
Why do this first? Without a baseline, a later failure could be blamed on Multus when the ordinary network was already broken.
2. Install Multus without replacing Flannel
The playground includes ~/multus/install-multus.yaml, but has not applied it. It is the upstream Multus v4.3.1 thick-plugin quickstart manifest, with both images pinned to v4.3.1-thick instead of the upstream snapshot tag, and daemon memory set to 128Mi for this lab.
The manifest adds a CRD, API permissions, a service account, configuration, and a DaemonSet. The DaemonSet installs and configures the Multus entry point on the Kubernetes nodes.
kubectl apply -f ~/multus/install-multus.yaml
kubectl -n kube-system rollout status daemonset/kube-multus-ds --timeout=180s
kubectl -n kube-system get pods -l app=multus -o wide
kubectl get crd network-attachment-definitions.k8s.cni.cncf.io
Switch to node-01 and inspect the node's files:
sudo ls -1 /etc/cni/net.d
sudo cat /etc/cni/net.d/00-multus.conf
sudo test -x /opt/cni/bin/bridge && sudo test -x /opt/cni/bin/host-local
Look for a new Multus configuration and the original Flannel configuration. The generated Multus configuration delegates the primary network to the existing CNI configuration. Do not delete Flannel. Configuration changes affect subsequent pod network setup; they do not add interfaces to already-running pods.
Why does Multus use 00 while Flannel uses 10?
The filenames control configuration selection, not packet priority. Containerd's CNI configuration loader sorts eligible configuration filenames lexicographically (by name). In this playground's single-default-network setup, 00-multus.conf sorts before 10-flannel.conflist, so containerd selects Multus as its CNI entry point.
- Before installation:
10-flannel.conflistis selected, so containerd calls Flannel directly. - After installation:
00-multus.confis selected. Multus delegates the primary network to Flannel and sets up any secondary networks requested by the pod.
00 and 10 are filename-ordering conventions, not special CNI version numbers or reserved plugin IDs. Containerd does not simply run every file in this directory in numbered order: in this setup, Flannel still runs because Multus delegates to it, not because 10 comes after 00. Other runtime configurations may load more than one network configuration.
Keep both files and their names unchanged for this exercise. Renaming Flannel so it sorts before Multus could bypass Multus for new pod network setup, leaving secondary-network annotations unhandled.
Return to dev-machine and create a fresh pod with no extra-network annotation:
kubectl -n multus run post-install \
  --image=nicolaka/netshoot:v0.14 \
  --overrides='{"spec":{"nodeSelector":{"kubernetes.io/hostname":"node-01"}}}' \
  --command -- sleep infinity
kubectl -n multus wait --for=condition=Ready pod/post-install --timeout=180s
kubectl -n multus exec post-install -- ip -br addr
kubectl -n multus exec post-install -- ip route
Answer to the earlier prediction: still no net1. Multus is available, but this pod did not request a second network. A running DaemonSet alone would not prove CNI works; this fresh pod exercises it.
3. Describe an extra network
A NetworkAttachmentDefinition is a namespaced Kubernetes object containing a CNI configuration. Creating it stores a recipe; it does not immediately add interfaces to pods.
We will use a Linux bridge called br-blue and the address pool 192.168.50.0/24. This is separate from both the nodes' LAN and the primary pod address range in this playground.
kubectl apply -f - <<'EOF'
apiVersion: k8s.cni.cncf.io/v1
kind: NetworkAttachmentDefinition
metadata:
  name: blue-lan
  namespace: multus
spec:
  config: |
    {
      "cniVersion": "0.3.1",
      "name": "blue-lan",
      "type": "bridge",
      "bridge": "br-blue",
      "isGateway": false,
      "isDefaultGateway": false,
      "ipMasq": false,
      "ipam": {
        "type": "host-local",
        "ranges": [[{"subnet": "192.168.50.0/24"}]]
      }
    }
EOF
kubectl -n multus get nad blue-lan -o yaml
Read it from the outside in:
cniVersion: 0.3.1: the CNI configuration version used and checked in this exercise, not the Multus release version.metadata.name: blue-lan: the name a pod will request.spec.config: a JSON string, not another Kubernetes resource.type: bridge: the CNI executable that creates the extra connection.bridge: br-blue: the Linux bridge name, not the NAD name.ipam.type: host-local: a second plugin that allocates addresses on this node.- No secondary default route, gateway mode, or masquerading: we only need local pod-to-pod traffic.
ipMasq: false tells this bridge plugin not to install its own masquerading rules. It does not disable host-wide firewall/NAT processing or rules installed by another component.
Predict: has plain acquired net1 now? Inspect it again:
kubectl -n multus exec plain -- ip -br addr
It should still have no net1. A recipe is not a connection.
Both secondary-network pods will run on node-01. A Linux bridge is local to one host, and host-local only guarantees address uniqueness on that host. Giving another node a bridge with the same name and subnet does not connect the bridges. This is not a cross-node secondary network or a security-isolation guarantee.
4. Ask two pods to join the extra network
The important addition is the annotation:
k8s.v1.cni.cncf.io/networks: blue-lan
The unqualified name refers to a NAD in the pod's namespace. Multus reads the request during pod network setup.
For this first exercise, use the exact blue-lan shorthand shown above. The checks in this tutorial require that spelling rather than accepting alternative annotation encodings.
Create blue and green on the same node:
for NAME in blue green; do
  kubectl apply -f - <<EOF
apiVersion: v1
kind: Pod
metadata:
  name: ${NAME}
  namespace: multus
  labels:
    lesson: multus
  annotations:
    k8s.v1.cni.cncf.io/networks: blue-lan
spec:
  nodeSelector:
    kubernetes.io/hostname: node-01
  containers:
  - name: tools
    image: nicolaka/netshoot:v0.14
    imagePullPolicy: IfNotPresent
    command: ["sleep", "infinity"]
    resources:
      requests: {cpu: "10m", memory: "32Mi"}
      limits: {memory: "256Mi"}
EOF
done
kubectl -n multus wait --for=condition=Ready pod/blue pod/green --timeout=180s
kubectl -n multus exec blue -- ip -br addr
kubectl -n multus exec green -- ip -br addr
Each pod should now have:
eth0: its ordinary Kubernetes address.net1: its own192.168.50.xaddress on the extra network.
Compare request with result:
kubectl -n multus get pod blue -o json | jq '.metadata.annotations'
kubectl -n multus get pod blue -o json \
  | jq -r '.metadata.annotations["k8s.v1.cni.cncf.io/network-status"]' | jq .
networks is what the pod requested; network-status is what Multus reports it attached. Also inspect the actual interface, rather than trusting the annotation alone.
Put sections 3–4 into practice
To solidify what you learned about network definitions and pod attachments, try Create a Multus NAD and Attach Two Pods.
This optional 20–30 minute challenge uses the same blue-lan network and same-node blue and green pods, but gives you requirements and hints instead of a complete script. Multus is already installed in its separate playground. Create the NAD, attach both pods, and keep normal networking working.
You can do it now or after finishing this tutorial. Stop this playground before starting the challenge if you do not need both running; completing the challenge does not complete this tutorial's checkpoints.
5. Follow the packets and protect the primary path
Discover the destination's current secondary IP, then explicitly send traffic through net1:
GREEN_IP=$(kubectl -n multus exec green -- ip -j -4 addr show net1 \
  | jq -r '.[0].addr_info[] | select(.family == "inet") | .local')
kubectl -n multus exec blue -- ip route get "$GREEN_IP"
kubectl -n multus exec blue -- ping -I net1 -c 3 -W 2 "$GREEN_IP"
The route lookup should select net1: the destination matches the connected 192.168.50.0/24 route, which is more specific than the default route (0.0.0.0/0). Destinations without a more-specific match still use the default route through eth0.
For this same-node test, the path is:
blue net1 ─ veth pair ─ br-blue ─ veth pair ─ green net1
                         node-01
On node-01, inspect the bridge and its ports:
sudo ip -d link show br-blue
sudo bridge link show master br-blue
A host-side veth port corresponds to each attached pod. The bridge is created on first use if missing; it does not need a host IP for this layer-2 forwarding exercise.
Back on dev-machine, verify the things you must not break:
REMOTE_IP=$(kubectl -n multus get pod remote -o jsonpath='{.status.podIP}')
kubectl -n multus exec blue -- ping -I eth0 -c 2 -W 2 "$REMOTE_IP"
kubectl -n multus exec blue -- getent ahostsv4 kubernetes.default.svc.cluster.local
kubectl -n multus exec blue -- ip route
Expect the cross-node ping and DNS lookup to succeed, and the only default route to remain on eth0. A successful net1 ping does not prove normal Kubernetes networking survived.
Optional: see the secondary packets with tcpdump
On node-01, run sudo tcpdump -ni br-blue icmp. From dev-machine, repeat the blue → green secondary ping. Look for request and reply packets with 192.168.50.x endpoints. Press Ctrl-C to stop the capture. This optional observation has no checkpoint.
6. Introduce one controlled failure
Now request a NAD that does not exist: blue-laan, with an extra a. We will not break Flannel or edit the node's CNI files.
Create a manifest in your home directory so you can repair it later:
cat > ~/multus/broken.yaml <<'EOF'
apiVersion: v1
kind: Pod
metadata:
  name: broken
  namespace: multus
  annotations:
    k8s.v1.cni.cncf.io/networks: blue-laan
spec:
  nodeSelector:
    kubernetes.io/hostname: node-01
  containers:
  - name: tools
    image: nicolaka/netshoot:v0.14
    imagePullPolicy: IfNotPresent
    command: ["sleep", "infinity"]
EOF
kubectl apply -f ~/multus/broken.yaml
kubectl -n multus get pod broken
kubectl -n multus describe pod broken
The pod should fail network setup. Its displayed status might be ContainerCreating or Pending; read the Events rather than diagnosing from the status alone.
kubectl -n multus get nad
kubectl -n multus get pod broken -o json \
  | jq -r '.metadata.annotations["k8s.v1.cni.cncf.io/networks"]'
kubectl -n multus get events --field-selector involvedObject.name=broken \
  --sort-by=.lastTimestamp
Find FailedCreatePodSandBox with a message about missing blue-laan. If it has not appeared yet, repeat the event command after a few seconds. An image-pull failure is a different problem, not the expected checkpoint.
Before fixing it, explain the mismatch: what name did the pod request, which NAD actually exists, and in which namespace?
7. Repair the cause and verify fresh setup
Use sed on dev-machine to change the annotation value in ~/multus/broken.yaml from blue-laan to blue-lan:
Do not create another NAD to hide the typo. Do not restart containerd, delete Flannel, or patch a running pod and assume CNI will hot-attach an interface. Recreate this disposable pod from the corrected manifest so you exercise fresh network setup.
sed -i.bak 's/blue-laan/blue-lan/' ~/multus/broken.yaml
-i.bak edits the file in place and saves the original as broken.yaml.bak. The s/old/new/ expression replaces the misspelled network name.
kubectl -n multus delete pod broken --wait=true
kubectl apply -f ~/multus/broken.yaml
kubectl -n multus wait --for=condition=Ready pod/broken --timeout=180s
kubectl -n multus exec broken -- ip -br addr
kubectl -n multus exec broken -- ip route
GREEN_IP=$(kubectl -n multus exec green -- ip -j -4 addr show net1 \
  | jq -r '.[0].addr_info[] | select(.family == "inet") | .local')
kubectl -n multus exec broken -- ping -I net1 -c 2 -W 2 "$GREEN_IP"
REMOTE_IP=$(kubectl -n multus get pod remote -o jsonpath='{.status.podIP}')
kubectl -n multus exec broken -- ping -I eth0 -c 2 -W 2 "$REMOTE_IP"
kubectl -n multus exec broken -- getent ahostsv4 kubernetes.default.svc.cluster.local
What you should be able to explain now
Before marking the tutorial complete, answer these in your own words:
- Why are Multus and Flannel both installed?
- What is the difference between a NAD, its
bridgefield, and a pod'snet1? - Which component allocates the secondary IP?
- Why did creating the NAD not change
plain? - Why would moving
greento another node not create a working cross-node secondary network automatically? - Why did we verify DNS and the
eth0default route after a successfulnet1ping?
The seven checks demonstrate the lab's configuration and traffic paths. They do not measure unaided troubleshooting skill or imply a CKNE passing score.
Stop and restart safely
Use the tutorial's Stop control when done. To repeat from scratch, start a new tutorial run, not a snapshot of the completed environment. Each fresh run begins with Flannel only. Do not test Multus uninstall by deleting random host CNI files.
If a checkpoint seems stuck, run its read-only check on dev-machine, replacing paths with the checkpoint name (baseline, installed, nad, attached, paths, failure, or repaired):
python3 ~/multus/check.py paths
It prints the failing condition without changing the cluster. A checker cannot tell whether you have read or understood an explanation; use the questions above for that.
Deliberately outside this first lesson
Cross-node secondary transport, cluster-wide IPAM, macvlan/ipvlan, SR-IOV, VLANs, secondary-network policy enforcement, and production rollout/rollback are separate topics. Do not assume primary-network policy automatically protects every secondary interface. Build those topics on top of this working mental model rather than installing more plugins now.
References
About the Author
More tutorials you might like
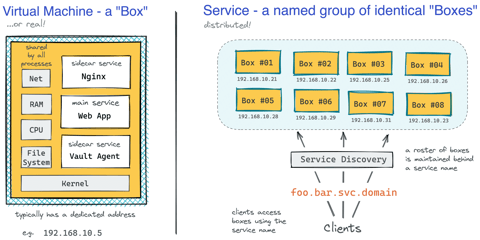
How Kubernetes Reinvented Virtual Machines - In a Good Sense
How Virtual Machines were used to deploy services. What old problems containers solve and what new problems create. How Kubernetes used containers to recreate Virtual Machines in a better way?

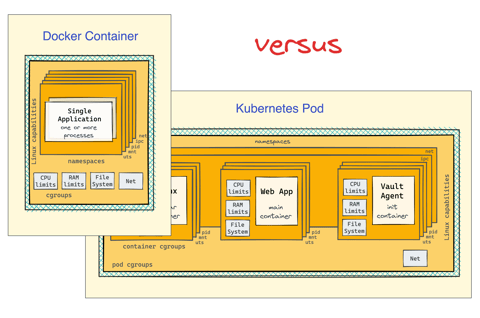
Docker Containers vs. Kubernetes Pods - Taking a Deeper Look
Can a Kubernetes Pod be created with plain Docker commands? Learn the difference between Containers and Pods by exploring how they are implemented under the hood.
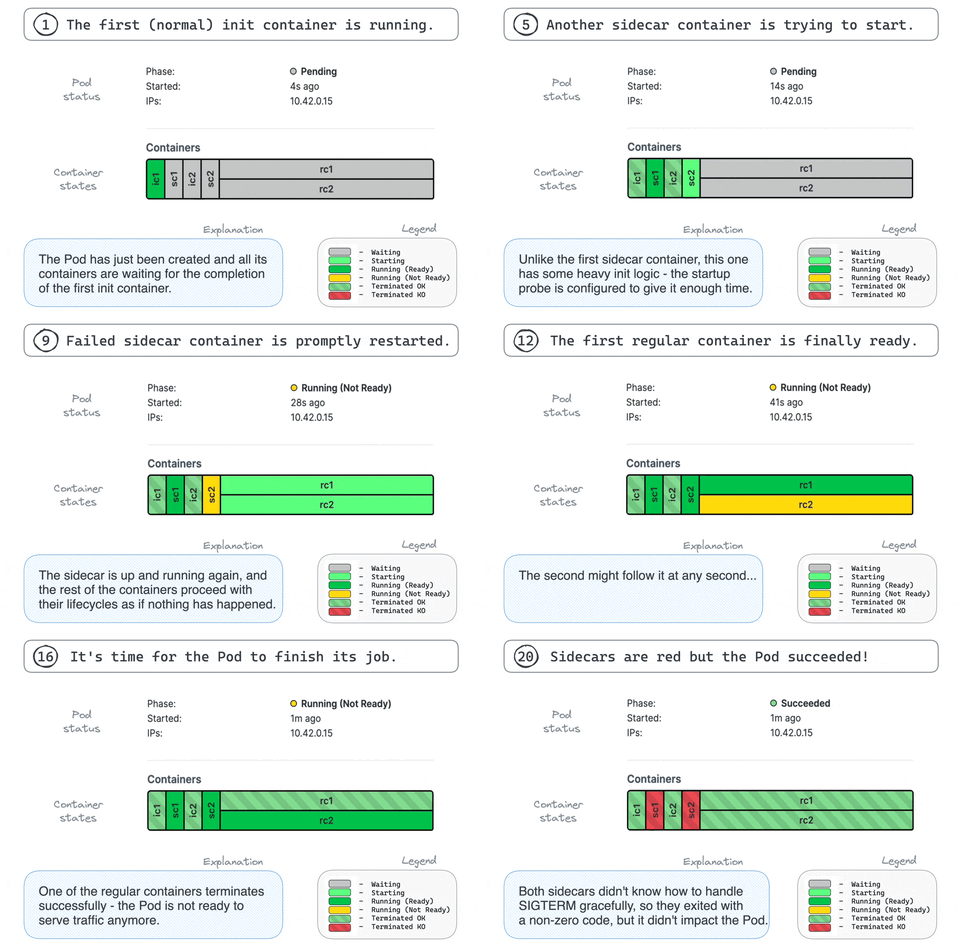
Making Sense Out of Native Sidecar Containers in Kubernetes
Understand the "native" sidecar containers, learn their difference from regular and init containers and discover their advantages in this focused and highly practical tutorial.

Getting Started with VictoriaMetrics on Kubernetes
Deploy VictoriaMetrics on Kubernetes using the VM Operator, configure metrics scraping with CRDs, and query cluster metrics.

Learn by doing, not just by reading or watching
Sign up for a free account to start a VM playground right on this page, track your progress, and get notified about new learning materials.