Provisioning a Kubernetes Cluster with kubeadm

In this tutorial, you'll learn how to provision a Kubernetes cluster from scratch using kubeadm.
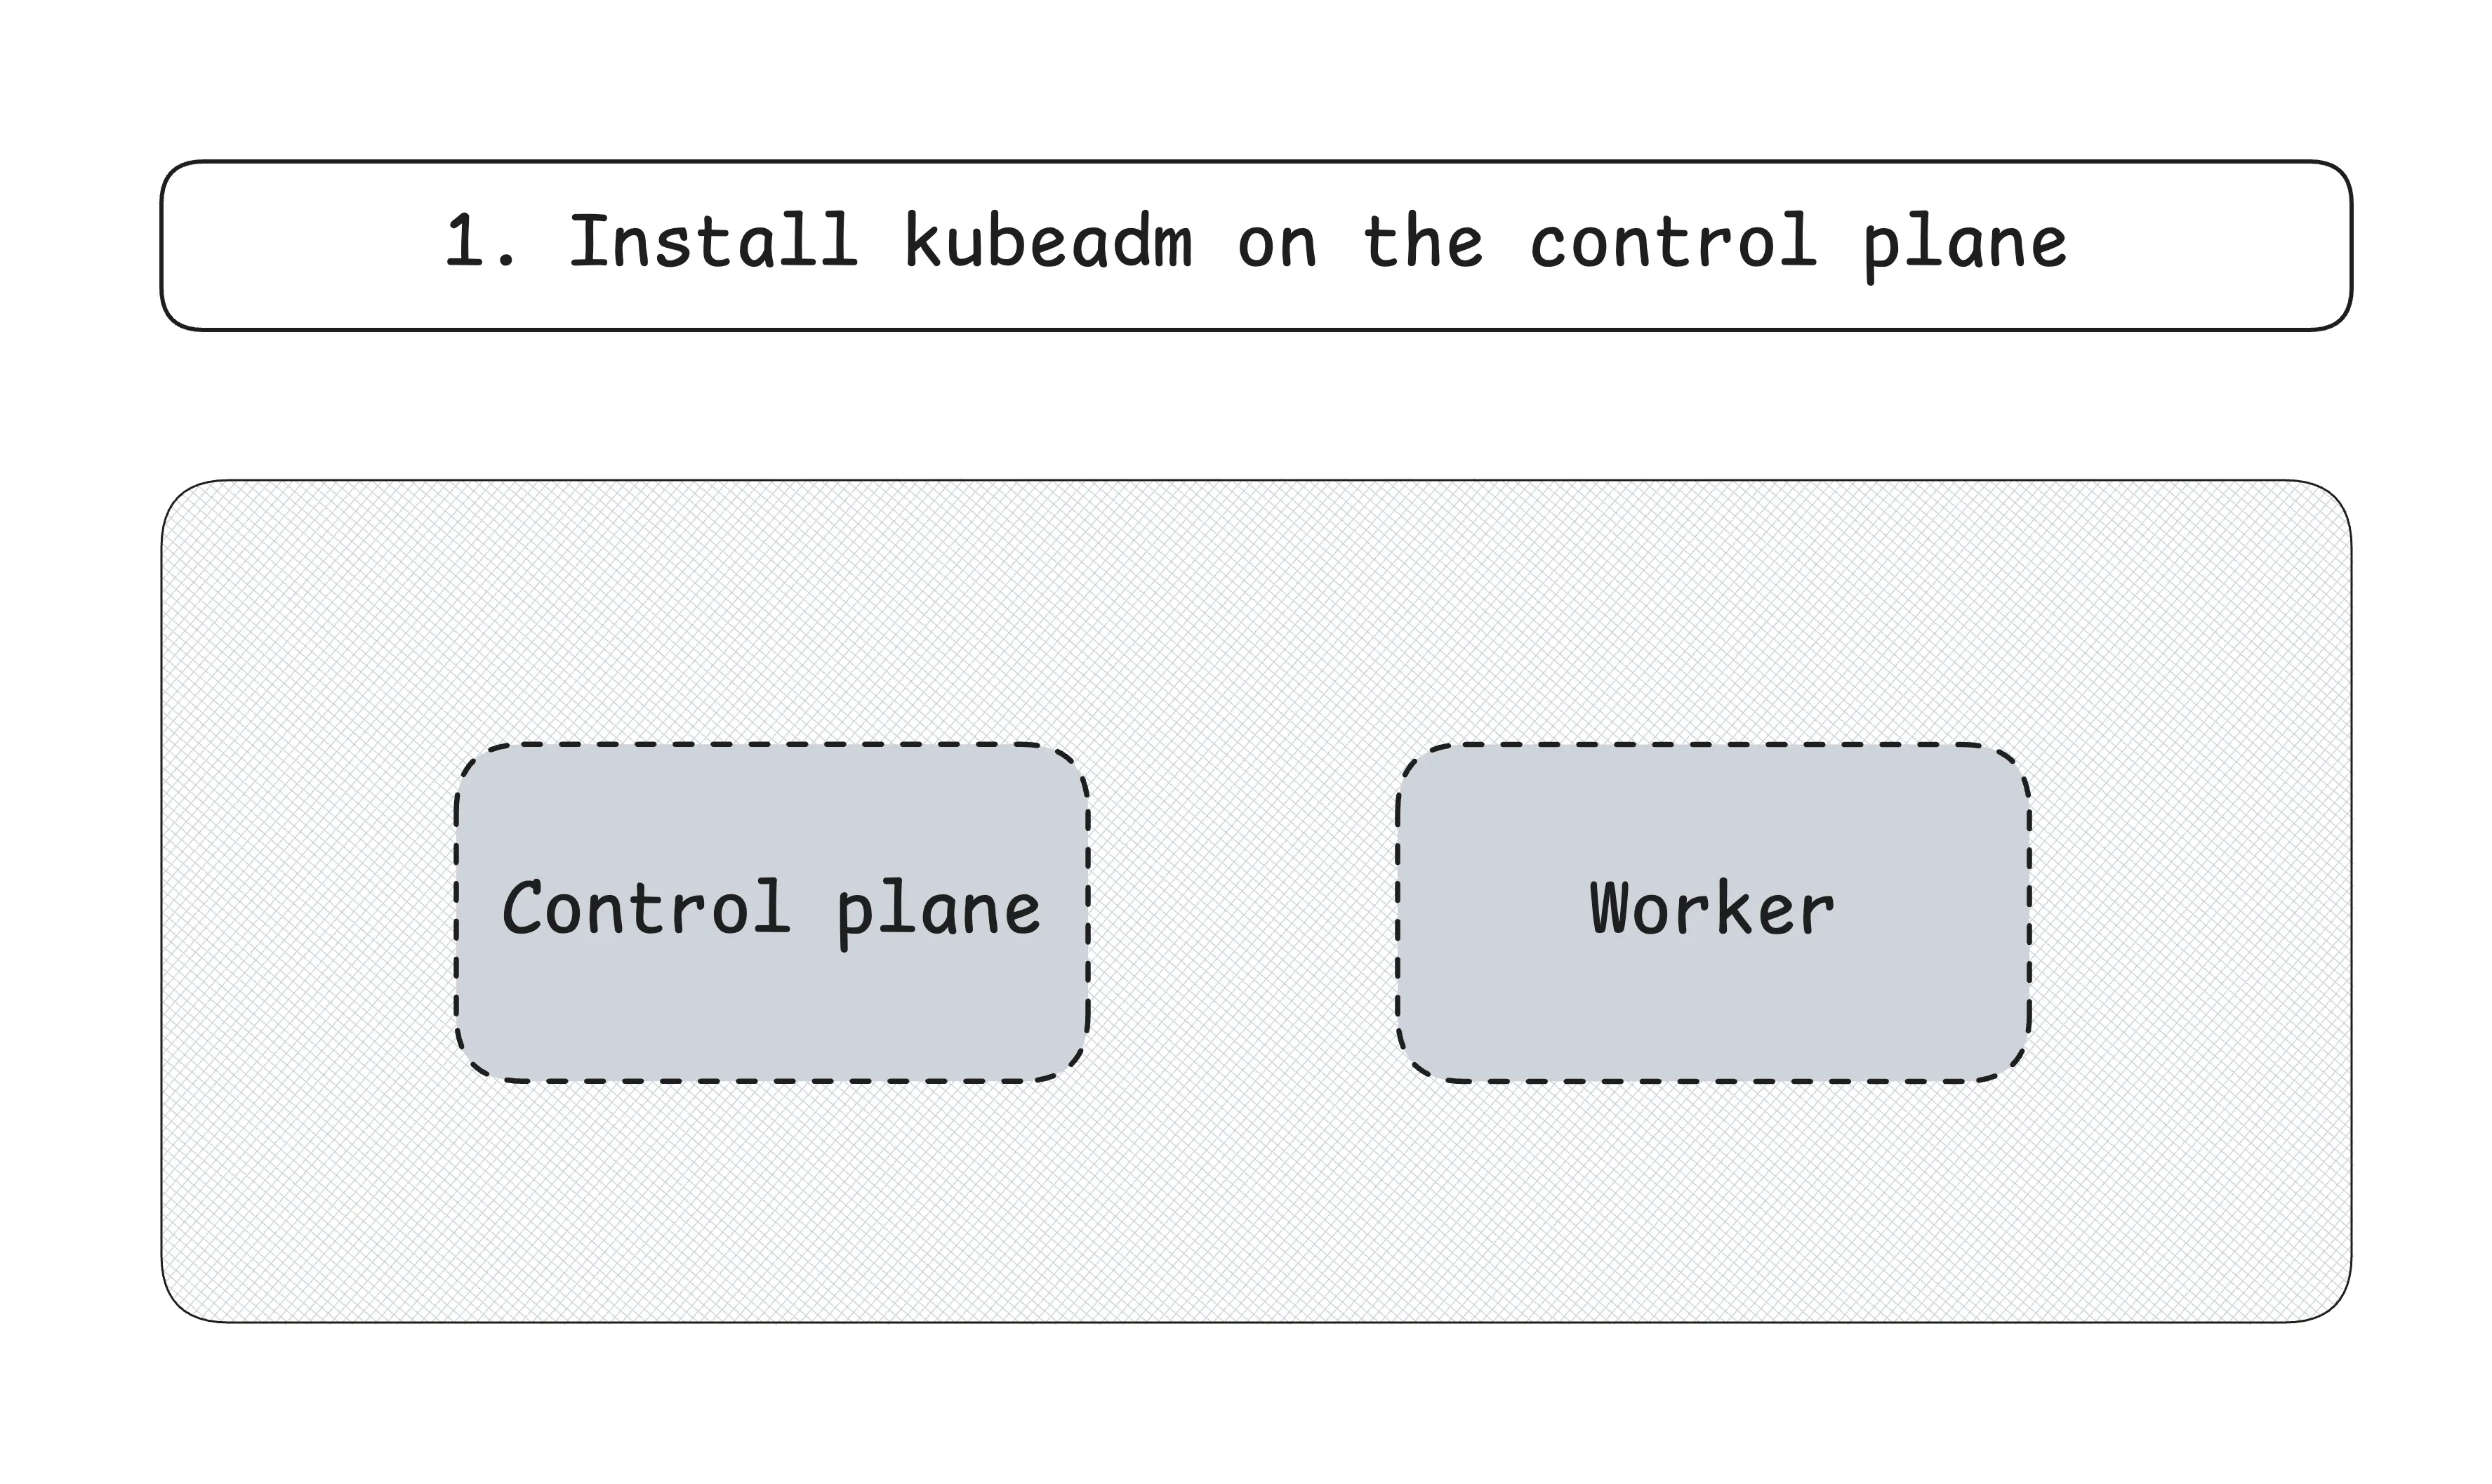
You'll walk through setting up a control plane node and adding a worker node to create a fully functional cluster.
About container runtimes (already installed)
Kubernetes requires a container runtime to run and manage containers on each node. It doesn't include one by default — instead, it relies on external tools like containerd, CRI-O, or (formerly) Docker.
Docker support for kubelet was deprecated starting with Kubernetes v1.24.
This tutorial focuses on installing Kubernetes using kubeadm.
To keep things simple and focused, containerd is already installed and configured in the lab environment.
In most modern Kubernetes deployments, containerd is the recommended and most widely adopted runtime due to its simplicity, performance, and close integration with Kubernetes.
📝 Production Note
If you're setting up Kubernetes on your own infrastructure outside of this lab, you'll need to install and configure a compatible container runtime.
Refer to the official Kubernetes documentation on container runtimes for more information.
Prerequisites
Run the following steps on both cplane and worker.
Disable swap
By default, kubelet fails to start if swap is detected on the node.
The lab environment doesn't have swap enabled, so you can skip this step.
You can disable swap temporarily:
sudo swapoff -a
📝 Production Note
To disable swap permanently:
sudo sed -i '/ swap / s/^\(.*\)$/#\1/g' /etc/fstab
Enable required kernel modules
Enable the required kernel modules:
sudo modprobe overlay
sudo modprobe br_netfilter
📝 Production Note
To enable the modules on startup, run:
cat <<EOF | sudo tee /etc/modules-load.d/kubernetes.conf
overlay
br_netfilter
EOF
Enable IP forwarding
Configure the system to allow IP forwarding, which is required for pod-to-pod communication:
sudo sysctl -w net.ipv4.ip_forward=1
📝 Production Note
To preserve the configuration across reboots, run:
cat <<EOF | sudo tee /etc/sysctl.d/99-kubernetes.conf
net.ipv4.ip_forward = 1
EOF
Installing kubeadm
Kubernetes provides official package repositories that make installing Kubernetes easier.
Refer to the documentation for other package distribution channels.
To use kubeadm, you need to add the APT repository and install the following packages:
kubeadm- the command-line tool for bootstrapping Kubernetes clusterskubelet- the agent that runs on each node and manages containerskubectl- the command-line tool for interacting with the cluster
Run the following steps on both cplane and worker.
First, decide what Kubernetes version you want to install.
For simplicity, use the latest version:
KUBE_VERSION=$(curl -fsL https://dl.k8s.io/release/stable.txt)
Add the Kubernetes APT repository:
curl -fsSL https://pkgs.k8s.io/core:/stable:/${KUBE_VERSION%.*}/deb/Release.key | sudo gpg --dearmor --yes -o /etc/apt/keyrings/kubernetes-apt-keyring.gpg
echo "deb [signed-by=/etc/apt/keyrings/kubernetes-apt-keyring.gpg] https://pkgs.k8s.io/core:/stable:/${KUBE_VERSION%.*}/deb/ /" | sudo tee /etc/apt/sources.list.d/kubernetes.list
Install the required packages for the Kubernetes version you selected:
sudo apt-get update
sudo apt-get install -y \
    kubeadm=${KUBE_VERSION#v}-* \
    kubelet=${KUBE_VERSION#v}-* \
    kubectl=${KUBE_VERSION#v}-*
The Kubernetes documentation also recommends locking the version of these packages to avoid accidental upgrades:
sudo apt-mark hold kubeadm kubelet kubectl
Provisioning the control plane
Run the following steps only on cplane.
Initialize the Kubernetes control plane on cplane:
sudo kubeadm init \
    --pod-network-cidr=10.244.0.0/16 \
    --kubernetes-version=${KUBE_VERSION}
10.244.0.0/16 is a common default CIDR range for Kubernetes pod networks.
The command will output some instructions at the end. You can ignore those for now.
After successful initialization, configure kubectl to communicate with your cluster:
sudo chmod 666 /etc/kubernetes/admin.conf

mkdir -p $HOME/.kube
ln -s /etc/kubernetes/admin.conf $HOME/.kube/config
Verify cluster access:
kubectl cluster-info
Install a network add-on
If you check the nodes, you'll notice that the control plane node is in the NotReady state:
kubectl get nodes
This is because Kubernetes (more specifically kubelet) requires a network add-on (or CNI plugin) to configure pod network interfaces and assign IP addresses to pods.
There are several network add-ons available, but the most commonly used in simple setups is Flannel.
Install Flannel as the pod network add-on:
kubectl apply -f https://github.com/flannel-io/flannel/releases/latest/download/kube-flannel.yml
Verify the control plane is ready
Wait for the control plane node and all pods to be ready:
kubectl wait --for=condition=Ready node cplane
kubectl wait --for=condition=Ready pods --all --all-namespaces
Provisioning the worker node
Run the following steps only on worker.
To join the worker node to the cluster, you need the join command from the previous step.
In this lab environment, you can simplify this process by using SSH to run the token creation command remotely and execute it immediately:
sudo -s eval "$(sudo ssh cplane kubeadm token create --print-join-command)"
📝 Production Note
In a typical production environment, you would:
- Run
kubeadm token create --print-join-commandon the control plane node - Copy the output command
- Run it on each worker node you want to join
This ensures proper security practices and clear audit trails for node management.
Accessing the cluster
Run the following steps only on dev-machine.
While you wait for the worker node to join the cluster, you can configure kubectl on dev-machine.
The purpose of this machine is to simulate real-world circumstances where you access the cluster from a remote location.
Normally, you should set up RBAC and user management at this point, but to keep things simple, copy the admin config from the control plane:
mkdir -p $HOME/.kube
sudo scp cplane:/etc/kubernetes/admin.conf $HOME/.kube/config
sudo chown $(id -u):$(id -g) $HOME/.kube/config
The worker node should have joined the cluster by this point and should be in the Ready state:
kubectl get nodes
Congratulations! 🎉
You have successfully provisioned a Kubernetes cluster using kubeadm with one control plane node and one worker node.
Next steps
There's still plenty more to explore:
- See the References section below to dive deeper into the topics covered
- Check out additional tutorials and challenges to expand your knowledge
If you want to test your knowledge or experiment further, check out these playgrounds:
- Kubernetes Cluster (official)
- HA Kubernetes Cluster
- kubeadm
- more in progress...
References
About the Author
Writes about
Frequently covers