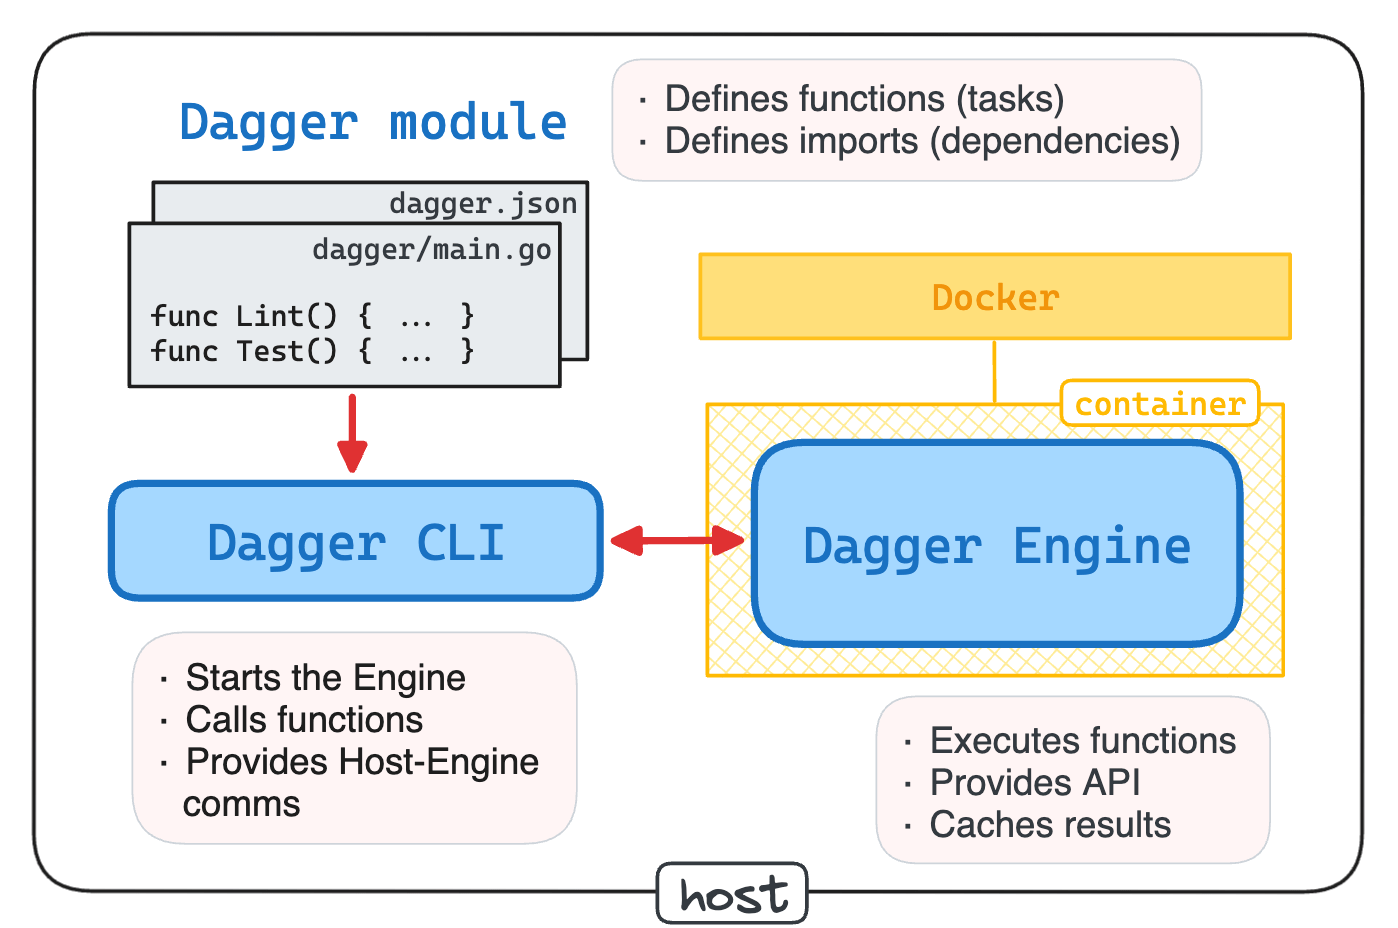
To start using Dagger in your project, you need to initialize a Dagger module. Technically, the module can reside anywhere in the project's file tree, but in this challenge you'll need to place it in the project's root directory.

Hint 1
A minimal Dagger module is simply a directory with a dagger.json file in it.
However, you shouldn't probably create this file manually.
Try dagger --help - is there a command to initialize a module?
After creating the module, add the following Dagger Functions to it:
lint- a placeholder for the lint task.test- a placeholder for the test task.build- a placeholder for the build task.
You don't need to implement any lint, test or build logic (an empty function body will suffice),
but you should make sure that all three functions (and only they) are listed in the dagger functions output when called from the module's directory.
You can use any of the languages supported by Dagger (Go, Python, TypeScript, or one of the community SDKs) to write the functions.
Hint 2
Wondering where to put the functions' code?
When you initialized the module, Dagger created some new files in the project's file tree.
Try exploring the ~/my-project directory - can you find out what files have been created?
git status and git diff can help you to see what has changed.
Hint 3
If you ran dagger init without the --sdk flag, Dagger likely created only the dagger.json file.
This might be enough for some operations (like dagger install a dependency module),
but definitely not enough to start writing your own functions.
Remove the created dagger.json file and re-run the dagger init command with the --sdk=go flag.
Hint 4
Added the functions to the module, they showed up in the dagger functions output,
but the solution hasn't been accepted yet?
Make sure you deleted all example functions that Dagger might have generated for you.